You’ll transform your campfire into a dessert haven with Dutch oven baking over coals. Master the basics: choose a 12-inch cast iron Dutch oven, arrange briquettes in concentric circles on the lid, and bake cobblers, crisps, and dump cakes for 20–60 minutes at 350–400°F. Pack shelf-stable staples like cake mixes, canned fruit, and butter wrapped in foil. Serve warm straight from the Dutch oven for peak flavor. The techniques you’ll uncover reveal endless possibilities for golden, fudgy campsite creations.
Recipe Types and Common Examples
When you’re planning a camping trip or backyard gathering, Dutch oven desserts fall into five distinct categories that’ll satisfy any craving.
Cobbler variations lead the pack—think peach, blueberry, or cranberry options with buttery biscuit dessert toppings. Crisps and crumbles offer golden, crunchy layers over fresh fruit that bubble beautifully under coals. Cakes range from simple two-ingredient recipes to rich chocolate options, perfect for celebrations around the fire. Berry-based cakes like Dutch oven blueberry cake incorporate cinnamon and lemon flavoring for enhanced taste. A 9QT Overmont Dutch Oven is preferred for preparing these one pot style meals efficiently.
S’mores-inspired desserts merge campfire nostalgia with creative twists—layered cakes, dump cakes, and quick bars that taste even better the next day. Finally, specialty options like pineapple upside-down cake, Dutch baby pancakes, and cinnamon buns round out your arsenal. Many recipes suggest layering fruit and cake mix with optional soda to create simple yet satisfying results.
Each category adapts easily to Dutch oven cooking, whether you’re working with premade ingredients or building from scratch. The Dutch oven’s tight-fitting lid allows for even heat distribution and moisture retention, which is especially important for achieving the perfect texture in baked desserts. Proper food safety advantages and preservation techniques ensure your ingredients remain fresh throughout your camping trip. For best results with delicate baked goods, consider pre-freezing your batter before cooking to maintain texture and prevent collapse during the cooking process. Like cast iron skillets, Dutch ovens benefit from regular use and proper maintenance to ensure long-lasting performance. You’ll find something for every skill level and ingredient availability.
Essential Pantry Staples and Ingredients
You’ll want to stock your cooler and pack strategically with the right ingredients—the ones that’ll travel well, perform reliably over coals, and transform simple camp cooking into genuine dessert magic. Build your pantry organization around dry staples: all-purpose flour, granulated and brown sugar, baking powder, and boxed cake mixes form your foundation. Layer in shelf-stable fruit—canned pie fillings, dried fruits, and preserves—to eliminate prep work. Bring butter wrapped in foil or nestled in a cooler, plus chocolate chips and spices in sealed vials. To extend the shelf life of any perishable ingredients you bring, consider removing air exposure from packaging before your trip. Invest in quality cooking utensils designed specifically for cast iron to avoid scratching your Dutch oven’s seasoning while stirring batters and mixing ingredients.
Plan ingredient substitutions before you leave: swap fresh milk for evaporated milk, use oil instead of butter if refrigeration fails, or substitute canned whipped topping for fresh cream. This flexibility keeps your desserts on track regardless of camp conditions. A cast iron dutch oven with its rimmed lid and support legs allows you to bake directly over charcoal briquettes, creating the perfect outdoor baking environment. Consider simple recipes like berry crumble and cobblers that require minimal prep work and ingredients, and remember that you can scale down recipes to fit your cooking vessel’s capacity. After cooking, remember that modern dish soaps are safe] for cleaning your cast iron dutch oven when paired with thorough drying and oiling to maintain seasoning. Fresh berries like strawberries, blueberries, and blackberries create a sweet syrup when cooked in your Dutch oven, offering a naturally delicious alternative to shelf-stable options.
Dutch Oven Equipment and Heat Control
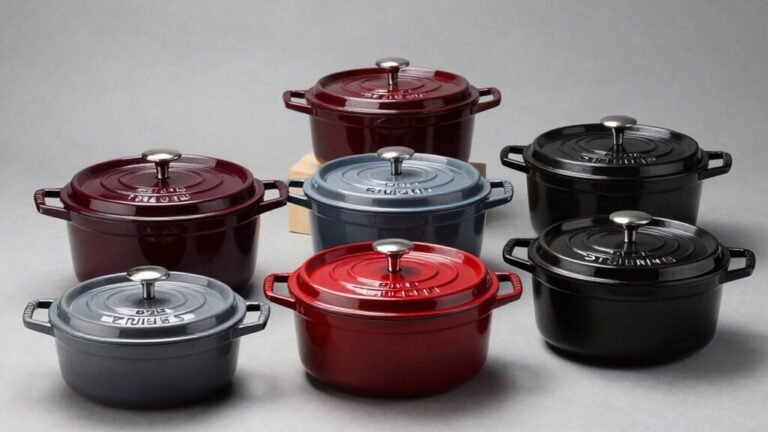
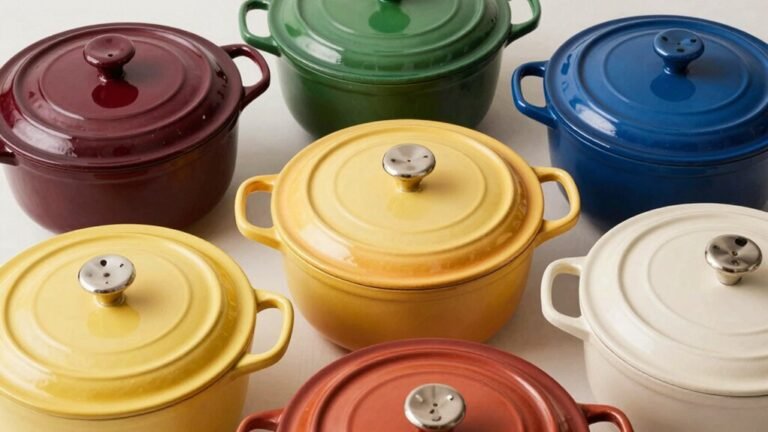
The ingredients are packed and your cooler’s organized—now it’s time to master the tool that’ll actually bake your desserts over open flame. Your Dutch oven selection matters: choose cast-iron with a flat, rimmed lid and sturdy bail for reliable coals-on-top baking. A 12-inch, 6-quart capacity handles most camp groups efficiently. Consider adding a lid lifter tool to safely manage your hot lid without burns during the baking process. Look for Dutch ovens with superior weight and construction to ensure they withstand repeated campfire use and maintain structural integrity. Before purchasing your Dutch oven, verify it has an induction-compatible symbol to guarantee compatibility with various cooking methods.
Heat management hinges on coal arrangement and coal types. Briquettes provide consistent, predictable temperatures; lump charcoal burns hotter but less uniformly. Use your chimney starter to pre-heat coals fully, then position them concentrically on your lid’s rim while clustering bottom coals for browning. Cast iron’s superior heat distribution ensures your desserts bake evenly without hot spots. For extended camping trips, store your Dutch oven with moisture-resistant packaging similar to how food preservation requires proper protective materials.
Temperature control demands an instant-read thermometer inside your oven. For precise monitoring throughout your bake, prioritize thermometers with quick response time to capture accurate temperature readings in your Dutch oven environment. Rotate your lid 90° halfway through longer bakes, adjusting coal counts for wind, elevation, and ambient conditions. Master these techniques, and you’ll nail every dessert.
Bake Times, Yields, and Texture Expectations
Once you’ve dialed in your coal placement and thermometer readings, timing becomes your next critical skill—nail it, and you’ll pull golden cobblers and fudgy brownies from your oven with confidence. Most campsite desserts bake between 20–60 minutes at 350–400°F, though bake time ratios shift with pan depth and recipe size. A 10-inch Dutch oven typically yields 8–14 servings; larger 12–14-inch models serve 12–20. Shallow pans or muffin tins stretch yield while cutting individual bake times. Rotate your pot every 10–20 minutes to prevent hot spots. Yield calculations depend directly on how you modify depth and portion size—doubling a recipe increases bake time modestly but demands proportional coal adjustments. For even heat distribution, chimney-type charcoal lighters help you achieve consistent briquette placement and temperature control throughout the cooking process. Remember that placing two-thirds of coals on the lid ensures the majority of heat comes from above, which is essential for proper baking results. If you’re baking bread-based desserts at camp, remember that creating a hot and humid environment inside your Dutch oven will help you achieve better crust development and oven spring. Many campers pair their Dutch oven with buttery biscuit toppings to create memorable desserts like peach cobbler that taste as good as homemade treats. Using dark soda pop in your brownie mix enhances the texture and creates a fudgy consistency that performs well in both camping and home environments. Proper storage methods like preventing freezer burn can help maintain the quality of any leftover desserts you want to enjoy later. To preserve any leftover desserts for later enjoyment, consider using handheld vacuum sealers designed for food storage to extend freshness and prevent waste.
Make-Ahead Preparation and Storage
How much prep work can you actually handle before hitting the campsite? You’ll find that strategic storage tips make all the difference for camp desserts.
Your blondie dough thrives when you prepare it ahead—mix sugars into hot butter, cool it, whisk in egg and vanilla, then fold in chocolate chips. Wrap it tightly and chill for at least two hours, up to three days in your cooler. This prep method keeps your dough gooey during transport. For optimal freshness, bake within 2 days of preparation to ensure the best texture and flavor at camp.
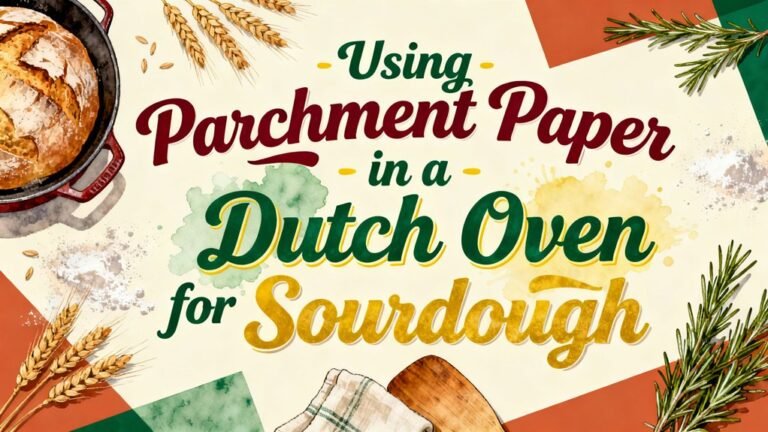
For dump cakes, refrigerate layered components separately if you’re partially pre-assembling. Line your dutch oven with parchment beforehand to streamline camp assembly. When using cream cheese and strawberries, keep these ingredients chilled in separate containers until you’re ready to layer them in the dutch oven at camp. Just as savory dishes require consistent heat throughout the cooking process, desserts benefit from proper temperature management during storage and transport. Allow your cooler to stabilize at a consistent temperature before packing by cooling it down for several hours beforehand. Using vacuum sealing technology can further extend the freshness of your prepared dough and pre-mixed ingredients during transport. Consider hand washing your dutch oven with warm soapy water after each use to maintain its seasoning and prevent rust buildup.
Keep everything chilled to maintain texture integrity. Your firm dough will warm briefly at camp for easier pressing into the oven, similar to how cast iron pans are prepared before baking. This approach lets you spend less time cooking and more time enjoying the outdoors.
Safety, Food Handling, and Cleanup
While you’re excited to bake desserts in your Dutch oven, you’ll need to prioritize food safety and smart cleanup practices to keep your group healthy and your campsite clean. Start by washing your hands with soap or alcohol sanitizer before handling ingredients and after eating. Keep perishable components like eggs and dairy below 41°F in your cooler with ice packs. Cool baked desserts within two hours, then store them in sealed containers away from critters. For cleanup tips, establish a dishwashing station with clean water, soap, and paper towels—never use untreated natural water. Bacteria multiply quickly in the danger zone between 40°F to 140°F, so monitor your cooler temperature consistently throughout your camping trip. Use insulated containers to maintain proper temperatures for both hot and cold dessert components during transport. Scrub your Dutch oven thoroughly after use by applying a baking soda paste to remove any residue and maintain its seasoning. Pack out all trash. These food safety practices guarantee memorable meals without compromising anyone’s health.
Creative Recipe Adaptations and Variations
Since camp cooking demands resourcefulness, you’ll find that Dutch oven desserts thrive on smart substitutions and flexible techniques. Creative layering transforms simple ingredients into crowd-pleasing treats—stack fruit, dry cake mix, and butter for dump cakes that tolerate uneven heat. You’ll streamline prep by combining boxed mixes into marbled bars or swapping fresh fruit for canned alternatives without sacrificing taste.
Flavor infusions elevate minimal ingredient lists through strategic add-ins: chocolate chips, marshmallows, nuts, and graham crackers create s’mores derivatives with minimal fuss. Pre-measure dry components at home to eliminate camp measuring and gear needs. Baking times may vary depending on your Dutch oven size, so adjust briquette usage for optimal heat control. Using pre-made angel food cake as your base eliminates the need for mixing and pre-baking, allowing you to assemble your dessert quickly at camp.
Consider converting cake batter into Dutch baby pancakes for breakfast-dessert crossovers, or top cobblers with oat-pecan mixtures for textural contrast. A digital oven thermometer can help verify that your Dutch oven has reached the proper temperature before adding your dessert mixture. For checking the actual temperature of your cooking surface, an infrared thermometer provides quick readings on matte surfaces like cast iron. For any components involving dairy or perishable toppings, remember that bacterial growth occurs rapidly at warm temperatures, so prepare these elements just before cooking. These adaptations prove that constraint breeds creativity—your campfire becomes a testing ground for bold, delicious experiments.
Serving Ideas and Finishing Touches
You’ve got options that elevate every bite. Vanilla ice cream melts beautifully over warm cobblers and dump cakes, while whipped cream adds elegance to fruit-based desserts. Fresh garnishes—raspberries, strawberries, or blueberries—create visual appeal and taste freshness. For chocolate creations, dust powdered sugar across the top or add chocolate chips for richness. Dutch ovens’ superior heat retention and distribution ensures your desserts cook evenly and maintain optimal serving temperatures.
Consider your dessert’s personality. S’mores cakes deserve mini marshmallows and graham cracker chunks layered throughout. Dutch baby pancakes shine with canned cherries and powdered sugar dusting. Don’t overlook simple pairings: whipped cream with summer fruit cobblers never disappoints. Just as proper sealing techniques enhance the moisture retention in specialized cooking methods, careful plating helps preserve your dessert’s ideal texture and temperature. Maintaining your Dutch oven’s protective seasoning layer ensures it continues to perform excellently for all your campfire cooking adventures.
Time your serving strategically. Present warm desserts immediately from the Dutch oven while flavors peak and temperatures matter most. Layer canned fruit pie fillings with toppings like ice cream for enhanced flavor complexity. The same deglazing technique used in savory Dutch oven dishes can enhance your dessert’s sauce, creating an even more flavorful finishing touch.