To fill your torch with Coleman butane, position it upside down and attach a compatible adapter to the fuel valve. Press a pressurized butane canister firmly downward in 5-10 second pulses, shaking the canister between cycles for even distribution. Stop when butane reaches 80-90% capacity or spills from the valve. Allow five minutes for equilibration, then warm the torch in your hands for pressure normalization. Adjusting the flame height dial and performing ignition tests guarantees peak performance, though several critical techniques remain essential for success.
Safety Precautions for Butane Refilling
Before you’ll need to prepare yourself and your workspace to minimize risks from pressurized fuel, flammable vapors, and potential ignition sources. Wear chemical-resistant gloves (nitrile or neoprene) and safety goggles to protect against pressurized spray and debris. Choose flame-resistant clothing—cotton or wool—and closed-toe footwear to guard against liquid butane contact and burns.
Understand butane hazards by setting up your refilling area outdoors or in well-ventilated spaces away from confined areas where vapors concentrate. Remove all ignition sources: open flames, hot surfaces, and electrical sparks. Maintain clear workspace with several feet of clearance around your torch and canister. Always allow 10-15 seconds for the refilling process to complete safely before removing the butane canister. Purging fuel prior to refill is essential to release pressure and prevent an overpressurized cylinder from forming during the refueling process. Ensure your torch is fully cooled before beginning the refilling operation to prevent accidents and equipment damage. Similar to braising liquid preparation that requires careful temperature management, butane refilling demands careful attention to heat control to maintain safe operating conditions.
Position your personal protective equipment strategically and keep a Class B/C fire extinguisher within immediate reach. Post warning signage to prevent bystander interference during your refilling operation. If your torch has a built-in automatic ignition system, verify it is functioning properly before refilling to ensure safe operation after the procedure. Proper flame temperature control mechanisms on your torch will help prevent dangerous overheating during and after the refueling process.
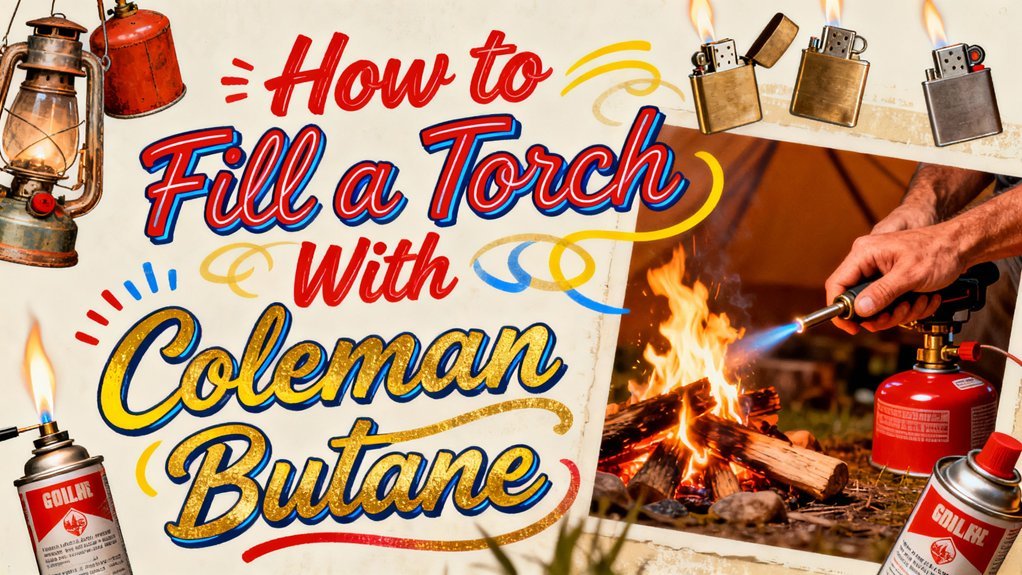
Gathering Your Equipment and Supplies
To successfully refill your torch, you’ll need three essential categories of supplies: a butane fuel source, the appropriate adapter for your specific torch model, and any additional tools required for secure connection.
For butane types, you’ll want ultra-refined butane specifically formulated for micro torches. Regular butane contains contaminants that clog tiny torch orifices, rendering your device unusable. Coleman 8.8 oz cylinders work well for larger applications, but smaller 2.75 oz refill cans offer portability. Bulk purchasing of refill cans can significantly reduce costs compared to single-can purchases at retail locations. The Cowboy 8.8lb Hardwood Lump Charcoal and other camping fuel products are often available at competitive prices alongside butane options. Ensuring your butane produces a dark blue flame will help you avoid unpleasant off-flavors during culinary use.
Regarding adapter options, identify your torch’s valve type first. NEON brand butane includes snap-off plastic adapters in various configurations. Coleman offers compatible adapters, and 3D printable STL files exist for specialized connections. Verify your adapter matches your torch’s metal tip precisely to prevent fuel leakage during refilling. Much like selecting the right size lid for cast iron cookware, choosing the correct adapter ensures optimal performance and safety during operation.
Preparing Your Torch for Refilling
With your equipment assembled and adapter confirmed for your torch model, you’re ready to begin the refilling process. Start by positioning your torch upside down, which places the butane—heavier than air—at the bottom of the tank. This positioning guarantees liquid butane flows correctly into the fuel valve during your filling technique.
Hold the torch steady in this inverted position, maintaining vertical alignment. Before connecting the canister, inspect your torch for any visible damage or leaks as part of routine torch maintenance. Check that the fuel valve operates smoothly by pressing it gently. Allow the torch to cool for 15 minutes before refueling to prevent pressure buildup and ensure safe handling. Note that butane and other flammable substances require careful handling due to aviation safety regulations. To optimize performance, consider purging excess air from the torch’s fuel tank prior to refilling to prevent malfunction and ensure optimal ignition. Keeping your torch in good working condition ensures it performs well for precision browning tasks in the kitchen and other culinary applications like searing meats and caramelizing delicate toppings.
Keep the torch stationary and avoid shaking it during preparation. This stability prevents air from entering the tank and mixing with fuel, setting the stage for a successful, efficient refill.
Depressurizing and Purging the Tank
Why must you depressurize your torch before refilling? You’ll remove trapped air and residual pressure that prevent liquid butane from entering the tank. Using proper technique, invert your torch and press the refill valve briefly until hissing stops. Hold it away from your face and ignition sources while working outdoors in a well-ventilated area.
Next, purge any air pockets by repeating short bleed cycles with the torch inverted. This positions liquid butane toward the valve while air rises away. Wait a few seconds between cycles for vapor to disperse. Verify success by attempting ignition after a brief settle period. If your torch won’t ignite, residual air remains—repeat the purge cycle before refilling. For optimal results, always use food-grade materials compatible with your equipment, just as proper maintenance ensures safe operation. Like cast iron skillets, torches require proper maintenance and care to function optimally and last longer. Remember that butane torches reach only about 2,450°F to 2,500°F, making them suitable primarily for light brazing or soldering tasks rather than full fusion welding on thick or high-melting-point metals.
Aligning and Connecting the Butane Canister
Since you’ve successfully purged the torch, you’re ready to connect the butane canister. Position both the torch and canister upside down to leverage butane’s density. Your alignment techniques are critical here—insert the canister nozzle directly into the torch fuel valve using strict vertical insertion. Before connecting, inspect the valve for debris that could compromise your seal.
Match nozzle stem to valve opening precisely, ensuring tight contact without forcing. Verify nozzle compatibility by confirming the fit aligns with your torch’s specific valve design. Press the canister down firmly toward the torch. You’ll know you’ve achieved proper connection when butane begins flowing. If you notice leaking or no flow, realign vertically immediately. Once connected, allow the system to equalize for 3-5 minutes before proceeding with the fill. Proper nozzle selection is essential since different torch models require specific nozzle compatibility to ensure safe and efficient fuel delivery. Many kitchen torches are sold without butane included and require separate butane purchases before initial use. Proper equipment maintenance, similar to preserving cast iron seasoning, requires avoiding harsh chemicals that can damage your torch’s internal components and fuel delivery system. Understanding adjustable flame control mechanics will help you optimize your torch’s performance once the refueling process is complete, allowing you to achieve the optimal temperature ranges necessary for your dabbing needs.
Executing the Filling Procedure
Now that you’ve aligned and connected the butane canister, you’re ready to execute the filling procedure itself. Press the canister down firmly until you see butane visible in your torch’s fuel window. Hold steady pressure for 5-10 seconds per fill cycle, using pulse-filling techniques to minimize air entrapment. Shake the canister occasionally between pulses for even fuel distribution.
Monitor the fuel window closely as the liquid level rises. Stop filling when butane spits from the valve, indicating fullness. Always use refined, high-quality fuel types to guarantee superior torch performance. Avoid overfilling by ceasing when the window shows 80-90% capacity. For effective torch searing, ensure your fuel quality meets the demands of high-temperature applications like the propane-powered alternatives used by professionals. After filling, verify completion by re-pressing the valve—butane spitting confirms proper saturation and confirms no air remains trapped inside. Allow the torch to rest for one to two minutes so the butane can settle properly inside the tank. If you notice any hissing sounds, release remaining pressure before attempting another fill cycle. Just as complete drying is essential for maintaining enameled cookware after cleaning, ensuring your torch is properly settled and free of pressure is crucial before storage. Proper maintenance techniques will help extend your torch’s operational lifespan and ensure consistent performance across multiple fill cycles, much like simmering or roasting helps develop tender, flavorful results in quality cooking equipment. Proper heat retention properties that make quality equipment reliable for repeated use.
Post-Fill Equilibration and Ignition Testing
After you’ve filled your torch with butane, you’ll need to allow it to equilibrate before testing the flame. Wait five minutes for exterior evaporation, then warm the torch in your hands for three to ten minutes. This warming process enables pressure normalization and flame stabilization by allowing the butane liquid to reach room temperature and the internal pressure to match canister conditions. Triple refined butane will provide optimal performance and consistency during this equilibration phase.
Before ignition, adjust your flame height dial to the center position using a screwdriver. Hold the torch away from your face and body, then activate the ignition mechanism. Expect multiple attempts to purge remaining air from fuel lines. You’ll hear a steady hissing that ceases once air fully releases. Like cast iron cookware that requires proper maintenance to preserve its longevity, torches benefit from proper storage methods to maintain performance over time. Storing your torch in a cool, dark place after use will help maintain the butane’s integrity and prevent performance degradation. The entire process takes only 5-15 minutes from start to finish. Keep the torch’s sensor clean and maintain a clear line of sight to the ignition area for consistent performance. Test several times, observing for consistent, even flame without shooting or unevenness, confirming successful equilibration.
Troubleshooting Common Refilling Problems
Even with proper equilibration and ignition testing, you might encounter issues during the refilling process itself. Persistent hissing indicates excess air or fuel release—flip your lighter upside down and compress the fuel valve with a screwdriver until it stops. A weak flame post-refill suggests low fuel levels or air in the tank. Adjust your flame height dial to test responsiveness, and clean the nozzle with compressed air to remove debris. If your lighter freezes after refilling, hold it for 5–10 minutes until reaching room temperature. For clogged valves, purge air before refilling by pressing the valve with a pointy tool, then clean with lighter fluid on a Q-tip. Regular maintenance can prevent valve clogging issues from developing in the first place. Using highly refined butane from quality brands like Xikar or ST Dupont will significantly reduce impurities that cause valve clogging and internal corrosion during the refilling process.