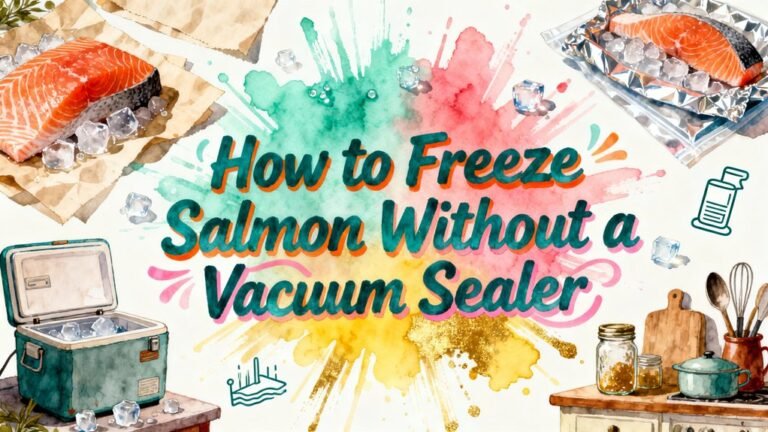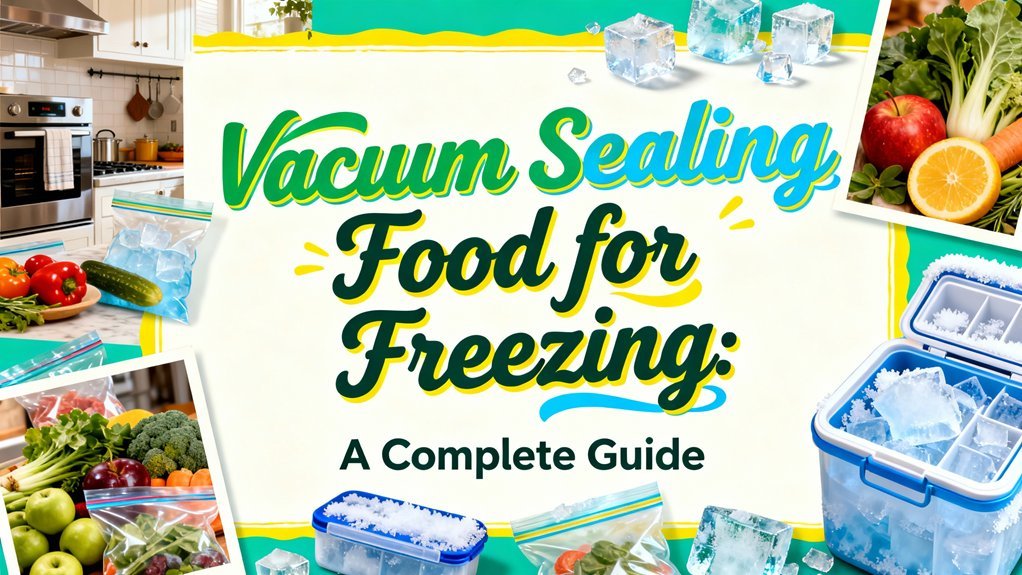
You’ll extend your frozen food’s shelf life up to three years by vacuum sealing, which prevents freezer burn and halts microbial growth through oxygen deprivation. Ideal candidates include proteins, blanched vegetables, and dairy products. Before sealing, you’ll need to chill foods to 70°F or below, pat-dry items to prevent seal failure, and leave one inch of headspace. Selecting the right sealer—measured by suction strength in inHg—and compatible bag types guarantees superior preservation. Understanding storage temperature limits, thawing methods, and troubleshooting techniques will reveal how to maximize your results.
Why Vacuum Sealing Extends Freezer Life
Oxygen deprivation—that’s the foundation of vacuum sealing’s effectiveness. When you vacuum seal food, you’re removing the primary food source that aerobic bacteria and mold need to thrive. This oxygen efficiency dramatically slows microbial growth and spoilage reduction occurs naturally as oxidation halts.
You’re not just removing air; you’re stopping chemical reactions that deplete vitamins, minerals, and aromatic oils. The airtight environment you’ve created prevents freezer burn by blocking moisture evaporation and ice crystallization at the surface. High-performance machines are necessary for proper sealing to ensure maximum effectiveness in preventing bacterial contamination and maintaining food quality. This clean storage approach also prevents liquid leaks that can compromise other frozen items in your freezer. Proper labeling and storage duration guidelines help you track your frozen inventory and use items within their optimal freshness window.
The results speak for themselves. Beef and poultry you vacuum seal and freeze last up to three years—compared to months with conventional storage. You’ll preserve food three to five times longer than plastic bags or containers allow, maintaining original taste, texture, and nutritional integrity throughout extended storage periods. Different types of vacuum seal bags, including embossed and reusable options, provide versatility for various meat types and storage needs. Handheld models, countertop external sealers, and chamber vacuum sealers each offer distinct advantages depending on your storage volume and food preservation goals.
Which Foods Freeze Best With Vacuum Sealing
Not all foods respond equally to vacuum sealing and freezing—success depends on how well individual items tolerate the process. Your best proteins include beef, poultry, and fish, which retain juiciness and resist freezer burn when sealed properly. Ideal vegetables perform better after blanching or flash-freezing—green beans, berries, and root vegetables maintain texture and nutrients when you remove excess moisture first. Prepared meals like soups, casseroles, and cooked grains freeze reliably in vacuum-sealed portions, consolidating space while preventing odor transfer. Dairy products, particularly hard cheeses and butter, extend their freezer life considerably under vacuum. Breads, nuts, and seeds also benefit greatly, as oxygen exclusion slows oxidation and rancidity. Vacuum sealing preserves the flavor, texture, and nutritional value of foods while preventing bacterial growth that can compromise quality. Vacuum sealing is especially valuable for managing bulk food purchases and expensive ingredients, ensuring high quality preservation for extended periods. Properly vacuum sealed whole cuts of beef, pork, or lamb maintain best quality for 2 to 3 years in the freezer, while ground meats last around one year. For optimal results with tougher cuts like chuck roast, consider pairing vacuum sealing with low-temperature cooking methods to achieve maximum tenderness after thawing. Frozen herbs such as basil, cilantro, and parsley can be preserved by freezing leaves whole or chopped for convenient additions to dishes throughout the year. Pantry staples like cereal, rice, and pasta also benefit from vacuum sealing, which protects against pests and spoilage while maintaining freshness and aroma. Cooling food before sealing and drying the edges of packages ensures a proper seal that maximizes preservation benefits. Prioritizing these categories maximizes your freezer investment and meal preparation efficiency.
Essential Preparation Steps Before Freezing
Proper preparation determines whether your vacuum-sealed foods maintain quality through long-term freezer storage or deteriorate despite sealing.
You’ll need to master two critical phases: temperature control and moisture management. For pre-cooling methods, chill hot or warm foods to ≤70°F within two hours and ≤41°F within six hours before sealing. Use ice baths, blast chillers, or shallow pans to accelerate cooling for dense batches. Blanching vegetables halts enzyme activity, which is essential for preserving their flavor, color, and texture during extended freezer storage. Consider adding oxygen absorbers alongside vacuum sealing to minimize freezer burn risk, as vacuum sealers typically remove only 70-80% of air rather than 100%. Vacuum sealing also preserves flavors, nutrients, colors, and textures better than traditional storage methods. Like cast iron cookware, vacuum-sealed containers benefit from consistent temperature maintenance to ensure optimal preservation results.
Moisture management prevents seal failure and freezer burn. Pat-dry meats, fish, and produce to remove surface moisture. Drain marinades and dressings from solids, or freeze liquids separately. For items producing juices during freeze-thaw cycles, pre-portion on trays and pre-freeze to lock shape. Vacuum sealing significantly reduces waste by enabling efficient portioning of meals into grab-and-go servings. While vacuum sealing without blanching still preserves foods well for about one year if frozen properly, blanching extends shelf life] up to 2–3 years and offers additional protection. Frozen vacuum-sealed foods typically last 2 to 3 years on average when proper temperature control is maintained at 0°F.
Maintain a dry sealing channel and leave approximately one inch of headspace. These methodical steps safeguard seal integrity and food quality throughout frozen storage.
Choosing the Right Sealer and Bags
Evaluate sealer features based on your needs. External sealers suit dry foods affordably, while chamber models handle liquids and deliver stronger, more consistent vacuums—critical for raw meats. Consider vacuum strength (measured in inHg), seal bar length, and pump type; oil-lubricated pumps offer superior longevity for heavy use. Chamber vacuum sealers like the JVR Vac100 are notably quieter than traditional external sealers, making them more suitable for frequent household use. Top performers like the Nesco Deluxe VS-12 achieve suction power of 21.0 inHg, significantly outperforming models with lower vacuum strength for comprehensive food preservation. When comparing options, look for models that offer built-in bag cutters and accessory ports to maximize versatility for different food preservation tasks. Vacuum sealers vary significantly in their ability to handle different food types, with some models excelling at preserving dry goods while others specialize in moisture-rich items. Both chamber and external suction models can be optimized for sous vide applications when you understand the specific seal strength requirements for water bath cooking. Hand held vacuum sealers provide a space-saving alternative for those with limited countertop space or occasional sealing needs.
Match bag types to your sealer. Multi-layer barrier bags with nylon/PE or EVOH laminates provide ideal oxygen and moisture resistance. Textured bags work with external sealers; chamber sealers require smooth bags for consistent seals. Heat-sealable rolls minimize waste through custom sizing. For sous-vide applications, verify bags tolerate high-temperature immersion without leaching. For long-term storage and emergency preparedness, consider vacuum sealing mylar bags as they provide superior protection from moisture, oxygen, and light exposure compared to standard storage methods.
Food Safety and Storage Time Limits
While vacuum sealing dramatically slows food deterioration by removing oxygen, you must understand that it doesn’t eliminate pathogens capable of growing without air—notably *Clostridium botulinum*, which produces deadly toxins in anaerobic conditions. Freezing at 0°F (-18°C) or below halts microbial growth entirely, making storage time effectively indefinite for food safety purposes. However, published storage limits address quality loss, not safety. Vacuum-sealed frozen beef and poultry typically maintain quality for 1–3 years; fish keeps 6–12 months. Ground meats last 3–12 months. These timeframes reflect manufacturer guidance on flavor and texture retention. Proper maintenance of seasoning and protection against degradation ensures optimal food quality over extended storage periods. When vacuum sealing liquids, pre-freezing the liquid first prevents the vacuum sealer from sucking up the liquid along with the air, which can create a mess and compromise the seal. Improper storage conditions can lead to freezer burn, which causes dehydration and quality degradation even in frozen foods. Similar to how glass-lid Dutch ovens allow monitoring of food without releasing heat or moisture, vacuum sealing preserves the internal environment of frozen foods to maintain quality integrity. Beyond freezer burn concerns, maintaining proper food handling practices such as clean utensils and hand washing before sealing is essential to prevent contamination before the anaerobic environment is created. For refrigerated vacuum-sealed items, maintain conservative limits: raw meat 1–2 days, commercial deli packs up to 2 weeks. Always label packages with pack dates and maintain strict temperature control. When thawing and cooking vacuum-sealed poultry, verify the meat is white or light tan all the way through with no pink areas remaining to ensure complete cooking and food safety. Digital Food Safety Management Systems can provide automated alerts for important food safety practices and help monitor compliance records across your storage operations.
Proper Thawing and Handling Techniques
Once you’ve selected your vacuum-sealed proteins and stored them within recommended timeframes, you’ll need to thaw them safely to preserve both quality and food safety.
You’ll find three primary thawing methods. Refrigerator thawing remains the gold standard—it maintains temperatures below 40°F and requires 12–24 hours for thick cuts. Cold water thawing offers speed; you’ll submerge your sealed package and change water every 30 minutes, achieving results in 15–40 minutes per pound. Sous vide thawing provides precise temperature control, ensuring even defrost without moisture loss. Similar to how cast iron skillets distribute heat evenly during stovetop cooking, proper thawing equipment ensures consistent results. A tight-fitting lid can also help maintain consistent temperatures during the thawing process.
For safe handling, avoid room temperature thawing entirely. Keep fish vacuum seals open before thawing to prevent botulism. Use leak-proof bags for cold water methods. Vacuum-sealed steaks thaw more effectively due to maximized temperature distribution throughout the package. True vacuum sealing with dedicated vacuum sealers creates secure air-tight seals that enhance the thawing process and food preservation. When storing whole poultry, ensure your vacuum sealer has powerful suction capabilities to create properly sealed bags that maintain freshness throughout the freezing period. Always check for spoilage signs such as a slimy surface or rancid smell before cooking your thawed proteins. Proper thawing methods preserve moisture and maintain the tenderness and juiciness of your meat. Cook immediately after thawing to maintain safety standards. Plan ahead—most cuts require one to two days for proper thawing.
Common Issues and How to Fix Them
Even with proper technique, vacuum-sealing systems can develop problems that compromise food preservation. Seal troubleshooting begins by examining your sealing area for moisture, grease, or food particles—clean and dry it thoroughly before each use. Inspect heat-sealing elements and Teflon tape regularly; replace worn components per manufacturer specifications. Verify you’re using compatible, recommended bag thickness to guarantee proper contact.
For vacuum maintenance, check chamber gaskets for cracks or degradation and service your pump if it’s not achieving adequate vacuum levels. Test with known-good bags to isolate equipment issues. If your sealer stops working unexpectedly, allow 20-30 minutes for the machine to cool down before attempting to use it again. Address bag punctures by protecting sharp items with parchment or foam. Leave sufficient headspace—typically four inches—to prevent deformation and air leakage. Pre-freeze moist foods to prevent liquid from compromising seals during the vacuum cycle. Recommended maintenance every 6 months can catch smaller repairs early and prevent costly breakdowns.
Maximizing Results for Long-Term Storage
To maximize the shelf life of your vacuum-sealed frozen foods, you’ll need to master three fundamental strategies: selecting appropriate materials, preparing products correctly, and controlling the storage environment. Start by using heavy-gauge, multi-layer films with superior oxygen and moisture barriers. Pre-freeze moist items and pat-dry meats to minimize ice crystals. For fatty foods, employ double sealing and oxygen absorbers to prevent lipid oxidation. Maintain consistent freezer temperatures at 0°F or below, as lower temperatures slow biochemical degradation. Implement freezer organization by arranging packages flat and applying first-in, first-out rotation. Monitor moisture control through appropriate desiccants for hygroscopic foods. Periodically inspect packages for inflation indicating oxygen ingress, ensuring ideal preservation throughout extended storage. Proper labeling with contents and dates helps you track storage duration and rotate inventory efficiently. Like Dutch ovens that transition seamlessly between stovetop and oven cooking, vacuum-sealed packages maintain their integrity across varying temperature environments. Consider that proper searing and caramelization techniques during initial food preparation can enhance the quality of proteins before freezing. Using BPA-free vacuum seal bags ensures that no harmful chemicals leach into your food during the freezing process.