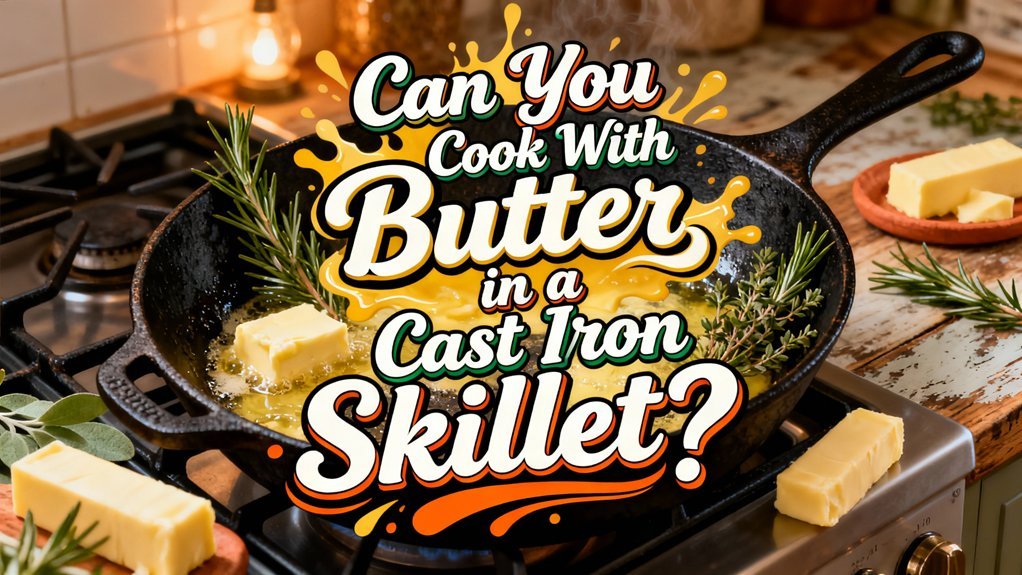
You can cook with butter in cast iron, but you’ll need to manage its low smoke point of 350-375°F carefully. Butter’s water content evaporates at 212°F, while milk solids burn above 250°F, producing acrid fumes. Cast iron’s excellent heat retention accelerates butter breakdown, threatening your skillet’s seasoning. Combine butter with higher smoke-point oils, control temperatures meticulously, and use wooden utensils to prevent over-charring. Understanding fat performance and proper technique will transform your cast iron cooking experience.
Understanding Butter’s Smoke Point in Cast Iron
Why does butter smoke so readily in your cast iron skillet? Butter’s smoke point ranges from 350-375°F, considerably lower than oils like canola at 400°F or grapeseed at 425°F. This limitation stems from milk solids and water content within butter varieties. When you heat butter in cast iron, water evaporates first around 212°F, creating steam you might mistake for smoke. Above 250°F, milk solids begin burning, producing acrid fumes and off-flavors. Cast iron’s heat retention accelerates this breakdown past the smoke point. To prevent butter from burning, combining butter with higher smoke point oils provides a practical solution that allows you to enjoy butter’s flavor while maintaining better temperature stability. Extra virgin olive oil should be avoided for cast iron seasoning since low smoke points lead to breakdown at the necessary temperatures required for proper seasoning. Recognizing smoke signals—visible smoke, bitter odors, and blackened residue—helps you identify when you’ve exceeded butter’s thermal tolerance, preventing seasoning degradation and undesirable cooking results. Achieving the perfect crust on steaks requires understanding how different fats perform at various temperatures in cast iron. For campfire cooking applications like Dutch oven desserts, using clarified butter or butter combined with oil ensures better heat stability for consistent baking results, much like how preheating cast iron skilllets creates superior results when baking cornbread.
Whole Butter vs. Clarified Butter and Ghee
Since whole butter’s low smoke point limits its cast iron cooking applications, you’ll want to contemplate clarified butter and ghee as superior alternatives. These butter types deliver distinct cooking benefits for cast iron preparation.
Clarified butter removes water and milk solids, achieving a higher smoke point that supports frying and sautéing without burning. Ghee extends this advantage further through prolonged heating, developing a nutty flavor while reaching an even higher smoke point than clarified butter. Using a heavy skillet or light-colored saucepan ensures even heat distribution throughout the clarification process.
If you’re lactose-sensitive, ghee eliminates both lactose and casein entirely, whereas whole butter retains these compounds. Both clarified butter and ghee boast extended shelf life compared to whole butter, allowing room-temperature storage after cooling. To verify that your ghee or clarified butter has reached the proper internal temperature for optimal clarification, monitor the heating process carefully. After cooking with ghee or clarified butter, thoroughly dry your cast iron skillet and apply a thin layer of oil to maintain its seasoning. For additional seasoning options, consider that fat polymerization creates a durable non-stick surface on cast iron when properly applied and heated. Just as steam development is critical in sourdough baking, moisture management is equally important when maintaining cast iron cookware. Ghee’s higher concentration of short-chain saturated fats contributes to its enhanced stability during storage and cooking. Proper storage of your cooking fats in food preservation containers will extend their shelf life and keep them fresh for future use.
For high-heat cast iron cooking, you’ll find ghee and clarified butter substantially outperform whole butter’s thermal limitations.
How Cast Iron Heat Retention Affects Butter
Cast iron’s exceptional heat retention fundamentally transforms how butter behaves during cooking, creating both opportunities and challenges you’ll need to manage. When you add butter to a preheated skillet, it melts rapidly and begins butter foaming as water vaporizes—a phase that persists longer than in lighter cookware due to sustained high temperatures. This prolonged heat exposure accelerates butter browning through the Maillard reaction, darkening milk solids quickly and risking a burnt flavor if you’re not vigilant. The pan’s thermal inertia means even after you reduce burner heat, residual energy continues browning butter solids. Using wooden or silicone utensils while stirring can help you manage the browning process more effectively and prevent over-charring. You’ll achieve excellent crust development for searing, but uneven browning can occur if localized hot spots exceed butter’s smoke point, similar to how infrared thermometers can help identify temperature variations across cooking surfaces. To avoid damaging the skillet’s seasoning, remember that acidic foods can harm the protective layer built up over time. Like Dutch ovens, cast iron’s durability and heat retention make it an investment that rewards proper maintenance. A fitted lid retains moisture and heat during cooking, allowing you to braise or steam butter-based dishes more effectively. The natural seasoning development that cast iron undergoes over time actually enhances its non-stick properties, making it increasingly superior for butter cooking as you use it more. Strategic temperature management—using medium heat, preheating minimally, or adding oil first—helps you harness cast iron’s benefits while preventing butter degradation, much like how proper container selection for heat retention optimizes cooking outcomes in precision cooking methods.
Protecting Your Pan’s Seasoning When Cooking With Butter
Your cast iron’s seasoning layer—built painstakingly through years of oil polymerization—faces distinct challenges when you cook with butter, since its water content and low smoke point create both mechanical and chemical threats to that protective finish. Successful butter integration requires deliberate seasoning management. Cook at moderate temperatures to prevent smoking and burnt residue accumulation. After cooking, allow the pan to cool slightly, then deglaze with warm water and a soft brush rather than aggressive scrubbing. Use nonmetal tools to avoid abrasion. Dry thoroughly and apply a thin high smoke-point oil coating while warm to reseal the seasoning barrier. Regular use helps maintain your skillet’s natural nonstick seasoning over time. Like cast iron Dutch ovens, your skillet benefits from the heat retention properties that allow it to move seamlessly between stovetop and oven applications. For optimal protection, consider using flaxseed oil specifically during this maintenance step, as its superior polymerization properties will reinforce your seasoning more effectively than lower-quality alternatives. The chainmail scrubber provides an effective alternative to steel wool for removing any stubborn butter residue without compromising your seasoning. Never soak your pan; prolonged moisture exposure accelerates rust formation where seasoning is thin or compromised.
Best Foods to Cook With Butter in Cast Iron
Not all foods benefit equally from butter cooking in cast iron, and understanding which dishes can tolerate butter’s limitations while gaining its flavor advantages will help you maximize both taste and pan longevity.
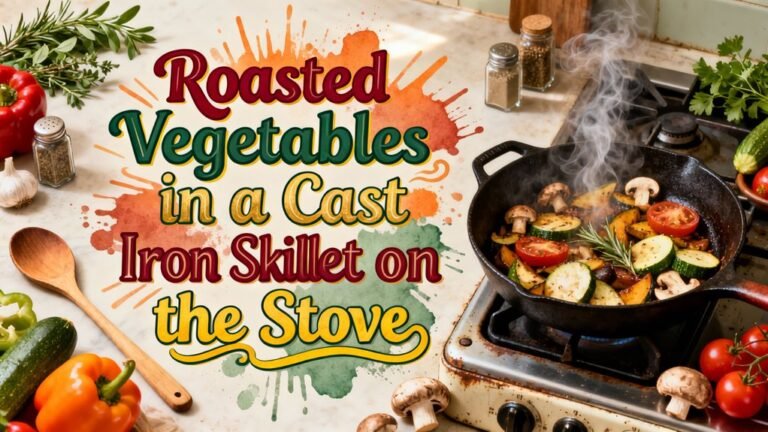
The most popular butter dishes for cast iron include seared proteins like steaks and pork chops, where you finish with butter after the initial oil sear. Breakfast items—eggs, pancakes, and French toast—excel with moderate butter application at lower temperatures. Skillet breads such as cornbread and biscuits gain superior crust development when butter’s brushed on strategically. Skillet desserts like fruit crisps benefit from dotted butter that caramelizes fruit juices against the hot surface. Continuous cooking with butter-based recipes helps maintain and enhance your cast iron’s seasoning over time. The high-heat capabilities of cast iron make it particularly suited for searing proteins that benefit from butter finishing techniques.
These applications showcase butter flavor enhancement without prolonged high-heat exposure that compromises seasoning. Timing your butter application guarantees prime results across all these dishes.
Foods to Avoid Cooking With Butter in Cast Iron
While butter enhances many cast iron dishes, several food categories can damage your pan’s seasoning or compromise both flavor and longevity. High-oxalate foods like spinach and tofu degrade seasoning through chemical reactions. Acidic ingredients—tomatoes, citrus, vinegar-based sauces—erode the protective layer, especially during prolonged cooking. Fish deposits oils that create permanent flavors, contaminating future food pairings. Wet cooking methods like braises and stews trap moisture, accelerating rust formation despite drying efforts. Unlike braising with root vegetables, which requires careful cast iron management, acidic braises are particularly problematic. Eggs and sticky proteins bond to surfaces, requiring aggressive scrubbing that strips seasoning. Storing acidic foods in cast iron can promote moisture, leading to rust and further deterioration. Regular maintenance of seasoning is essential to restore protective layers damaged by problematic food combinations.
When butter pairing challenges arise, consider butter alternatives or adjust cooking techniques. Use shorter cooking durations with acidic foods, avoid extended braises, and select gentler proteins. Strategic food pairings and method modifications preserve your cast iron’s integrity while maintaining excellent results.
Temperature Control and Cooking Techniques
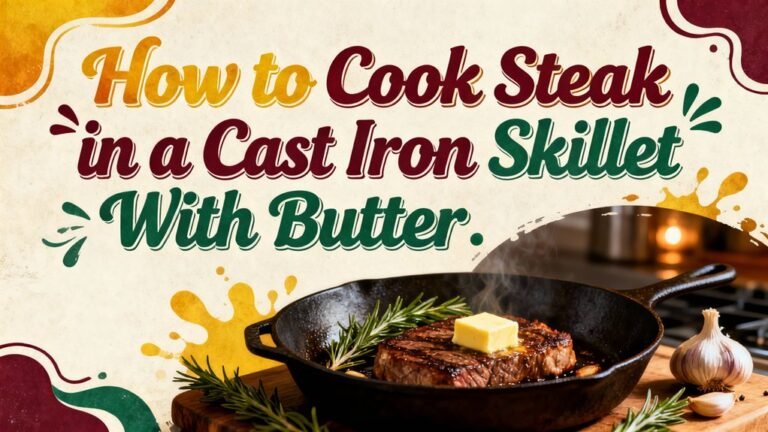
Mastering cast iron cooking with butter hinges on precise temperature management and strategic technique sequencing. You’ll preheat your skillet 5–7 minutes over medium-high heat, targeting 400–500°F for ideal searing. Start with high-smoke-point oil to establish your crust, then reduce heat before introducing butter for basting—this timing maximizes cooking efficiency while preventing milk solids from burning.
You’ll monitor internal temperatures with a probe thermometer, adding butter when your protein reaches 10–15°F below target. This temperature regulation allows residual heat to complete cooking while butter infuses flavor during rest. For thick cuts, consider searing both sides, then finishing in the oven with a final butter baste. The frequent turning method keeps the interior juicy and tender while building an even crust across the protein’s surface. Resting the steak for 10-15 minutes after cooking allows the juices to redistribute throughout the meat, ensuring maximum tenderness and flavor retention. Cast iron’s ability to retain and evenly distribute heat ensures consistent temperatures throughout the cooking process, preventing temperature drops that can compromise your sear. A lighter interior finish on your skillet also helps you monitor the browning progress and butter basting more effectively. Tilt your pan and spoon melted butter methodically over protein, ensuring even distribution without pooling. To maintain your cast iron’s cooking surface long-term, avoid prolonged boiling or vigorous water use, which can damage the pan’s seasoning layer, and apply multiple rounds of seasoning after cleaning to prevent rust and preserve the non-stick properties that make butter cooking so effective. Always hand wash with mild soap and soft sponges immediately after cooking to protect your cast iron’s enamel and cooking surface.
Health Considerations and Food Safety
Beyond perfecting your heat management and basting technique, you’ll want to contemplate how cooking with butter in cast iron affects your health and food safety. Butter’s low smoke point (~150–177°C) generates oxidized lipids and Maillard products when overheated, potentially contributing to oxidative stress. You’ll minimize these health impacts by using clarified butter or maintaining moderate temperatures.
Iron leaching from cast iron remains minimal with butter alone since it’s low in acidity. However, if you’re susceptible to hemochromatosis or iron overload, even modest cookware-derived iron accumulates over time and warrants clinical assessment before frequent use. Cooking acidic foods in cast iron skillets, by contrast, significantly boosts dietary iron intake, which is especially beneficial for populations at risk of deficiency. Proper maintenance through thorough drying and seasoning helps preserve the cookware’s effectiveness over time, and using freezer-quality storage practices ensures your prepared meals remain safely sealed and fresh.
Foodborne risks emerge when you leave butter-coated cast iron cooling at room temperature. Residual fats and food particles support microbial growth. Always clean and dry your skillet promptly to prevent contamination, as proper pan cleaning and maintenance is essential for food safety, similar to how maintaining cookware in other cooking methods ensures optimal results.
Cleaning and Maintaining Your Cast Iron After Butter Cooking
Since butter leaves behind residual fats that’ll coagulate as your skillet cools, you’ll need to act quickly during the cleaning window while the pan’s still warm. Wipe excess butter residue immediately with a cloth before it hardens, then scrape remaining buildup with a spatula or bench scraper.
Rinse thoroughly with hot water using a non-abrasive scrubber. For stubborn butter residue, simmer water on medium-high heat for 3-5 minutes, then scrub with chainmail or a wooden spatula. Kosher salt works effectively as an abrasive cleanser when paired with a scrubby sponge. Never introduce cold water into a hot pan to prevent cracks. Proper seasoning maintains your pan’s non-stick properties and prevents rust formation.
Once cleaned, dry your skillet completely with paper towels and heat it on the stovetop to evaporate all moisture. This pan care prevents rust formation. Finally, apply a thin layer of neutral oil, wiping away excess for proper seasoning maintenance. To ensure effective seasoning, the oil must be heated to its smoke point for proper polymerization and bonding to the pan’s surface. A light coat of oil applied after cleaning ensures your cast iron remains in optimal condition for future use and maintains its seasoning and rust prevention. For additional protection against rust, you can treat any surface rust that appears with vinegar and scrubbing before re-cleaning and seasoning. Using tools with even heat distribution capabilities helps prevent hot spots that can damage your seasoning layer during the heating process.
Building Durable Seasoning for Butter-Based Cooking
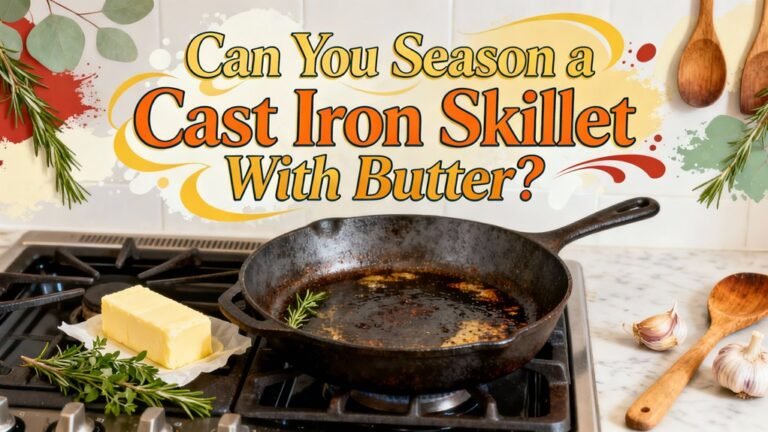
While butter’s low smoke point of 350°F (177°C) makes it unsuitable for initial cast iron seasoning, you can still build a durable seasoning layer specifically optimized for butter-based cooking through strategic application and repeated use. Start by preheating your oven to 350°F and applying an exceptionally thin butter application across your skillet’s surface. Bake it upside down for one hour to facilitate polymerization technique, allowing the fat molecules to bond and carbonize. After cooling, repeat this process multiple times to establish multiple hardened layers. Between uses, reapply thin butter coatings to reinforce carbon particle buildup incrementally. To maintain your seasoning’s integrity, wipe the pan with a paper towel before storage and avoid excess fat accumulation. Once a good seasoning layer is established, regular seasoning is not required and cooking with fats naturally adds an additional protective layer over time. Avoid acidic foods that compromise your seasoning integrity. The natural non-stick surface improves as you continue to cook with your skillet over time. Proper cleaning avoiding harsh abrasives helps preserve your seasoning for long-term use, and storing your skillet with separators to allow airflow prevents moisture damage and rust formation. This methodical approach creates a heat-resistant foundation suitable for butter cooking.