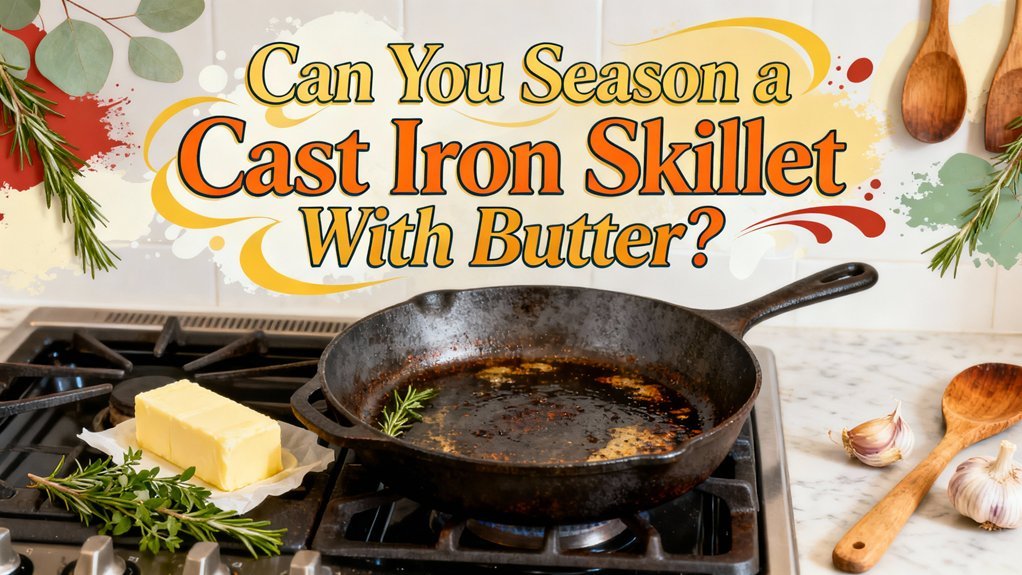
You shouldn’t season cast iron with butter. Its 15-18% water content causes steaming that prevents even polymer layer formation. Butter’s 300-350°F smoke point falls below the 400°F required for effective polymerization, and its milk solids burn at lower temperatures, leaving charred residues. You’ll need oils with higher smoke points—like vegetable, canola, or avocado oil—to build a durable, non-stick coating. Understanding proper oil selection and application techniques will transform your seasoning results.
Why Butter Is Not Ideal for Cast Iron Seasoning
While butter seems like a natural choice for seasoning cast iron, its butter composition fundamentally undermines the polymerization process that creates a durable nonstick surface. Butter contains roughly 80% fat, but also 15–18% water and milk solids like casein and whey proteins. These components create significant obstacles. The water content promotes steaming that prevents even polymer layer formation, while milk solids denature at lower temperatures than pure fats, causing burning during heating. Butter’s smoke point around 300–350°F falls well below the 400°F+ temperatures necessary for stable seasoning. When you heat butter beyond this threshold, the milk solids char into sticky, carbonized residues that flake rather than bond durably. In contrast, oils with higher smoke points like soybean oil polymerize evenly at the elevated temperatures required for cast iron seasoning. Ghee, with its higher smoke point of 450-485°F, provides the sustained heat necessary for effective polymerization and creates a strong, durable polymer layer. Oils such as avocado oil and refined safflower oil exceed the smoke point thresholds needed for proper seasoning development. Achieving the proper internal temperature of 165°F during cooking demonstrates the importance of precise heat management, similar to how cast iron seasoning requires exact temperature control. To maintain your skillet’s longevity, regular maintenance and proper storage with separators to allow airflow helps preserve the seasoning you’ve carefully built. When using cast iron on different cooktops, care must be taken to prevent surface damage. Multiple rounds of oiling and baking build up the most durable seasoning layer over time. This results in blotchy, soft coatings that require frequent re-seasoning.
Understanding Smoke Points and Oil Selection
The smoke point—the temperature at which an oil begins breaking down and producing visible vapor—fundamentally determines whether you’ll create a durable seasoning layer or a flaking, burnt residue. When you exceed an oil’s smoke point during seasoning, thermal decomposition occurs, releasing free radicals that compromise the polymerization process essential for seasoning durability.
You’ll want oils with higher smoke points and greater oil stability. Refined avocado oil (520°F) and refined sunflower oil (440-450°F) outperform butter’s 302°F unclarified state. These refined options contain fewer free fatty acids and impurities that destabilize the seasoning layer. Peanut oil, with its high smoke point of around 450°F, also creates an effective non-stick seasoning layer through polymerization. Multiple samples of oils should be tested to account for variance in smoke point measurements, which can fluctuate by ±70°F depending on the oil’s age and processing methods. Food particles and repeated heating can further decrease the smoke point, making it essential to use fresh oil for optimal seasoning results. Oils with higher levels of unsaturated fats tend to polymerize better, creating more durable seasoning layers that resist flaking over time.
Cast iron grill pans require the same careful oil selection during their seasoning process to maintain the non-stick surface that defines their performance. Understanding smoke point chemistry guarantees you select oils that withstand cast iron’s high heat without breaking down. This selection directly impacts your seasoning’s longevity and performance.
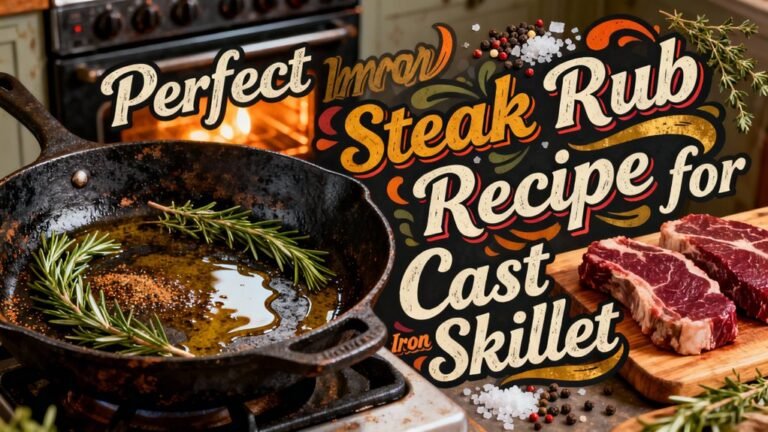
The Best Oils for Seasoning Your Skillet
Now that you understand smoke point chemistry, selecting the right oil becomes straightforward—you’ll want to choose from options that manufacturers and seasoning experts have tested and verified for cast iron applications. Vegetable oil benefits include affordability, availability, and a smoke point supporting polymerization during heating. Lodge recommends it for building seasoning layers during regular cooking. Canola oil alternatives offer comparable performance, with Lodge offering dedicated seasoning spray formulations. For superior initial foundations, consider grapeseed oil‘s elevated smoke point or avocado oil‘s sleek finish properties. Flaxseed oil, despite its lower 225°F smoke point, creates durable seasoning through rapid polymerization when properly heated. However, rancid oils such as lard and vegetable oil that have been stored improperly should be avoided during the seasoning process. Each option provides reliable polymerization; your selection depends on accessibility, budget, and intended cooking applications. No synthetic chemicals are added to the oils used by manufacturers for seasoning cast iron cookware.
Proper Preparation Before Seasoning
Before you apply any oil to your cast iron, proper preparation guarantees your seasoning layers bond effectively to the iron surface. Start with thorough skillet cleaning using coarse salt and a kitchen towel, applying firm circular pressure to remove debris and stuck-on food. Heat your skillet on high to evaporate all moisture, then place it upside down in a preheated 200-degree oven for 15-20 minutes. This heating expands the iron’s pores, optimizing fat adhesion for polymerization. Ascertain complete drying of interior, handle, and exterior surfaces to prevent rust formation. Finally, apply a liberal fat layer and wipe away excess with lint-free cloth until you achieve a thin, smoke-free coating. For optimal results, Crisco shortening has proven superior to butter due to its higher smoke point and better polymerization properties when seasoning cast iron. Remember that oils or fats convert from liquid to hardened surface when heated through the seasoning process, creating the durable, non-stick layer that improves with each use. Using oils with high smoke points like avocado and grapeseed oil creates a more durable seasoning that resists degradation compared to alternatives with lower heat tolerance. Fats with lower smoke points may degrade faster under high heat, which is why smoke point matters significantly when choosing your seasoning fat. After seasoning, proper storage in a dry place is essential to maintain the cast iron’s longevity and performance. Without proper seasoning maintenance, the protective seasoning layer can become damaged, leading to rust development and degraded pan performance. This meticulous preparation maximizes seasoning effectiveness and rust prevention.
Applying Oil Correctly for Optimal Results
Selecting an oil with a high smoke point—such as vegetable, canola, or ideally food-grade flaxseed oil—prevents thermal breakdown during polymerization and guarantees proper bonding to the iron surface. During oil application, you’ll achieve excellent results by distributing thin, uniform layers across the entire skillet using a paper towel or cloth. Excess oil sabotages your seasoning methods by creating sticky residue rather than durable polymer coatings. Wipe thoroughly to eliminate pooling, ensuring only a minimal film remains. Heat the oil above its smoke point to initiate cross-linking reactions—visible smoking confirms proper polymerization has begun. The polymerization process typically requires 15-20 minutes of sustained heat to allow the oil to fully penetrate and create a durable non-stick layer. After cooling naturally, wipe away residual oil, leaving behind a hard, non-stick polymer layer that strengthens with repeated seasoning cycles. For optimal durability, aim to apply at least six coats to build a robust seasoning foundation. Oils and fats with high smoke points are essential because they withstand higher temperatures without breaking down, unlike butter which burns at around 350 degrees Fahrenheit. This methodical approach to seasoning transforms simple cast iron into extraordinary kitchen tools capable of delivering consistent, delicious results across countless recipes and cooking scenarios. Well-seasoned cast iron Dutch ovens are particularly valuable for cast iron Dutch oven cooking, as they provide superior heat retention for outdoor desserts and campfire recipes. To maintain your seasoning investment, thoroughly dry the skillet after each use before storing. Avoid abrasive cleaning materials that may damage the seasoned surface and compromise the protective coating you’ve worked to build.
Heating Techniques for Durable Seasoning
Achieving a genuinely durable seasoning layer hinges on heating your skillet above the oil’s smoke point—the temperature at which polymerization begins rather than mere surface evaporation. You’ll want to aim roughly 25°F above your oil’s smoke point to compensate for oven variance and guarantee proper cross-linking.
Your heating methods matter considerably. Oven baking delivers even, controlled heat across all surfaces, promoting uniform polymer film formation. Most protocols employ multiple shorter cycles rather than single prolonged bakes; each thin layer adheres more robustly and resists flaking. The natural non-stick surface of cast iron improves with proper seasoning over time. Butter’s low smoke point makes it unsuitable for achieving the high temperatures necessary for effective seasoning polymerization. Consider using high-heat oils like coconut, grapeseed, or vegetable oil] instead to ensure proper seasoning effectiveness.
Temperature calibration is critical. Start with a low preheat (200–250°F for 10–20 minutes) to remove moisture, then progress to your primary cure temperature (350–450°F) for 15–120 minutes per layer. This staged approach maximizes bonding durability while minimizing decomposition risks. Beef tallow is favored for being natural and heat-stable, making it a safer and more effective option compared to seed or vegetable-based oils. The polymerized oil layer that forms through proper heating creates a protective barrier that prevents rusting and enhances the skillet’s non-stick properties. After seasoning is complete, apply a thin layer of oil to the cooking surface to maintain the seasoning and prevent rust. For routine maintenance between seasoning cycles, you can use kosher salt as a gentle abrasive to remove food particles and impurities from the cooking surface.
Common Mistakes to Avoid During the Process
The path to durable seasoning is riddled with missteps that undermine polymerization chemistry and compromise your skillet’s performance. You’ll encounter seasoning failure when you apply excessive oil, which prevents proper molecular cross-linking and creates gummy residue instead of hardened layers. Conversely, insufficient oil leaves underseasoned areas with poor non-stick properties. Your wiping technique matters critically—you must remove excess oil after application to enable even polymerization during baking. Inadequate cleaning preparation compounds these issues; factory residue interferes with oil adhesion, sabotaging your base layer. Additionally, selecting low smoke-point oils like butter produces steam rather than stable polymerization, generating excessive gummy residue. Unsaturated fats bond more effectively during the seasoning process than saturated options, making oil selection fundamental to success. Similar to how slow-roasting methods preserve moisture in cooking applications, proper seasoning techniques preserve the integrity of your cast iron’s protective layers. For cast iron that has suffered rust damage, ensure thorough cleaning and surface restoration before beginning the seasoning process to prevent compromised adhesion. Just as allowing butane torch components to stabilize before igniting ensures optimal performance, you must allow proper resting time between seasoning layers for the best results. When using a fitted lid, you can trap heat and steam effectively during oven-based seasoning cycles. Ideal seasoning temperatures between 425-450°F prevent micro cracks that compromise durability. Each mistake cascades, requiring complete stripping and restarting. Master precise thin applications, thorough wiping, high smoke-point oils, and meticulous cleaning to achieve durable seasoning.