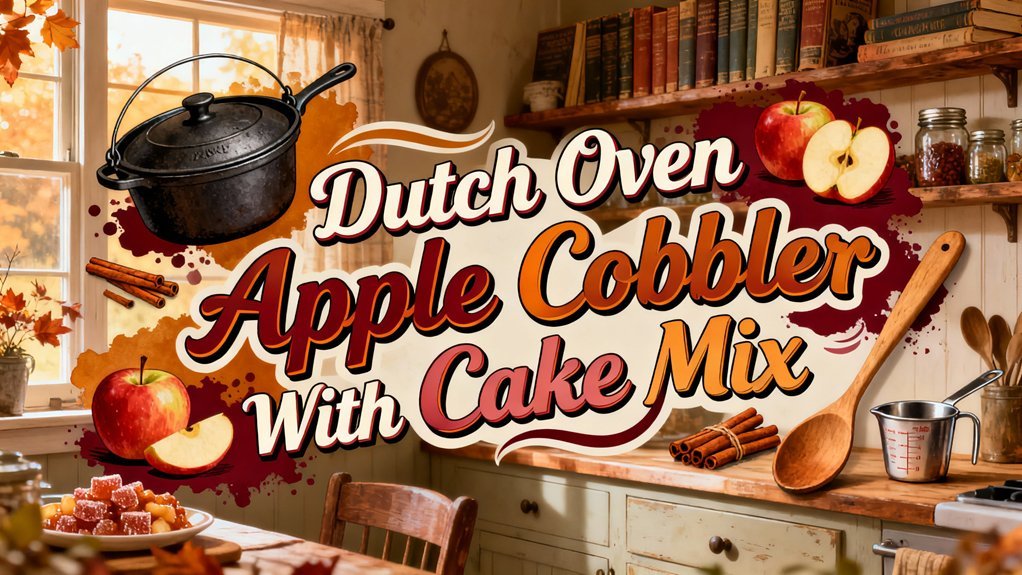
You’ll transform a boxed cake mix and fresh Granny Smith apples into an irresistible Dutch oven cobbler. Layer your fruit at the bottom—tossed with cinnamon and brown sugar—then sprinkle dry cake mix on top without stirring. Pour lemon-lime soda over the mix, dot with cold butter slices, and bake at 350°F for 35–45 minutes until golden and bubbling. Rotate every 10–15 minutes for even cooking. Serve warm with vanilla ice cream. Uncover expert techniques to perfect your cobbler’s texture and flavor.
Ingredients & Variations
Most Dutch oven apple cobblers start with a yellow or vanilla cake mix—typically a 15–16 oz box—as your base for the crispy, golden topping. You’ll layer fresh apples beneath, choosing varieties like Granny Smith for tartness or Honeycrisp for sweetness. If you prefer convenience, canned apple pie filling works equally well.
For your topping, you can experiment with cake mix types: spice cake intensifies warmth without extra seasoning, while angel food creates a lighter crumb. Avoid chocolate mixes—they’ll overpower delicate apple notes. To achieve the best results with cast iron Dutch ovens, mix your cake mix with lemon-lime soda to prevent dry pockets and create a cohesive batter.
Prepare your apple varieties by tossing sliced fruit with brown sugar, cinnamon, and a touch of lemon juice to balance flavors and control moisture. For optimal results, select apples that hold their shape during baking to maintain texture throughout the cooking process. When using cast iron Dutch ovens on glass top stoves, ensure your cookware has a smooth bottom to prevent surface damage. Similar to sous vide cooking, which requires BPA-free bags for food safety during precise temperature control, your Dutch oven should be lined with parchment or prepared properly to ensure food safety. Storing your prepared cobbler components in embossed vacuum bags can help preserve ingredients before cooking. The trapped steam inside your Dutch oven during baking helps develop a crispy, golden topping while keeping the apple filling moist and tender. Before baking, allow the Dutch oven to cool down briefly so the batter sets properly without the heat causing uneven cooking. Dot the cake mix topping generously with butter slices before baking in your Dutch oven until golden and bubbling at the edges.
Typical Ratios & Yields
Because you’re working with a confined Dutch oven space, getting your ingredient ratios right guarantees you’ll achieve that signature golden topping without a soggy base or dry filling. A standard 10-inch Dutch oven batch serves 8-10 people using two 21-ounce cans of pie filling paired with one 15.25-ounce cake mix box. You’ll pour 12 ounces of lemon-lime soda over the dry mix, then top everything with one stick of sliced cold butter. For fresh apple versions, four to five large Granny Smith apples balance one cake mix box, layered 1.5 to 2 inches deep. These ingredient proportions assure even moistening and consistent baking results without stirring. To maintain proper heat distribution, rotate the pot and lid every 10-15 minutes during the approximately one-hour cooking time. Since Dutch ovens are typically made of cast iron, gentle cleaning methods after baking will help preserve the seasoning and prevent rust. For an advanced finishing technique, consider using a precision heat source to caramelize the top layer after baking for enhanced color and texture. Tart apple varieties like Granny Smith are recommended because their tartness perfectly complements the sweetness of the boxed cake mix. You can also enhance your cobbler by serving it warm with vanilla ice cream or whipped cream, which pairs beautifully with the buttery topping. For larger batches, vacuum sealing individual portions after the cobbler cools allows you to extend freshness and simplify future reheating for grab-and-go servings. Doubling your recipe works perfectly for 12×18-inch pans when serving larger crowds.
Dutch Oven Cooking Techniques
Successful Dutch oven apple cobbler hinges on mastering heat control—you’ll need to balance top and bottom temperatures so your cake topping bakes golden while your fruit filling stays moist and your butter doesn’t scorch the pan bottom. Use the briquette-count method: place your oven’s diameter plus three coals on the lid for strong top heat, and diameter minus three underneath for moderate bottom heat, targeting approximately 350°F. When layering ingredients, sauté apples first to concentrate flavor and reduce excess moisture before adding cake mix. Position coals in concentric rings, adjusting spacing to control convective heat. Monitor fuel burn rate throughout baking, replenishing coals strategically to maintain steady temperatures without overheating. Preheat slowly using staged coal placement to prevent hot spots and guarantee even heat retention across your Dutch oven, which is essential for the self-basting cycle that enhances the cobbler’s flavor and texture. The Dutch oven’s thick walls and snug-fitting lid work together to maintain constant temperature throughout the baking process, ensuring your cobbler cooks evenly and achieves perfect results. This superior temperature stability makes Dutch ovens ideal for both stovetop and oven applications where even cooking is critical to developing rich, complex flavors in your dishes. The tight-fitting lid also supports moisture retention, which keeps your fruit filling tender and prevents the cake topping from drying out during the baking process. Like savory Dutch oven dishes that achieve internal temperature monitoring for food safety, desserts also benefit from precise thermal management to ensure proper doneness throughout. Dutch ovens’ deep sides prevent oil splatter and maintain consistent temperatures, making them reliable vessels for any recipe requiring precise heat control and even cooking results. For cast iron Dutch ovens, seasoning with high smoke point oils enhances the non-stick performance and ensures your cobbler releases cleanly from the pan.
Texture & Sensory Outcomes
The magic of Dutch oven apple cobbler lies in orchestrating how heat, moisture, and leavening agents interact to create distinct textural layers—a tender, moist cake topping that contrasts beautifully with bubbling, concentrated fruit filling beneath. You’ll achieve this texture contrast by rotating your Dutch oven during the 20-30 minute bake, ensuring even heat distribution that yields a golden-brown, crispy surface while keeping the interior soft. The sensory experience intensifies when melted butter forms a rich crust atop the cake mix, providing slight crunch against tender crumb. Pre-cooked apples prevent sogginess, while proper leavening activation delivers lift without heaviness. As your cobbler cools, these layers set cohesively, delivering the ultimate sensory satisfaction: crisp exterior, moist middle, concentrated filling. The tight-sealing lid retains steam during baking, which aids in self-basting and prevents the dessert from drying out while the interior condensation maintains optimal moisture levels throughout the cooking process. For camping applications, you can bake your cobbler over hot coals by positioning them strategically around the Dutch oven base and lid. Lodge Dutch Ovens feature durable cast iron construction that ensures even heat distribution across the entire surface, preventing hot spots that could burn the delicate cake topping. When using a Dutch oven on the Big Green Egg, temperature management becomes crucial to achieving the precise conditions needed for proper cake rise and filling concentration without overcooking either component.
Camping & Food-Safety Considerations
While Dutch oven apple cobbler’s warm, comforting appeal makes it an ideal camping dessert, you’ll need to prioritize food safety to confirm your outdoor meal stays delicious and risk-free. Pack shelf-stable cake mix, canned apples, and powdered milk to minimize spoilage risks. Store perishable butter in a well-insulated cooler with ice packs, draining excess water frequently. Maintain camping hygiene by washing your hands with soap before handling ingredients and cleaning utensils with boiled water afterward. Use separate utensils for raw and cooked components. When baking, verify your Dutch oven reaches the proper temperature for thorough cooking, similar to how searing develops a rich crust in traditional pot roast preparation. Keep your cobbler covered to prevent contamination, and consume it within two hours of cooking if temperatures exceed 90°F. Bacteria multiply rapidly in the danger zone between 40°F and 140°F, making temperature monitoring essential for safe consumption. Always pack disposable wipes and hand sanitizer to maintain proper hygiene throughout your camping trip. For a quicker dessert alternative, consider preparing simple indoor s’mores dip which requires minimal ingredients and can be made in a Dutch oven over your campfire in just 5-15 minutes. Remember that preventing air exposure] through proper covering and quick consumption helps slow bacterial growth and maintains food quality during your outdoor cooking experience, much like how airtight sealing extends shelf life in food storage. After your meal, clean your Dutch oven by rinsing with warm water and using a brush to remove food residue, then dry it thoroughly and coat it lightly with seasoning oil to prevent rust and maintain its cooking surface.
Recipe Adaptations & Troubleshooting
Because Dutch oven apple cobbler‘s success hinges on the interplay between your cake topping and fruit filling, you’ll want to master ingredient substitutions and troubleshooting techniques that allow you to adapt the recipe to your pantry, preferences, and camping conditions.
Your recipe adjustments start with cake-mix selection: yellow mix provides neutral sweetness, while spice cake eliminates extra seasoning needs. For component substitutions, swap fresh apples for canned pie filling to reduce added sugar, or use frozen fruit if you drain excess liquid beforehand. Adjust fat by increasing melted butter for a crispier crust or adding sour cream for tenderness. Before you begin cooking, ensure your 7 quart cast iron Dutch Oven has been properly seasoned according to manufacturer’s directions.
Address common issues strategically: prevent soggy bottoms by pre-thickening filling with cornstarch, combat dryness by covering with foil mid-bake, and facilitate even cooking by rotating your Dutch oven during baking. To maintain steady heat and prevent hotspots, rotate the pot and lid every 10 to 15 minutes throughout the cooking process.
Step-by-Step Preparation Instructions
Successfully assembling your Dutch oven apple cobbler depends on proper ingredient prep and strategic layering—so you’ll want to gather everything before you heat your oven or arrange your coals.
Start by greasing your Dutch oven thoroughly. Spread your fruit layer evenly on the bottom—either canned pie filling or fresh apples mixed with brown sugar, cinnamon, nutmeg, and salt. Sprinkle dry cake mix uniformly over the fruit without stirring; this prevents a dense bottom and lets the topping absorb juices while baking. The tight-fitting lid of your Dutch oven helps trap moisture during this critical baking phase. To achieve bakery-quality results, ensure your dough scoring and shaping techniques are applied even when working with cake mix toppings.
For your butter application, you can drizzle melted butter across the mix or dot cold slices on top. If using ingredient swaps like soda-based batter, spoon it over fruit first. Like savory Dutch oven dishes that develop rich, browned crusts, the butter layer in cobblers creates a golden, textured topping as it bakes. This heavy-duty cast-iron vessel’s superior heat retention and distribution ensures even browning throughout your cobbler. The Dutch oven’s ability to maintain even, dry heat is crucial for achieving consistent results across your entire dish.
Your cooking methods differ slightly: home ovens require 350°F for 35–45 minutes, while charcoal setups need 20–40 minutes with regular rotation and even coal distribution above and below.
Serving Suggestions & Pairings
Once your Dutch oven apple cobbler‘s baked to golden perfection and you’ve let it rest for 10 minutes, you’ll want to focus on how you’ll serve it. Your topping choices matter considerably. Vanilla ice cream‘s ideal for warm cobbler, while homemade whipped cream offers a lighter alternative. Both work beautifully served hot.
For drink recommendations, consider a lemon-lime soda like Sprite, which enhances the dessert’s flavor profile. An apple cider vinegar splash brightens the sweetness if you’re serving it plain. Just as a golden brown crust enhances the visual appeal of baked desserts, the presentation of your cobbler matters when serving to guests. The Dutch oven’s heat retention properties ensure your cobbler stays warm throughout the meal, making it ideal for extended gatherings. Similar to how cast iron grill pans with holes allow excess fat to drain during cooking, proper cookware design enhances the final result of your dish.
This versatile dish serves 6-8 people, making it perfect for cozy gatherings. Cast iron Dutch ovens provide excellent heat distribution that keeps your cobbler evenly warm from edge to center. To ensure food safety, use a food thermometer to verify your cobbler has reached the proper temperature before serving. You can enjoy leftovers for breakfast by pairing them with yogurt and fresh fruit, transforming your cobbler into something entirely new while maintaining that comforting, baked-from-scratch appeal. For optimal taste, consume leftovers within five days after baking to ensure the best flavor and texture.
Storage & Make-Ahead Tips
To maximize your Dutch oven apple cobbler’s shelf life, you’ll want to transfer it to a lidded container within two hours of baking while it’s still warm. Your storage containers should be airtight—the Dutch oven lid works perfectly for this purpose.
Refrigerate your cobbler for up to five days, though it’s best enjoyed within the first one to two days for ideal taste and texture. For freezer tips, you can freeze unbaked cobbler after adding cake mix for up to three months, then thaw completely in the refrigerator before baking. Alternatively, freeze fully cooled baked cobbler for the same duration. Note that freezing slightly alters apple texture and cake consistency. Vacuum sealing your cooled cobbler before freezing can help prevent freezer burn and extend its quality by removing oxygen that causes deterioration.
The tight-fitting lid of your Dutch oven is particularly effective at maintaining moisture retention during storage, preserving the cobbler’s texture over time. With proper care, your Lodge cast iron Dutch oven will provide reliable performance for generations of baking. If your Dutch oven has a wooden handle, remember to hand wash it rather than placing it in the dishwasher to preserve the handle’s integrity.