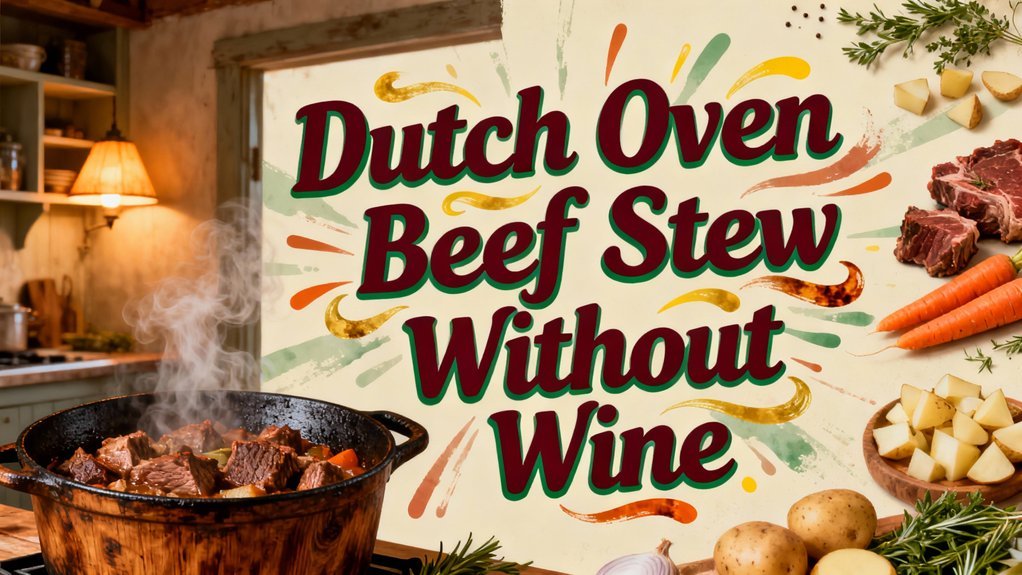
You’ll create a deeply flavorful Dutch oven beef stew without wine by browning beef cubes in flour, then building savory depth with beef stock, tomato paste, and umami boosters like soy sauce and Worcestershire sauce. Layer diced onions, garlic, and aromatics, then braise covered at 325–350°F for 1.5–2 hours before adding root vegetables. The result delivers rich, complex flavor that rivals wine-based versions. We’ve got specific techniques to maximize that caramelized depth.
Ingredients You’ll Need
Before you start cooking, you’ll want to gather your ingredients so everything’s ready when you need it. You’ll need 1.5–3 pounds of beef chuck cut into 1.5–2 inch pieces. For your aromatics base, gather one large diced onion, 2–6 minced garlic cloves, and 2–4 chopped celery stalks. Prepare root vegetables: 3–4 cups chopped carrots, 4 cups potato chunks, and optional parsnips or turnip for vegetable variations. You’ll need 3–5 cups beef stock, 2–3 tablespoons tomato paste, and ¼ cup flour for thickening. Season with salt, pepper, bay leaves, and fresh thyme. For ingredients substitutions, swap potatoes for parsnips, use cornstarch instead of flour, or omit celery if preferred. Well-trimmed beef from the chuck or round cut will yield the best results for this stew due to optimal flavor development. Firm Yukon gold potatoes hold up exceptionally well during the long cooking process, making them an ideal potato choice compared to other varieties that may break down too quickly.
Preparation Steps
To build a rich, flavorful stew, you’ll start by coating your beef cubes in a seasoned flour mixture that’ll create a golden crust during searing. Dry your meat thoroughly first, then whisk together flour, salt, and pepper in a large bowl. Toss the beef until evenly coated, reserving loose flour for later.
Next, heat oil in your Dutch oven over medium-high heat. Brown beef batches in a single layer without crowding, searing 2-5 minutes per side for a proper crust. Work in batches to maintain heat and prevent steaming. For the best results, use chuck roast cut into bite-sized pieces, as this ideal cut tenderizes beautifully during the extended cooking process.
Once seared, sauté onions and leeks until soft, then add garlic and tomato paste. Your vegetable selection builds the foundation. Deglaze with stock, scraping up browned bits. This deglazing technique helps develop the connective tissue breakdown that creates tender meat. Return beef to the pot, add broth and herbs, then simmer covered for 90 minutes before adding carrots and potatoes. To deepen the flavor profile, consider adding balsamic vinegar as an alternative deglazing liquid for added complexity. After this initial cooking period, you’ll add your chopped potatoes and carrots and continue baking for an additional hour until all vegetables are tender and the stew has developed its full depth of flavor. For optimal food safety, consider using a non-contact thermometer to verify the stew has reached a safe internal temperature throughout.
Stovetop Cooking Method
Once you’ve seared your beef and built your aromatic base, you’re ready to braise. Pour in 2–4 cups of broth to mostly submerge your meat, then bring the liquid to a gentle simmer—never a rolling boil, which toughens collagen. Keep the lid on to minimize evaporation, allowing 1.5–3 hours for complete collagen conversion to gelatin, depending on your meat selection and cube size. The Dutch oven’s exceptional heat retention properties ensure your braise maintains consistent temperature throughout this patient cooking process.
Add root vegetables 30–60 minutes before finishing so they reach fork-tenderness without disintegrating. Monitor liquid levels throughout simmering, topping up as needed to prevent scorching while maintaining flavor depth. For optimal results, use a heavy-bottomed Dutch oven to ensure even heat distribution throughout the cooking process. Consider using beef chuck roast as your primary meat cut for ideal tenderness and rich flavor development. Test beef with a fork; it’s ready when pieces yield easily. You can verify doneness by measuring the internal temperature with an infrared thermometer to confirm the beef has reached optimal tenderness. Remove the lid in the final minutes if you want a thicker sauce through reduction. Once your stew is complete, vacuum sealing individual portions allows you to preserve flavors and nutrients while extending freshness for convenient grab-and-go meals throughout the week. Chamber vacuum sealers can seal liquids without spillage, making them ideal for storing stew with its rich broth. For best long-term storage, use embossed vacuum sealer bags designed specifically for freezer storage to prevent freezer burn and maintain quality.
Oven Braising Technique
While stovetop braising demands constant attention, oven braising offers a more hands-off approach that delivers equally tender results. You’ll transfer your seared beef and flavor base to a covered Dutch oven, then let your oven temperature do the work. Set your oven to 325°F or 350°F depending on your braising timeline—325°F requires about 1 hour 45 minutes, while 350°F needs approximately 2 hours for the initial braise. Position your rack in the lower middle position for even heat distribution. The covered pot traps steam, creating a moist braising environment that breaks down connective tissue in the beef. Simple ingredients combined with time enhance flavor, allowing the braising process to develop deeper, more complex tastes throughout the cooking period. Dutch ovens are preferred for their heat retention and size, making them ideal for this cooking method. The Dutch oven’s thick cast iron and tight-fitting lid ensure even heat distribution throughout the braising process. This seamless transition from stovetop to oven is one of the key advantages that makes Dutch ovens such a versatile kitchen essential. For accurate temperature monitoring during braising, consider using a meat thermometer calibration method with boiling or ice point water to verify your oven’s internal temperature. For those using outdoor ceramic grills, a Dutch oven on a Big Green Egg provides superior temperature management and moisture circulation. Many recipes use onion soup mix as a convenient flavor base for braising liquids. After the initial braise, you’ll add vegetables like carrots and potatoes, then continue braising for another 45 minutes to 1.5 hours until everything reaches perfect tenderness.
Slow Cooker Instructions
If you’re seeking a truly hands-off method, slow cooking delivers fork-tender beef stew with minimal intervention. Set your slow cooker to low for 7–8 hours, which breaks down connective tissue in 1.5–2 lb of stew meat while softening root vegetables. If you’re short on time, use high for 3–5 hours, though expect slightly less tender results. Layer denser vegetables like potatoes on the bottom, then meat, then tender additions. Use 2–3 cups beef broth combined with tomato products or water to cover ingredients halfway. For optimal flavor development, sear your beef in a skillet before adding it to the slow cooker to enhance the savory umami taste. This searing technique is equally effective whether you’re using a slow cooker or a Dutch oven for braising. Add thickening agents—flour or cornstarch slurry—during the final 20–45 minutes on high. Once your stew reaches desired tenderness, transfer to warm setting only to prevent texture collapse and overcooking. To maintain the quality of your cookware, ensure your slow cooker and Dutch oven are free from rust by applying seasoning oil regularly to protect against oxidation. For best results, minimize handling of beef to ensure juicier and more tender results throughout the cooking process.
Flavor Enhancement Tips
The depth and complexity of your Dutch oven beef stew depends on building layers of flavor from the start. You’ll want to incorporate umami boosters like soy sauce, fish sauce, Worcestershire sauce, and Dijon mustard to amplify savory notes without wine’s acidity. Add tomato paste early to build richness into your base.
Aromatic herbs make a significant difference—fresh thyme and rosemary infuse distinctive character during simmering. Layer minced fresh garlic with onion and garlic powder for concentrated flavor development. Don’t skip deglazing; scraping browned bits releases caramelized depth essential to stew complexity. Pat your meat dry before browning to promote browning rather than steaming, which ensures maximum flavor extraction from the beef surface. Use economical cuts of meat like beef chuck or shoulder to achieve tender, flavorful results that reward the slow simmering process.
Balance your umami boosters with balsamic or red wine vinegar for tangy contrast. Finish with fresh parsley for vibrance. These strategic additions create the sophisticated flavor profile you’d expect from a traditionally wine-based stew.
Nutritional Information
Dutch oven beef stew delivers substantial nutrition that’ll support your dietary goals, with macronutrient profiles shifting noticeably based on your ingredient choices and portion sizes. You’ll typically consume 34–49 g of protein per serving, making stew a robust protein source for strength maintenance diets.
Your nutritional benefits extend beyond protein: potassium reaches 1,300–1,528 mg per serving from potatoes and beef, while iron content averages 5 mg or higher. Carrots contribute substantial vitamin A (6,900–7,764 IU). Slow cooking in a Dutch oven enhances nutrient retention by preventing excessive heat exposure that can degrade water-soluble vitamins. The savory herb gravy in this recipe contains no grains or gluten, making it suitable for Whole30 and restricted diets.
Consider these dietary considerations carefully. Standard recipes often exceed recommended sodium targets; switching to reduced-sodium broth cuts sodium from over 1,100 mg to 400–600 mg per serving. Leaner meat cuts reduce total fat from 23 g to 11–13 g. For gluten concerns, substitute flour thickeners with cornstarch or arrowroot without compromising satisfaction.
Storage and Make-Ahead Variations
Maximizing your Dutch oven beef stew’s shelf life requires strategic storage choices that preserve both flavor and texture. You’ll keep refrigerated stew for 4-5 days in airtight containers, though flavor actually improves on day two. For freezer tips, portion your stew into single-serving containers and freeze up to three months. Remove excess air to prevent freezer burn, as oxygen exposure causes oxidation that degrades quality. Here’s a smart meal prep strategy: freeze the meat base after the first braise, before adding vegetables. This prevents mushiness. Later, you’ll defrost overnight in your fridge, then simmer the liquid, add vegetables, and finish braising. Alternatively, trim fat from meat beforehand and keep pieces bite-sized for even cooking and easier eating post-storage. The Dutch oven’s even heat distribution ensures your stew reheats uniformly without hot spots or cold zones. When reheating frozen stew, allow it to thaw completely in the refrigerator to ensure even temperature distribution throughout the dish. For best results, make the stew a day or two in advance to allow the flavors to fully develop and meld together. Like other versatile Dutch oven dishes such as beef bourguignon, this wine-free beef stew benefits from slow braising that deepens and enriches all the flavors.