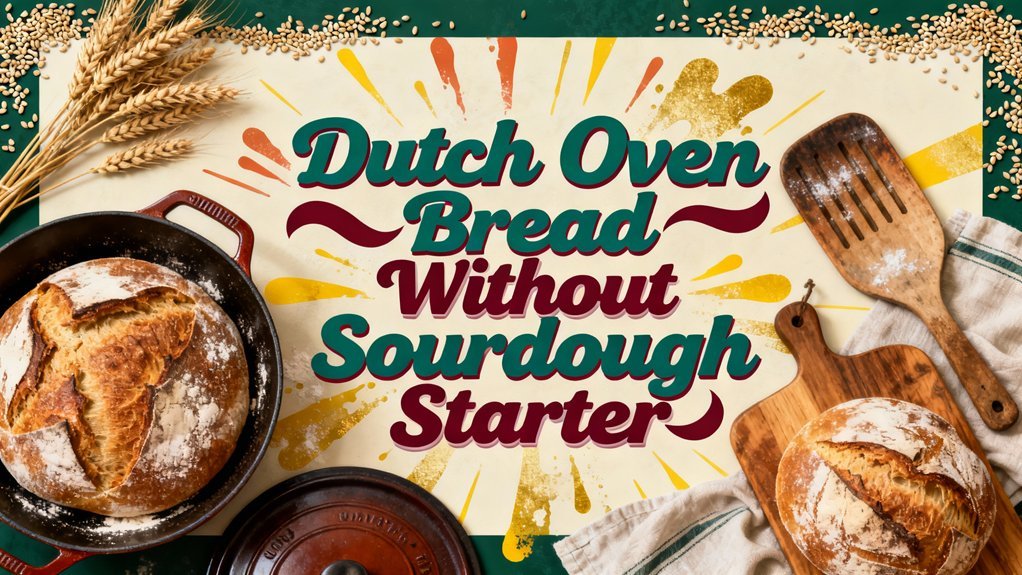
You’ll create a crusty Dutch oven bread using instant yeast instead of a starter. Mix 500g flour, 350g water, 10g salt, and 7g yeast into a shaggy dough. Ferment 12-16 hours at room temperature for flavor development. Shape, proof 2 hours, then bake covered in a preheated 450°F Dutch oven for 35 minutes. Remove the lid for 5-15 minutes to brown. This straightforward method produces an open crumb and crisp exterior that rivals traditional sourdough—discover how temperature control and hydration adjustments elevate your results further.
Essential Equipment You’ll Need
To bake exceptional Dutch oven bread, you’ll need four core equipment categories. First, invest in a heavy Dutch oven (20–28 cm diameter) for steam retention and even heat distribution. Second, gather measuring scales with 1 g resolution, large mixing bowls (4–5 L capacity), dough scrapers, and a Danish whisk for precise ingredient control and dough handling. Third, acquire proofing baskets, linen couches, and kitchen thermometers to monitor fermentation temperatures accurately. A clear, straight-sided vessel allows you to easily observe your dough rise and determine when it’s ready for shaping. Finally, stock baking stones or steel for superior bottom heat, bread lames for controlled scoring, oven mitts rated for high temperatures, and serrated cutting knives (20–25 cm). A digital thermometer will help you verify that your dough reaches the optimal temperature of 24-26°C for consistent results. The Dutch oven’s ability to trap steam during baking is what creates the crisp, golden crust characteristic of artisan bread. Like cast iron skillets, Dutch ovens require proper heat retention to achieve superior results in the oven. The tight-fitting lid] of quality Dutch ovens ensures optimal moisture control during the entire baking process. When selecting your Dutch oven, consider whether you prefer enameled or bare cast iron options based on your maintenance preferences and baking style, and ensure your cookware features a flat magnetic base compatible with your stovetop if you plan to use induction cooking for any preparatory heating. These essential tools guarantee consistent hydration, proper oven spring, controlled crust development, and safe handling throughout your baking process.
Ingredient Options and Measurements
With your equipment ready, you’ll now master the ingredient proportions that determine your bread’s structure, flavor, and crumb. Start with all-purpose flour as your baseline at 420–570 g per loaf, adjusting hydration levels between 65–75% of flour weight. Bread flour increases gluten effects and protein content; substitute 1:1 but expect slightly higher water needs. Use 7 g instant yeast or reduce to 0.5–1.5 tsp for overnight fermentation. Add salt at 1.8–2.5% of flour weight to balance flavor and yeast suppression. Optional fat additions of 1–14 g soften crumb; sweetener suggestions of 1–2 tsp boost browning. Whole-wheat flour works up to 25% substitution without major method changes. Sugar serves as food for yeast, aiding the rising process and enhancing your dough’s development. Using a kitchen scale ensures your measurements are precise and your baked goods closely match the recipe. Monitor dough consistency rather than strict volumes for predictable results.
No-Knead Method for Beginners
The no-knead method begins with activating your yeast in warm water between 100–110°F, where it’ll dissolve and turn foamy within 5–8 minutes—this foam confirms the yeast’s viability before you proceed. Next, you’ll slowly incorporate flour and salt into the wet mixture using a spoon or dough whisk, creating a sticky, shaggy dough without hand-kneading. This no knead benefits beginners by eliminating the labor-intensive kneading phase entirely.
Cover your bowl and allow a 12–16 hour room temperature rise, which develops complex flavors and generates bubbles. Beginner tips include using an oven light for warmth if your kitchen’s cold. The simple recipe requires only a dough whisk for mixing, making it accessible for those new to breadmaking. For best results, consider adding a small amount of vinegar to enhance texture and create a more complex flavor profile in your finished loaf. Like cast iron restoration, proper seasoning application ensures optimal results in your baking process. Using an internal temperature thermometer during baking helps verify your bread is fully cooked through. After rising, transfer your dough onto a floured surface, fold it gently into a ball, and place it on parchment paper for a final 2-hour proof before baking.
Kneaded Method for Faster Results
If you’re seeking speedier results than the no-knead method offers, hand-kneading or machine mixing’ll accelerate fermentation by aligning gluten strands and developing the dough’s structure within 8–10 minutes. Use bread flour’s higher protein content to support robust kneading techniques. Follow the standard ratio: 500g flour, 350g water, 10g salt, 7g instant yeast. Incorporate flour gradually during kneading to prevent sticking, targeting 70% hydration for workable dough. Add salt after initial mixing to control yeast activity. Your gluten development creates a strong network that yields higher loaf volume. Hand-kneading provides sensory feedback on readiness. The thick cast iron walls of your Dutch oven will ensure stable and consistent temperature throughout the baking process. Developing proper gluten structure through kneading creates a dough network similar to how browning meat develops a rich crust for depth of flavor. After bulk fermentation of 60–90 minutes until doubled, punch down, reshape, and proof for 30–45 minutes before baking. Preheating your Dutch oven for approximately 30 minutes will create the steam-filled environment necessary for optimal crust development and oven spring.
Understanding Rise Times and Proofing
Since yeast activity varies dramatically with temperature and dough composition, you’ll need to monitor fermentation progress visually rather than relying solely on clock time. Target a dough volume increase of 1.5–2× as your primary indicator.
Temperature effects are considerable: yeast activity approximately doubles for every 10°C rise. Warmer proofing at 80–95°F accelerates rise times to 1–3 hours, while cooler bulk fermentation at 65–68°F extends timelines to 18–24 hours for enhanced flavor development. Using fresh, active yeast ensures consistent fermentation rates across varying temperature conditions. Accurate water temperature control around 100°F or 38°C is essential for proper yeast activation and predictable rising.
Dough hydration considerably influences proofing techniques. Higher hydration doughs (75%+) ferment faster with larger bubbles but demand gentle handling. Lower hydration doughs (60–65%) require extended bulk proof periods. As with Dutch oven cooking, proper heat distribution through consistent temperature maintenance prevents uneven fermentation and ensures reliable results. Like layering ingredients in a Dutch oven, proper dough layering and composition affects how evenly fermentation progresses throughout the mass. The same principle of trapping steam during baking applies to moisture management during fermentation, as proper dough hydration creates the internal environment needed for oven spring.
For final proof, use the finger-dent test: a dent should partially spring back. Typical bench proof takes 30–60 minutes at room temperature, or 2 hours after cold retard.
Preparing Your Dough for Baking
Now that your dough’s risen properly, you’ll shift from fermentation to active shaping by starting with ingredient mixing. Pour your risen dough onto a floured surface, maintaining proper dough hydration by sprinkling 0.5-1 tablespoon flour across the top and work area. Using a dough scraper or floured hands, employ minimal-handling shaping techniques to fold the dough’s sides inward, creating structure without deflating gas pockets. Scoop and gently shape into a loose circle or ball directly onto parchment paper. The dough remains sticky and floppy—this consistency is intentional and correct. Cover your shaped dough with a floured towel during the final proofing period. Like alternative baking vessels that work well for other breads, your Dutch oven serves as a specialized cookware that transforms the baking environment. Avoid aggressive handling; your shaping techniques should preserve the open crumb structure you’ve developed, which is essential for achieving the artisan-quality bread that Dutch ovens are designed to create through steam circulation. For enhanced gluten development and better rise, consider mixing the dough longer before shaping to strengthen the gluten network. The Dutch oven creates a steamy environment that produces the characteristic crusty exterior while keeping the interior tender and moist. Proper time-temperature management during proofing helps maintain food safety standards and prevents bacterial overgrowth while allowing optimal fermentation. Scoring the dough before baking helps control expansion and creates the signature appearance of artisan bread. Like specialized equipment such as vacuum sealers for food storage], your Dutch oven requires proper technique to achieve professional results.
Baking in a Dutch Oven for Perfect Crust
Your shaped dough, now resting under its floured towel, requires a properly preheated Dutch oven to develop that coveted bakery-quality crust. Preheat your oven to 450°F with the Dutch oven inside for 30-40 minutes, achieving professional-grade thermal mass. Transfer your dough using parchment paper to prevent sticking and guarantee safe handling with oven mitts. This Dutch oven technique traps steam from your dough’s moisture, creating ideal steam effects for crust development. Bake covered at 450°F for 35 minutes, generating massive heat transfer that mimics artisan ovens. The trapped moisture yields chewy, firm bread texture. Remove the lid and bake 5-15 minutes uncovered until golden brown. For optimal results, ensure you allow the dough to rise fully before transferring it to the preheated vessel. This two-phase approach assures superior crust development and exceptional results. Using heavy pot-holders protects your hands from the intense heat of the preheated vessel during removal and dough transfer.
Troubleshooting Common Bread-Making Issues
Even with proper Dutch oven technique, bread-making presents challenges that’ll test your skills. Adjust dough hydration incrementally when facing stickiness—add flour during kneading rather than compensating excessively. Monitor yeast activity by extending proofing duration until your finger indentation returns slowly, indicating proper fermentation. Prevent dense loaves by ensuring adequate rise before baking and maintaining correct oven temperature for ideal crust formation. Over-kneading weakens gluten development, compromising crumb texture; knead only until smooth and elastic. Balance ingredient ratios carefully—excess wholewheat flour requires white flour reinforcement for structure. Slash your loaf pre-bake to control expansion and prevent uncontrolled cracking. Cover dough throughout all stages to prevent skin formation that restricts rising and handling. The self-basting lid of your Dutch oven helps trap steam during baking, which is essential for achieving that desirable moist interior and crisp crust. The tight-fitting lid design creates the ideal environment for steam retention that professional bakers rely on. Proper technique matters more than equipment specifics, much like how applying thin layers during seasoning creates better results than the specific product chosen. If you’re using a 3-quart Dutch oven, scale down your dough quantities proportionally to ensure proper baking results. For optimal crust development, aim to bake your loaf for 35-40 minutes in your Dutch oven to achieve that desirable golden exterior. When a Dutch oven isn’t available, creating steam in the oven through alternative methods like placing hot water or ice cubes inside can replicate the same crusty bread results.