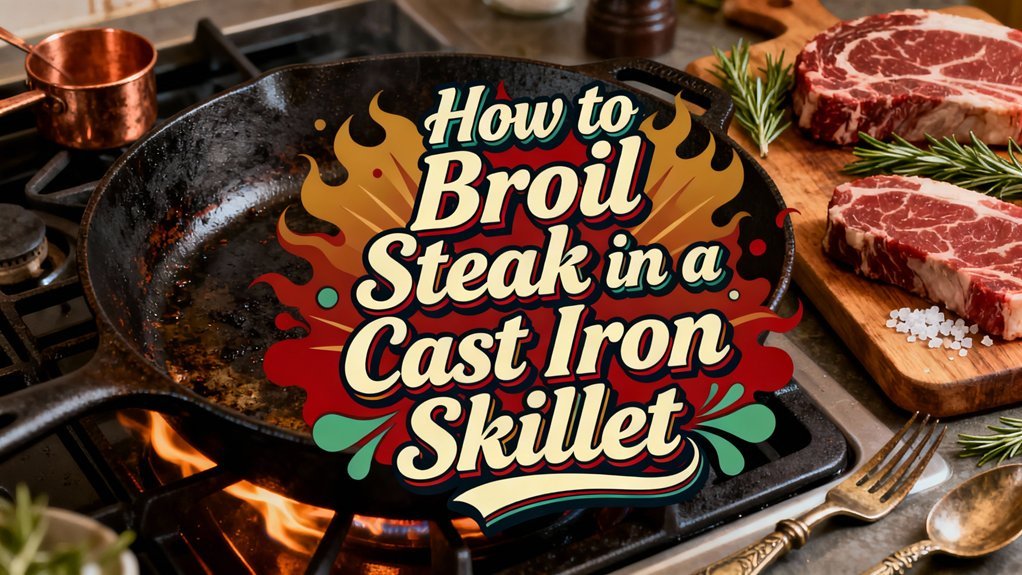
You’ll broil steak in cast iron by preheating your skillet under a 475-500°F broiler for 15-20 minutes. Pat your seasoned steak dry, then place it in the screaming-hot skillet for 3-4 minutes per side, flipping only once. Monitor the internal temperature with a meat thermometer, targeting 130-135°F for medium-rare. Remove your steak 5°F below your target to account for carryover cooking. Rest it for 3-5 minutes before serving. The technique varies considerably by cut and thickness, so understanding each nuance transforms your results dramatically.
Preparing Your Steaks for Broiling
There are five essential steps you’ll follow to prepare your steaks properly for broiling. First, sanitize your workspace thoroughly to prevent foodborne illness and contamination. Next, remove your steak from the refrigerator the night before to allow it to reach room temperature for even cooking. Pat the surface dry to promote ideal browning during broiling. Then, cut your meat into 1 to 2-inch strips for uniform cooking under the broiler. Finally, apply your seasoning techniques by coating the steak generously with olive oil and seasoning both sides with salt and pepper. Consider marinade options if you prefer enhanced flavor profiles. Remember that broiling is a quick, dry-heat cooking method that works best with properly prepared steaks. Cast iron’s superior ability to retain and distribute heat evenly ensures your steaks cook consistently throughout the broiling process. The natural seasoning that develops on cast iron over time further enhances the non-stick properties that prevent sticking and ensure even browning. For best results, choose high-quality steak cuts that benefit from the intense, direct heat of broiling. Using an instant-read thermometer allows you to monitor internal temperature and achieve your desired doneness. Ensure all your equipment and ingredients, including your cast-iron skillet, thermometer, and raised-rack sheet pan, are ready and accessible before you begin the cooking process. These preparation steps guarantee precise temperature control and superior results when broiling in cast iron.
Essential Equipment and Setup
Broiling steak successfully depends on selecting cookware that’ll withstand intense, direct heat without compromising safety or results. You’ll want a cast iron skillet rated heat-safe to 550 degrees Fahrenheit—raw cast iron outperforms enameled versions for maximum temperature tolerance. Avoid nonstick or plastic-handled cookware, which fail under broiler conditions.
Position your oven rack according to steak thickness: upper positions suit thin cuts, lower placements accommodate thicker steaks. This adjustability guarantees ideal heat exposure and cooking consistency. Cast iron’s superior heat retention ensures even cooking results throughout the broiling process. Preheating your cast iron skillet under the broiler for 15 to 20 minutes ensures the pan reaches extremely hot temperatures necessary for proper searing. For compact storage of broiler equipment and accessories between uses, consider vacuum sealing storage methods.
Gather essential broiler safety equipment before cooking. Wear oven mitts when handling hot pans and racks. Use a meat thermometer to verify doneness—aim for 145°F internal temperature. Le Creuset enameled cast iron should be avoided as high heat can permanently damage enameled surfaces. For accurate temperature readings, insert the thermometer at the thickest part of the steak without touching bone. Trim excess fat beforehand to minimize flare-ups, and cover your skillet with aluminum foil to contain grease splatters effectively. Proper seasoning through multiple rounds of oiling and baking will strengthen your cast iron’s non-stick surface and enhance its performance under high-heat broiling conditions.
Preheating Your Broiler Correctly
Before you place your steak under the broiler, you’ll need to preheat both the broiler element and your cooking vessel to achieve proper searing. Set your broiler to its highest temperature setting, typically 475-500 degrees Fahrenheit, guaranteeing the element glows red hot before proceeding.
Allow 8-15 minutes for your oven’s full preheating cycle. Simultaneously, position your cast iron skillet on the top oven rack, 4-6 inches from the broiler element, and preheat it empty for 5-10 minutes. This preheating duration guarantees immediate, aggressive searing when you introduce the steak. Remove your steak from the refrigerator at least 15 minutes prior to cooking to ensure even heat distribution throughout the meat. Bringing the steak to room temperature prevents a tough, chewy texture from extreme temperature transitions. Note that cast iron lids offer superior heat retention compared to alternatives with temperature limitations around 400°F, making them ideal for campfire cooking as well.
Test readiness by carefully splashing water droplets onto the pan’s surface—they should sizzle instantly, confirming proper broiler temperatures and pan heat distribution. Use oven mitts throughout this process, as surfaces reach extreme temperatures requiring careful handling.
Searing the First Side
Once your cast iron pan passes the water-droplet test, you’re ready to execute the sear that’ll define your steak’s crust. Place your seasoned steak away from your body to avoid splatter, ensuring instant, full contact with the cooking surface. Don’t move or prod the meat—uninterrupted contact for 2–5 minutes promotes even browning depending on thickness. Searing techniques rely on sustained, vigorous sizzle and visible deep-brown crust formation at the edges rather than frequent lifting to check progress. Temperature control remains critical: maintain heat sufficient for Maillard reaction without heavy smoking. For optimal protection while handling your hot skillet, consider using a cast iron skillet handle cover to prevent burns during the cooking process. For 1–1.5 inch steaks, aim for 3–4 minutes on the first side before flipping or transferring to your broiler for finishing. Limiting your flips to once ensures optimal crust development and helps retain the steak’s natural juices throughout the cooking process. Using a meat thermometer during the searing stage allows you to monitor the internal temperature and ensure your steak reaches the desired doneness level. Insert the thermometer into the thickest part of the steak, avoiding bones and fat, to get an accurate reading of the thermal center. High-smoke-point fats like ghee or avocado oil provide superior heat tolerance for achieving the deep caramelization that characterizes a perfectly seared steak.
Flipping and Searing the Second Side
The moment you’ve achieved a deep mahogany crust on your first side—typically after 3–4 minutes—you’ll flip your steak using tongs to preserve the seared surface. Your flipping techniques matter here; secure the steak firmly and flip decisively to maintain crust integrity.
Immediately apply your searing tips by placing the steak flat against the hot skillet. You’ll sear this side for approximately 2 minutes, then continue flipping every 20–30 seconds for the remaining cook time. This frequent flipping minimizes heat exposure while promoting even browning and ideal juice retention. The frequent flipping approach works particularly well for various steak cuts, from thin strips to thick steaks, ensuring optimal results across different sizes. Unlike traditional single-flip methods that often result in uneven cooking with charred edges and undercooked centers, this technique ensures uniform doneness throughout the entire steak. Cast iron’s superior heat retention properties make this flipping method especially effective for achieving consistent results. To maintain your cast iron skillet’s performance over time, regular seasoning with high-quality oil will preserve its non-stick surface and cooking capabilities. Properly browning your meat in cast iron develops complex flavors that enhance the final dish. Ensure your skillet is preheated for 3 to 5 minutes to achieve the even heat distribution necessary for optimal searing. When your cast iron is properly maintained through appropriate care and restoration techniques, it will deliver reliable cooking performance for generations.
Monitor your internal temperature using a digital thermometer inserted into the thickest section. For medium doneness on a ribeye-sized cut, aim for 4 minutes total on the second side. After achieving your target temperature, rest the steak 5 minutes before serving.
Finishing to Your Desired Doneness
Insert an instant-read thermometer into the steak’s geometric center to monitor doneness accurately. Pull the steak 5°F below your target temperature—this accounts for carryover cooking during resting. Thick steaks experience larger carryover increases (5–10°F) than thinner cuts, so adjust accordingly.
Your finishing techniques depend on thickness. For cuts over 1.5 inches, transfer the skillet to a preheated 350–400°F oven to gently raise internal temperature without overbrowning the exterior. For thinner steaks, reduce heat to medium-low and butter-baste with garlic and herbs for the final minutes, spooning melted butter repeatedly over the surface. The reverse-sear method works particularly well for premium cuts, allowing you to achieve precise temperature control while developing an exceptional crust. Utilize the frequent turning method during the final stages to maintain even cooking and ensure the steak develops an evenly browned exterior throughout the basting process.
Monitor temperature frequently during final minutes to avoid overshoot. Rest your steak loosely tented with foil for 5–10 minutes before carving.
Cooking Times by Steak Type and Thickness
Broiling times vary considerably based on steak type and thickness, so you’ll need to adjust your approach for each cut. Tender cuts like Filet Mignon require longer cooking times—up to 8 minutes per side for 1.5-inch medium-rare steaks. Leaner steak types such as Kansas City Strips and Flat Iron cook faster, needing only 5-6 minutes per side at the same thickness and cooking temperatures. Top Sirloin and Ribeye fall between these ranges, while Bone-In steaks demand additional time due to heat penetration around the bone. For 1-inch steaks, expect 10-15 minutes total broiling. Always use fully thawed steaks and preheat your cast iron skillet 10-20 minutes under the broiler for best results and consistent cooking temperatures across all steak types. Consider using vacuum sealing to properly prepare and store your steaks before cooking to maintain optimal freshness and quality. Flipping steaks frequently during broiling, ideally every 3 minutes, ensures uniform cooking throughout. Just as maintaining rotation prevents uneven stress when working with heat, rotating your steaks during broiling helps achieve consistent results. For optimal results, ensure adequate ventilation in your kitchen during the broiling process to safely manage heat and smoke, similar to how safety protocols are essential when using high-heat cooking equipment. Remove steaks from the oven when 5°F below desired doneness to account for carryover cooking during the resting period. Allow your steaks to rest for 5-10 minutes loosely covered with foil before serving to retain their juices and ensure a tender, juicy interior.
Using a Meat Thermometer for Accuracy
Getting an accurate internal temperature reading is essential to broiling steaks perfectly, and you’ll want to master the proper probe techniques to avoid misleading results. Insert your thermometer into the thickest center section of the steak, steering clear of bone, fat, and gristle that distort readings. Position the probe horizontally from the side, ensuring the sensing area—spanning ½ to 2 inches—sits completely within the meat. Keep a clear line of sight to your target area to ensure accurate measurements.
For cooking safety and temperature accuracy, allow your thermometer to stabilize for several seconds before reading. Aim for 5°F below your target doneness to account for carryover cooking during rest. Medium-rare steaks reach 130–135°F, while medium-well ranges 150–155°F. Remember to clean the probe between uses to prevent cross-contamination and ensure reliable temperature measurements. When selecting a thermometer for your kitchen, prioritize models with response time as a key factor in obtaining quick readings during the broiling process. Digital probe thermometers use electronic sensors to convert temperature readings into digital displays, offering faster and more accurate measurements than traditional analog options. Digital thermometers provide quick and accurate readings with minimal insertion depth required. For best results during broiling, use oven-safe probe thermometers designed to remain in the meat throughout the cooking process for continuous monitoring. Proper thermometer placement guarantees you’ll destroy harmful bacteria like E. coli while achieving perfectly cooked results every time.
Understanding Doneness Levels
Since you’ve mastered thermometer placement, you’ll now want to understand how internal temperature translates to the doneness level you’re seeking. Your steak temperature directly reflects your cooking preferences and final result.
Rare steaks reach 120°–125°F, featuring a cool red center perfect for tender cuts like filet mignon. Medium rare, the most popular choice, achieves 130°–135°F with a warm red center and rendered fat marbling. Medium doneness reaches 140°–145°F, displaying a hot pink center with slightly firmer texture. Medium well reaches 150°–155°F with minimal pink throughout. Well done steaks exceed 160°F, fully brown with very firm, dry texture. Avoid cutting your steak open to check for doneness, as this causes you to lose valuable juices that keep the meat tender and juicy. For longer storage of leftover steak, consider using vacuum sealer bags to maintain optimal freshness and prevent freezer burn. Proper vacuum sealing extends your leftover steak’s quality by locking out air and moisture to slow spoilage. Vacuum sealing can keep your leftover steak fresh in the freezer for extended periods compared to traditional storage methods. When using a meat thermometer, ensure it can withstand high heat to guarantee accurate temperature readings throughout the cooking process. Selecting a thermometer with probe length appropriate for your cast iron skillet ensures you reach the thickest part of the steak for the most reliable doneness assessment.
Remove your steak five to ten degrees before target temperature, allowing carryover cooking during resting to reach your desired doneness precisely. This temperature increase ensures you achieve consistent results every time.
Resting and Serving Your Steak
Once your steak reaches the target internal temperature, you’ll remove it from the broiler and let it rest for 3–5 minutes before serving. This rest duration allows carryover cooking to raise the internal temperature 5 degrees while redistributing juices evenly throughout the meat, ensuring maximum tenderness and flavor retention. Regular temperature checks with an instant-read meat thermometer do not result in juice loss, so you can probe frequently to monitor your steak’s progress toward doneness.
Remove your steak 5 degrees below your target doneness to account for this temperature rise. A rare steak reaches 120–125°F post-rest from an initial 115°F removal, while medium well climbs to 150–155°F from 145°F. Using long-handled tongs prevents piercing the steak and losing juices during the resting period. Like a well-prepared Dutch oven stew, allowing your steak to rest ensures even juice distribution throughout the meat for optimal flavor.
After resting, you can maintain your cast iron skillet’s seasoning by wiping it with light olive oil while it’s still warm from cooking. Since cast iron retains heat efficiently, ensure you apply oil while warm to help it bond with the pan’s surface for better seasoning maintenance.
For serving suggestions, top your rested steak with compound butter or finish underdone cuts in a pan with butter and fresh herbs. Serve immediately after resting to preserve peak juiciness and temperature. Avoid cutting into the meat prematurely, as this releases retained moisture.