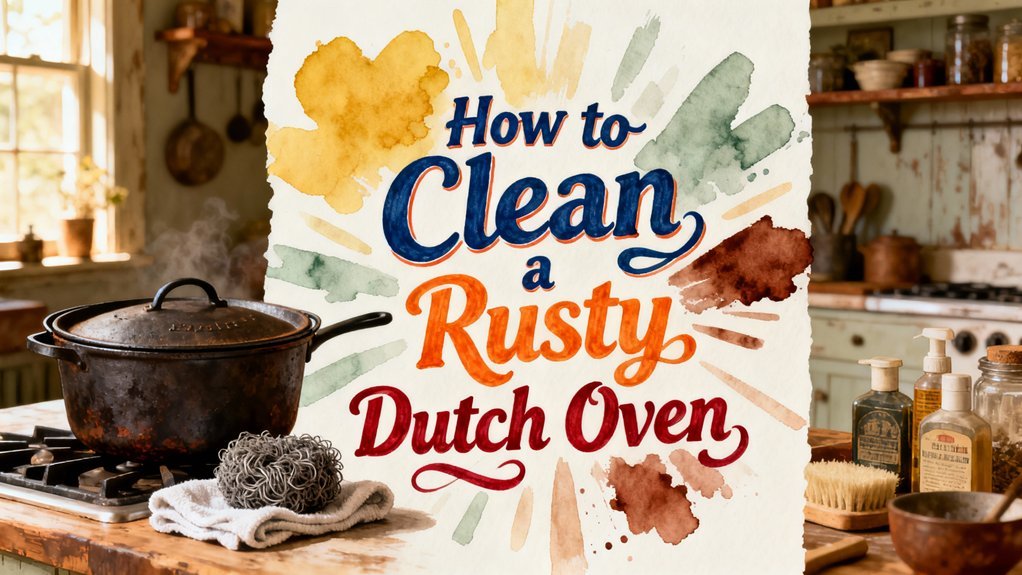
You’ll assess rust severity first—surface rust needs basic scrubbing, while deep pitting requires aggressive removal. Gather coarse-grit sandpaper, vinegar, and soft cloths. Remove rust mechanically using appropriate tools based on damage level. Treat stubborn oxidation with white vinegar or chemical solutions. Dry thoroughly with low heat to prevent flash rust, then re-season with thin oil layers at 400–500°F. The complete restoration process involves multiple steps that’ll extend your cookware’s lifespan considerably.
Assess the Rust Severity
Before you’ll need to evaluate how extensively rust has damaged the cast iron. You’ll encounter two primary rust types requiring different restoration techniques.
Surface rust appears as superficial spots that remove easily with scrubbing and dish soap. This mild damage indicates your Dutch oven needs basic cleaning without intensive intervention. For light surface rust, a coarse abrasive material like kosher salt can effectively remove debris and impurities from the cast iron surface. The salt works as an effective abrasive that preserves the natural non-stick properties of your cookware while cleaning.
Deep pitting signals significant corrosion penetrating beyond the surface layer. You’ll notice pits remaining after initial seasoning removal, potentially necessitating professional restoration or replacement. Monitor the progress of your cleaning efforts to determine if the damage is truly irreparable.
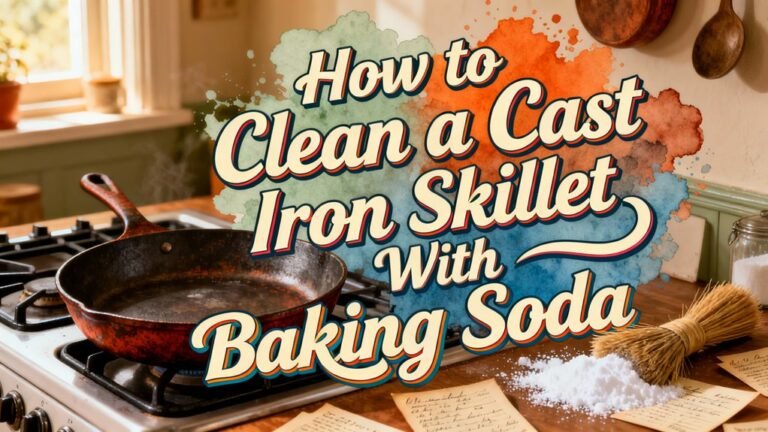
Severe rust covers most of your Dutch oven’s surface, accompanying stubborn buildup in the pores. You’ll need a vinegar soak before aggressive scrubbing. For stubborn rust that resists initial cleaning attempts, baking soda can assist with the removal process. After cleaning with baking soda and vinegar, the pan should be dried thoroughly either by towel or by heating on the stove to prevent flash rust. Using an instant-read digital thermometer can help you monitor the stove temperature to ensure you’re heating the pan safely without damaging it further. Once rust is removed, the restoration process concludes with seasoning the cast iron multiple times using a high-quality seasoning oil to prevent flash rust from forming.
Assess your specific rust severity carefully. This evaluation determines which restoration techniques you’ll employ and whether your Dutch oven remains salvageable for regular cooking use.
Gather Your Tools and Supplies
To restore your Dutch oven effectively, you’ll need to assemble the right cleaning tools and supplies based on your cookware’s material and the rust severity you’ve identified. Start with non-abrasive scrubbing tools: soft sponges, non-metal pads, or chainmail scrubbers tailored to your Dutch oven’s surface. For rust removal, gather natural cleaning supplies like baking soda and white vinegar, which work effectively without toxicity. Stock standard dish soap and warm water for initial cleaning phases. Depending on rust intensity, acquire specialty cleaners such as Bar Keeper’s Friend or cast iron cleaner formulated specifically for porous surfaces. Keep paper towels or soft cloths nearby for drying, as ensuring your Dutch oven is fully dry before storing will prevent future rust formation. Rust develops when the protective seasoning layer on cast iron is missing or damaged, so maintaining proper drying techniques is essential for long-term cookware preservation. Consider storing your cleaned Dutch oven with temperature resistant coating similar to protective measures used for food storage containers. After drying your Dutch oven, heat it briefly to evaporate any remaining moisture before applying a light oil coat. Finally, prepare a thin oil coat like liquid Crisco for post-cleaning rust prevention, and apply it using circular motion to ensure thorough restoration success. Wooden handles on some Dutch ovens require special care during cleaning, as avoiding water submersion on the handle will preserve its integrity and longevity. Following the manufacturer’s manual specific to your Dutch oven type will help you select the most appropriate cleaning approach for your particular cookware.
Remove Rust Mechanically
Begin by evaluating your Dutch oven’s rust severity and extent, as this determines which mechanical approach you’ll use. For light surface rust, start with coarse-grit sandpaper (80–120 grit) and progress to finer grits (220–400) for smoothness. Use stainless-steel wire brushes or steel wool on cooking surfaces to minimize gouging.
For moderate pitting, employ carbide scrapers along cast-iron contours, then shift to abrasive pads for blending. Heavy rust requires power tools: wire-wheel drill attachments for exterior areas or flap discs on angle grinders for stubborn deposits. Work at reduced speed near cooking surfaces to prevent excessive material removal.
Secure your Dutch oven firmly throughout mechanical rust removal. Always wear proper personal protective equipment including gloves and eye protection during the rust removal process. These rust avoidance techniques and controlled mechanical rust removal methods preserve your cookware’s integrity while restoring functionality. Mechanical removal is time-consuming and requires considerable physical effort, but it remains a simple and inexpensive method for restoring your cookware.
Treat With Chemical Solutions
After you’ve removed the loose rust mechanically, chemical solutions‘ll dissolve the remaining oxidation that’s bonded to your Dutch oven’s surface. You’ll find several effective vinegar options available. White vinegar works quickly, typically dissolving rust within hours through direct acidity. For heavier rust, apple cider vinegar combined with alfalfa hay creates a powerful chemical reaction in 24-48 hours when applied with boiling water in a non-metallic container.
Your soaking techniques matter greatly. Submerge affected areas completely, ensuring adequate coverage for uniform dissolution. Coca-Cola provides an alternative chemical approach, requiring a couple days’ soak time. After treatment, rinse thoroughly to remove acidic residue. To prevent thermal shock, avoid using cold water on your hot Dutch oven during the rinsing process. For stubborn stains alongside rust, simmer baking soda in warm water for 8-10 minutes before final rinsing and drying. Once your Dutch oven is completely dry, season cast iron in a 500° to 550° oven to restore its protective coating and prepare it for cooking.
Dry Completely and Prevent Flash Rust
Since moisture is your Dutch oven’s primary enemy, you’ll need to eliminate every trace of water immediately after rinsing. Wipe all surfaces—interior, exterior, and handles—with a clean cloth or paper towel to absorb surface moisture quickly.
For thorough moisture management, employ heat-drying methods. Position your Dutch oven on low stovetop heat immediately after towel drying, or place it in a 300°F oven for ten minutes. These cleaning techniques drive off residual water completely, preventing flash rust before seasoning. Check for any remaining residue to ensure the pot is completely clean before proceeding.
Allow cooling inside the oven to minimize oxidation risk. As demonstrated in cast iron restoration, drying in an oven set to 200 degrees ensures all moisture is thoroughly eliminated before applying any coating. After moisture removal, proper seasoning the skillet with oil creates a protective layer that prevents rust formation. Store your Dutch oven in a dry location with a paper towel inside to absorb ambient humidity. Never leave it soaking or exposed to moisture. Proper drying guarantees bare metal ready for oil application without degradation.
Re-season Your Dutch Oven
Once you’ve dried your Dutch oven completely, you’re ready to restore its protective seasoning layer. Select a high-smoke-point oil like grapeseed or canola for durable polymerized layers, or consider solid fats like vegetable shortening for easier application. Beef tallow is a natural, heat-stable alternative that provides excellent results due to its high smoke point and resistance to chemical additives.
Your application technique matters greatly. Apply an extremely thin, uniform coat using a cloth or paper towel, then wipe away all excess—only a microscopic film should remain. Bake upside down at 400–500°F for one hour on a rack with foil underneath to catch drips.
Repeat this thin-coat-and-bake cycle 3–6 times, allowing your Dutch oven to cool between cycles. Multiple thin layers create superior seasoning compared to one thick application. Like the heat distribution benefits of quality cookware materials, proper layering technique ensures even protection across your entire Dutch oven surface. For best results, maintain the oven temperature between 300 and 350 degrees during the seasoning process to ensure optimal polymerization of each layer. Non-contact temperature measurement devices can help you verify that your oven maintains consistent heat distribution throughout the seasoning cycles. This methodical approach builds a durable, black protective finish that resists rust and wear.
Maintain Your Restored Cookware
Your newly seasoned Dutch oven requires consistent care to preserve that hard-earned protective coating and prevent rust from compromising your investment. Establish cleaning habits that protect the seasoning layer: hand-wash with mild soap and soft cloths, avoiding steel wool and abrasive pads. Dry immediately after washing to prevent water spots and rust formation on exposed rims. For stubborn spots or rust buildup, gentle scrubbing with salt or a chain mail scrubber can help restore the surface. For more significant rust damage, consider reseasoning in a 450-500 degree oven to restore the protective coating. For proper storage, keep your Dutch oven in a cool, dry location with good air circulation. Store the lid slightly ajar to allow airflow and prevent moisture buildup. Use padded separators if stacking cookware, and never place heavy items directly on top. When storing with other cookware, separate your Dutch oven from metal items to prevent enamel damage. While both 3-quart and larger Dutch oven sizes have their advantages for different cooking applications, proper maintenance is essential regardless of your cookware’s capacity. Inspect rims and handles regularly for chips or bare metal spots. Address minor damage promptly to prevent accelerated corrosion. Applying a thin layer of oil after cleaning will help maintain the seasoning and protect against future rust development.