You’ll heat your cast iron skillet gradually over 5–10 minutes to 250–325°F, using the water-drop test for accuracy. Add roughly 2 teaspoons of fat per 2 eggs—butter, ghee, or bacon fat work well. Crack eggs directly onto the hot surface, season immediately, and wait 4–5 minutes until whites set before flipping. Cook the second side for one minute, adjusting timing based on yolk preference. Mastering the technique opens possibilities for sunny-side up, over-easy, and scrambled variations.
Heating Skillet
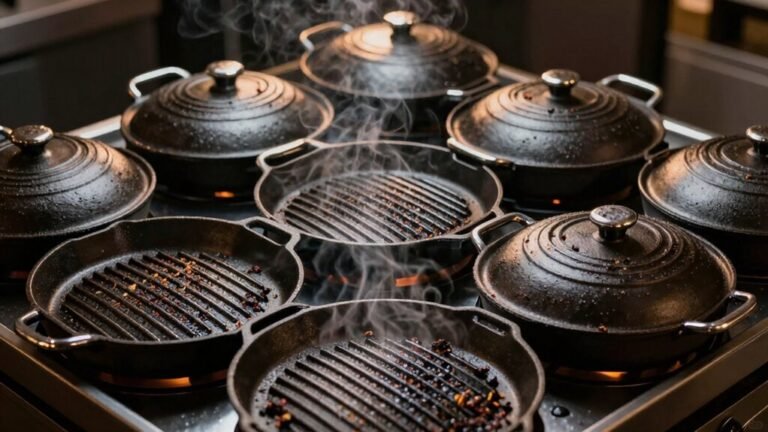
Before you add eggs to your cast iron skillet, you’ll want to heat it gradually on low to medium heat to minimize thermal shock and confirm even temperature distribution across the pan’s surface. Place your skillet on a cold burner and increase the temperature slowly over 5–10 minutes. Use the water-drop test to verify readiness: flick a few drops of water onto the surface, and they should dance without vaporizing instantly. Center your skillet on the burner to avoid asymmetric heating. These preheating techniques confirm your cast iron reaches the ideal 250–325°F range for eggs. Medium heat is typically sufficient due to cast iron’s exceptional heat retention properties. Proper temperature management prevents hot spots that cause unevenly cooked whites and scorched surfaces, delivering consistently excellent results. Allowing the skillet to rest for about 10 minutes after reaching your target temperature ensures the heat distributes evenly throughout the cooking surface.
Adding Fat or Oil
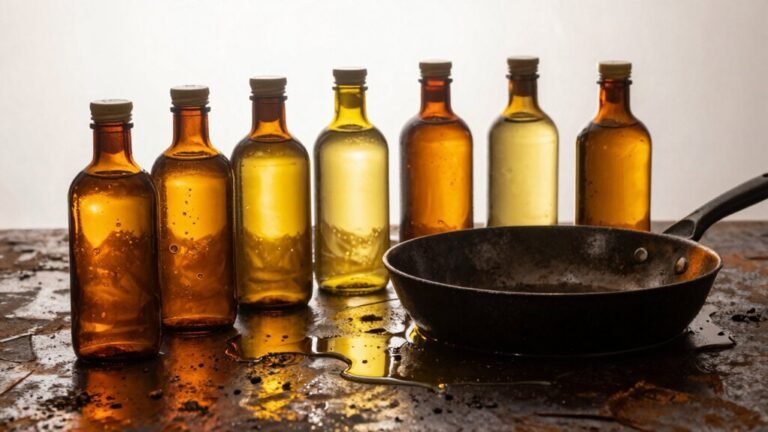
Once your skillet’s reached the ideal temperature, you’ll need to add fat to prevent the eggs from sticking to the cast iron surface. Choose from several fat types based on your preference: butter delivers rich flavor, ghee offers a dairy-free option, bacon fat provides savory depth, or neutral oils like avocado work well. For oil benefits, canola suits general cooking with its high smoke point, while grapeseed handles multiple applications effectively.
Add approximately 2 teaspoons of fat per 2 eggs, then swirl it around the preheated pan to guarantee even coverage. This minimal amount prevents excess pooling while creating the non-stick effect you need. Proper fat distribution assures your eggs release cleanly and builds seasoning layers simultaneously. Oils with smoke points above 400°F prevent burning and smoking while helping to maintain your skillet’s seasoning layer. Ensure your cooking temperature remains below the smoke point of the chosen oil to achieve optimal seasoning results. For cast iron longevity, remember that multiple rounds of seasoning over time will enhance your skillet’s non-stick properties and durability. Rotating the skillet during cooking helps maintain even heating across the cooking surface. Avoid using unsuitable oils like extra virgin olive oil, which can burn and leave sticky residue on your pan. When storing leftover cooked eggs, consider using airtight storage methods to maintain freshness. Skipping oil can lead to poor results when cooking eggs in cast iron pans.
Cracking and Cooking Eggs
With your fat properly distributed across the hot skillet, you’re ready to add the eggs themselves. Start by cracking each egg on a flat surface—never on the skillet’s edge—to prevent shell fragments from contaminating your dish. This shell technique guarantees a clean break while keeping runny whites from cascading down the pan’s sides and maintains your yolk’s integrity for professional results.
Once cracked, add eggs directly to the hot surface and season immediately with salt and pepper. Lower your heat slightly to prevent sticking while allowing the cast iron’s retained warmth to work effectively. Test readiness by gently swirling the pan; the egg should move freely without resistance, indicating proper release from the surface. For optimal results, take eggs out of the fridge prior to cooking to help reduce stickiness and ensure even cooking throughout. Allow the egg whites to set before flipping to avoid breaking the yolk. Just as with chicken, maintaining temperature control throughout cooking prevents the eggs from browning too quickly. A well-seasoned cast iron skillet with a polymerized oil layer will further enhance the egg’s release and prevent sticking during the cooking process. Proper seasoning for optimal non-stick finish on your cast iron will further enhance the egg’s release and prevent sticking during the cooking process. For baked eggs, you can create wells in sautéed vegetables or add eggs to a buttered hot skillet before transferring to the oven until the whites are opaque but yolks remain runny. Regular use and maintenance of your skillet will build and preserve seasoning, making each cooking experience more successful than the last.
Flipping and Doneness Levels
When should you flip your eggs? You’ll flip once the egg whites set completely, typically after 4-5 minutes. Before flipping, gently shimmy the pan to confirm the egg slides freely across the surface.
Your flipping techniques depend on your comfort level. You can toss the pan upward using a wrist motion for an airborne flip, or slide a thin spatula underneath for an assisted flip. Cast iron skillets allow you to skip the spatula entirely if you’ve practiced the pan-toss method. For cast iron pans, ensure you use a generous amount of grease to facilitate smooth flipping and prevent sticking. Maintaining low heat consistently throughout the flipping process will prevent the egg from sticking to the skillet and ensure even cooking. If using cast iron on a glass top stove, place the skillet gently on the cooktop rather than sliding it to avoid surface damage. Similar to one-pot meals, cooking eggs in cast iron requires minimal cleanup when properly maintained.
After flipping, cook for an additional minute to achieve your preferred yolk doneness. For over-medium eggs, this brief post-flip cooking sets the whites completely while maintaining a slightly runny center. Remove from heat once your yolks reach the desired consistency.
Special Techniques
Mastering eggs in cast iron hinges on three foundational pillars: precise heat control, strategic fat application, and deliberate timing. For scramble techniques, use low-and-slow stirring with a silicone spatula, pulling curds from edges toward center to avoid scratching seasoning. Add a splash of milk or cream to boost steam and creaminess while reducing direct protein contact. Strain beaten eggs through a fine sieve for ultra-smooth results. When cooking fried eggs, crack them into a bowl first, then slide gently into the skillet once fat shimmers. Apply an egg coating of generous butter or high-smoke-point oil, swirling to fully coat the surface. Remove the skillet immediately upon reaching target doneness—cast iron’s heat retention continues cooking after removal. A cast iron skillet ensures even heat distribution throughout the cooking process, eliminating hot spots that can cause uneven browning or overcooking in certain areas. For optimal results, remove eggs from the skillet immediately after cooking to prevent overcooking from residual heat.
Cleaning and Maintenance
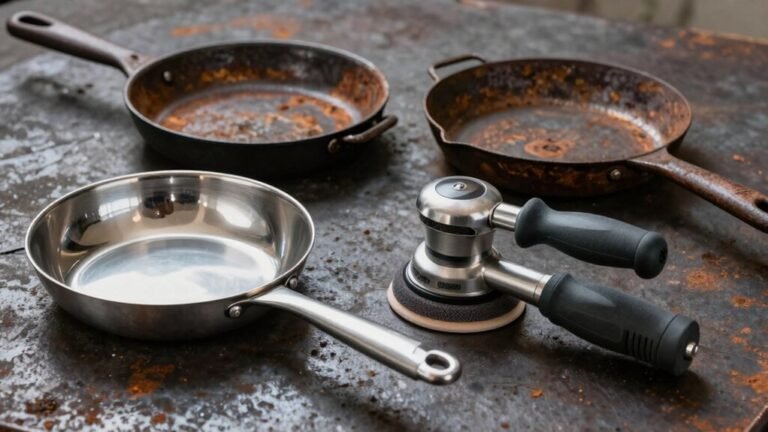
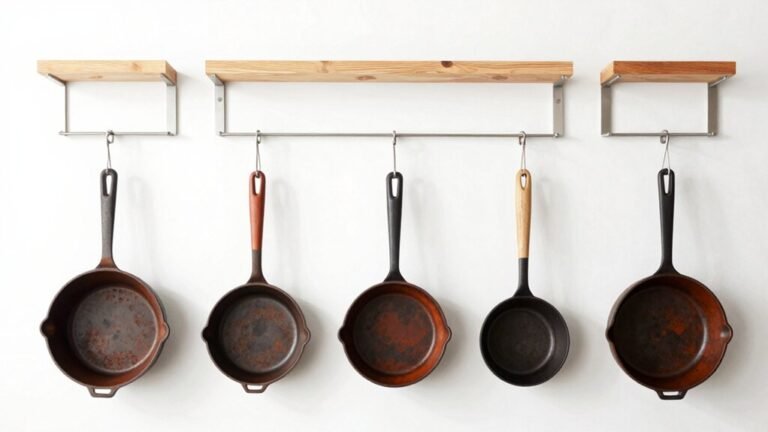
Proper cleaning and maintenance preserve the seasoning you’ve built through careful cooking and protect your skillet from rust and degradation. After cooking eggs, you’ll want to employ effective cleaning techniques immediately. Wipe excess oil and food residue with a paper towel, then rinse with warm water while using a stiff-bristled brush to remove loose bits. Scrub gently with soapy water, avoiding prolonged soaking that penetrates seasoning pores. Your maintenance tips should include complete drying—use a lint-free cloth and heat your skillet on the stovetop at low temperature until all moisture evaporates. For rust spots, apply steel wool or a salt scrub on affected areas. Finally, apply a thin oil layer across the entire surface, wipe to a matte finish, and store properly in a dry place to maintain your cast iron’s integrity. Most days, a simple wipe with a paper towel removes oil and food bits without requiring extensive scrubbing or water exposure. Remember that oil application after cleaning is essential for preventing moisture from causing rust and maintaining the protective seasoning layer. Clean your skillet while it is still warm to make food residue easier to remove and to allow the metal to absorb oil application more effectively. To restore heavily worn areas, consider re-seasoning by applying oil and heating in your oven at about 350°F (176°C) to rejuvenate the non-stick surface. Consistent maintenance practices ensure your skillet’s heat retention and durability for years of reliable cooking performance.
Mastering Multiple Egg Cooking Methods
Why do so many home cooks struggle with cast iron eggs when the foundation’s straightforward: you’ll master sunny-side up, over-easy, scrambled, omelets, and frittatas by controlling three variables—temperature, fat application, and timing.
Each egg variation demands specific timing adjustments. Sunny-side up requires one minute exposed, then one to two minutes covered to set whites while preserving runny yolks. Over-easy needs a careful flip after two minutes, followed by thirty seconds on the second side. Soft-scrambled begins in a cold pan with slow, gentle stirring until slightly underdone; carryover heat completes cooking. A well-seasoned pan is essential for ensuring your eggs release cleanly without sticking to the surface. The seasoning layer is formed by polymerizing oil at high heat, creating a nonstick, rust-resistant surface that protects the iron. To maintain this protective coating, use gentle cleaning methods that preserve the seasoning and prevent rust.
Omelets demand moderate preheating, quick edge-pushing, and brief folding. Frittatas leverage cast iron’s heat retention—start stovetop, finish in the oven for even browning, similar to how slow-cooking in the oven tenderizes tougher cuts of meat. For precise browning and charring effects on eggs, some home cooks use dedicated cooking torches with appropriate flame patterns for optimal results. For compact storage of cast iron cookware or other kitchen items, consider vacuum sealing techniques using simple household methods. Replenish fat between batches, maintaining consistency across your egg variations. Remember to allow food to sear before attempting to move eggs for better release and optimal non-stick performance.