You’ll join metals by heating base metals until they’re hot enough to accept molten filler metal, which flows into the joint through capillary action. Apply flux to shield surfaces from oxidation, then maintain a neutral flame with a defined inner blue cone. Use small circular motions while applying filler to guarantee consistent penetration. Allow joints to cool naturally, then mechanically clean oxidation with a wire brush. Understanding proper flame adjustment and cooling techniques will greatly enhance your brazing outcomes.
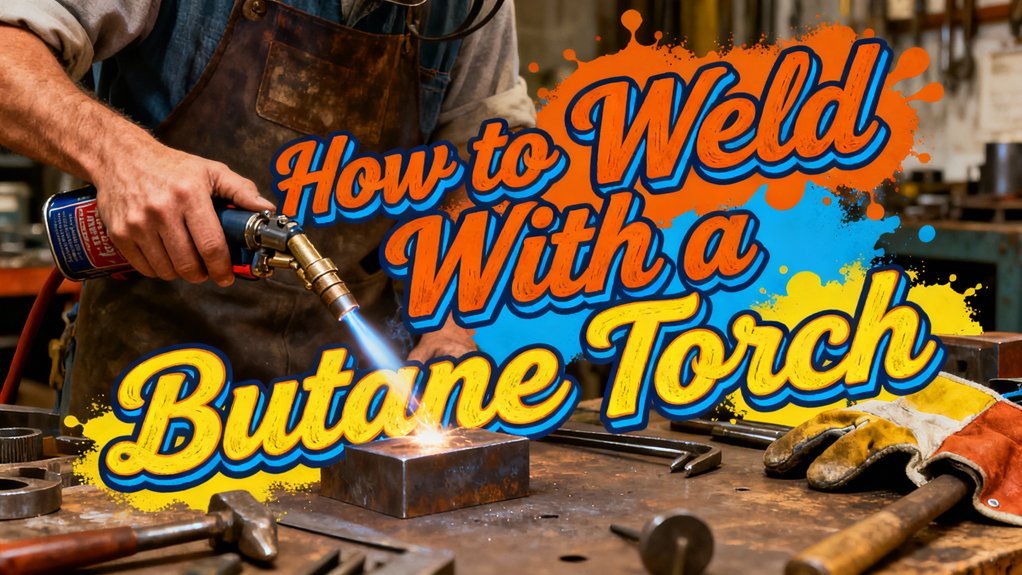
Understanding Butane Torch Basics
Before you attempt any welding or brazing work, you’ll need to understand what a butane torch can and can’t do. Butane torches come in three main torch types: micro/precision, culinary, and handheld plumbers’ models, each with distinct heat output capabilities. Your torch’s flame characteristics peak around 2,530°F—adequate for soft soldering and brazing but insufficient for fusion welding steel or thick alloys. Fuel energy from disposable canisters provides limited runtime, typically minutes to an hour depending on flow control settings. Ignition mechanisms rely on piezo spark technology in most consumer models. Different nozzle shapes determine heat concentration; smaller nozzles focus intensity for precision work. Like acetylene and propane, butane is one of the common fuel gases used in torch work, though it is less available than other options. For optimal results with your torch, proper flame control ensures you can adjust heat output to match your specific welding or brazing requirements. Always ensure your torch is turned off and cooled down before refilling your butane torch to prevent accidents and ensure safety. Regularly checking and replacing worn O-rings can help prevent leaks that compromise performance. For safety and optimal performance, never attempt to refill a butane torch with a different fuel type, as incompatible fuel sources can damage seals and valves or create hazardous operating conditions. Understanding material limitations prevents wasted effort on joints exceeding your torch’s temperature range.
Essential Safety Precautions
Since butane torches produce intense heat and open flames, you’ll need to prioritize safety before, during, and after every welding session. Start by wearing flame-resistant clothing, safety goggles, and heat-resistant gloves to protect yourself from sparks and arc flash. Regular equipment maintenance prevents dangerous malfunctions—inspect hoses, connections, and nozzles for leaks using soapy water, and replace worn parts immediately.
Minimize fire hazards by keeping flammable materials like grease, oil, and sawdust at least 35 feet away from your workstation. Guarantee proper ventilation using mechanical exhaust if fumes accumulate. Secure gas cylinders upright and position a fire extinguisher nearby. Conduct a two-hour supervision at the end of each day to assess fire risk and ensure all equipment has cooled properly. Use refined butane brands to prevent clogs and ensure optimal torch performance. Controlling flame intensity helps you avoid overheating your workpiece and creating structural weaknesses in the metal. Like preparing a one-pot meal, proper setup and organization of your welding workspace streamlines the entire process and reduces safety risks.
During operation, use a flint lighter, maintain safe distances from bystanders, and clamp your workpiece securely. Selecting the appropriate soldering tip size based on your workpiece thickness ensures better heat transfer and reduces the risk of thermal damage. Before refueling or storing your torch, ensure the torch is fully cooled to prevent dangerous accidents. After finishing, allow all equipment to cool completely before storing it in a dry location separate from your gas source. Store butane torches in food-grade sealed containers to prevent moisture and contaminants from affecting performance and safety.
Gathering Materials and Tools
Once you’ve secured your workspace and established proper safety protocols, you’ll need to assemble the specific equipment that makes butane torch welding possible. Start by selecting a butane torch suited for delicate work, ensuring it includes a refillable canister and adjustable flame control. You’ll need an ignition tool—either a flint lighter, electronic striker, or piezo lighter—to safely initiate the flame without direct contact.
Next, gather your filler materials in rod or reel form. These welding wires melt under heat, flowing into joints to create strong bonds as they cool. You’ll also want torch fuels on hand for refilling. Keep in mind that butane torches burn at 2,500º F, making them suitable for jewelry applications requiring precise temperature control. Unlike other gas welding methods, butane produces lower flame temperatures compared to acetylene, which makes it more cost-effective and portable for smaller projects.
Finally, prepare a gas welding blanket to protect your workspace from sparks and spatter. These heat-resistant materials safeguard surrounding furniture and prevent injury from molten debris, making them essential for safe operation. Similar to how enameled coatings protect cookware, heat-resistant blankets create a protective barrier against extreme temperatures and corrosive elements in your welding environment.
Mastering Flame Adjustment
Proper flame adjustment is fundamental to successful butane torch welding, as it directly controls heat delivery, joint quality, and material integrity. You’ll master flame types and flame identification by observing the inner cone‘s shape and color. Start by opening the fuel control slowly until a stable flame forms, then gradually adjust the air intake to develop the characteristic blue cone. A neutral flame—marked by a clearly defined inner blue cone—works best for most welding tasks. Watch for a yellow or luminous flame, which signals fuel-rich combustion; if you see it, increase air supply immediately. Make small, deliberate adjustments to the oxygen control rather than sudden large changes. Like campfire cooking that requires periodic rotation and adjustment, torch welding benefits from consistent monitoring to prevent hot spots and ensure uniform heat distribution. Lock the flame settings only once you’ve achieved the correct type and size for your specific application. Just as fitted lids help retain heat and moisture in cast iron cookware, proper flame control maintains consistent temperature throughout your welding process. The correct temperature is crucial for operational success, as it must be high enough to melt the filler metal while being low enough to protect the base materials. Butane torches provide quick, targeted heat for precision work on small-scale projects where controlled flame application is essential. For optimal results, ensure you use tear-resistant materials when working with heat sources to prevent damage during the welding process. Refill ease and maintenance practices are essential considerations when working with butane torches, as regular care ensures ignition reliability and consistent performance across multiple welding sessions.
Preparing Your Work Surface
Before you strike your first flame, you’ll need to establish a safe, clean workspace that supports both quality welds and accident prevention. Your workspace organization begins with selecting a well-ventilated, noncombustible work surface and maintaining a 3–6 foot clearance of flammable materials. Position a fire extinguisher within arm’s reach and guarantee adequate task lighting for joint inspection.
Surface preparation is equally critical. Remove oils, grease, and paint using solvent or degreaser, then mechanically strip oxides with a wire brush or grinding wheel until bright metal shows. For reactive metals like aluminum, perform final abrasion and solvent wipe immediately before heating to prevent re-oxidation. Avoid touching cleaned surfaces with bare hands; use clean gloves instead. Ensure your workspace maintains adequate ventilation to prevent dangerous gas accumulation during the welding process. Remember that butane torches contain flammable substances that require careful handling to maintain safety in your workspace. Assure mating edges fit tightly and evenly to promote efficient capillary flow of filler metal. When working with plastic materials, utilize a compatible plastic welding rod selected to match the specific plastic type being repaired for optimal bonding results. Allow time for carryover heating to dissipate after completing welds to ensure the joint reaches its final structural integrity.
The Brazing Process Explained
Brazing joins metals using a filler metal that melts and flows into the joint while your base metals remain solid—a key distinction from welding. Your filler materials must have a liquidus above 450°C (842°F) and wet the base metals without melting them.
For torch brazing, you’ll select filler materials based on your base metal compatibility and desired melting range. Copper-based, silver-bearing, or nickel-based alloys work best depending on your application.
Flux selection is critical for success. You’ll apply flux to protect surfaces from oxidation and promote wetting of your filler metal. For copper and brass, use borax or fluoride-based fluxes. Specialized fluxes suit aluminum joints. Ensure the flux has a minimum working temperature of 50°C below your alloy’s solidus temperature to maintain protection throughout the brazing cycle. Like cast iron skillets that require proper maintenance to preserve their surfaces, your brazed joints need proper flux protection to maintain integrity.
Heat both base metals uniformly, focusing on thicker sections first. To prevent damage to aluminum, avoid overheating the base metal during the heating process. Selecting the right torch size and tip configuration ensures you maintain proper heat distribution across your work. Just as preheating the dutch oven prevents cracking when baking bread, preheating your workpiece promotes even heat distribution and successful brazing. Once the joint reaches filler flow temperature, capillary action draws molten filler into the gap, creating a strong bond.
Cooling and Inspection Techniques
Once you’ve completed the brazing process, the cooling phase becomes as critical as the heat application itself—how you manage temperature decline directly impacts joint strength and dimensional stability. Allow joints to cool naturally to ambient temperature, avoiding rapid quenching that creates cracks or warping in thin or dissimilar metals. Use copper heat sinks positioned away from flux to draw heat gradually and reduce residual stress. For larger assemblies, employ staged cooling techniques by moving parts to a progressively cooler environment.
After cooling, implement inspection methods including visual assessment for fillet continuity, uniform wetting, and correct profile. Remove flux residues with manufacturer-recommended solvents and a stiff brush. Mechanically clean oxidation using wire brushes only after solidification. Rinse and dry promptly to prevent flash corrosion. Rework minor defects using appropriate reheat procedures. High-quality butane fuel ensures consistent combustion during any necessary rework, maintaining flame quality and temperature stability for reliable joint repairs.
Leak Testing Your Joint
After your cooled joint has been cleaned and inspected visually, you’ll need to verify its integrity through systematic leak detection methods. Apply soapy water solution directly to your pressurized joint and watch for bubbles, which indicate gas leakage requiring repair. For more sensitive applications, use commercial leak test fluid designed for torch components to prevent fire risks. You can also pump your system with compressed air and monitor pressure gauges over five minutes—significant drops signal joint failure. If you’re testing a butane cylinder directly, attach the torch, open the valve without lighting it, then apply soapy water to all connections. For optimal detection sensitivity, consider using a combustible gas detector with dual-mode capability to identify even small leaks before they become hazardous. Butane torches used for welding applications require different design considerations than culinary cooking torches, which are optimized for heat distribution rather than pressurized gas containment. Since butane torches can reach temperatures around 2,450 to 2,500 degrees Fahrenheit, they must be properly maintained and tested to ensure safe operation during any welding procedure. Most professional butane torches include built-in automatic ignition systems to ensure reliable and safe lighting during welding operations. Proper safety mechanisms should always be engaged before conducting any leak detection procedures on your equipment. Accurate temperature monitoring during welding operations helps prevent joint degradation and ensures consistent weld quality. Repeat testing after tightening any fittings to confirm joint integrity before operation.
Achieving Professional Results
Mastering butane torch welding hinges on three foundational elements: meticulous preparation, precise flame control, and deliberate filler application. You’ll achieve professional results by prioritizing joint cleanliness—thoroughly degrease and remove oxides with a wire brush to enable proper capillary flow. Maintain a neutral flame and preheat evenly using sweeping motions to avoid thermal gradients. Your torch technique directly impacts quality; hold the torch at a 45° angle a few millimeters from the work, employing small circular or zigzag motions across the joint. Feed filler into the heated base metal once it reaches the filler’s melting temperature, maintaining consistent feed rate to prevent inclusions. Move at steady speed, distributing heat uniformly to eliminate weak spots and guarantee lasting, reliable joints. Proper weld penetration is essential for achieving strength that matches the joined metal parts. Unlike heavy-duty industrial applications, butane torch welding is particularly beneficial for thin sections and fieldwork in remote locations where portability is essential.