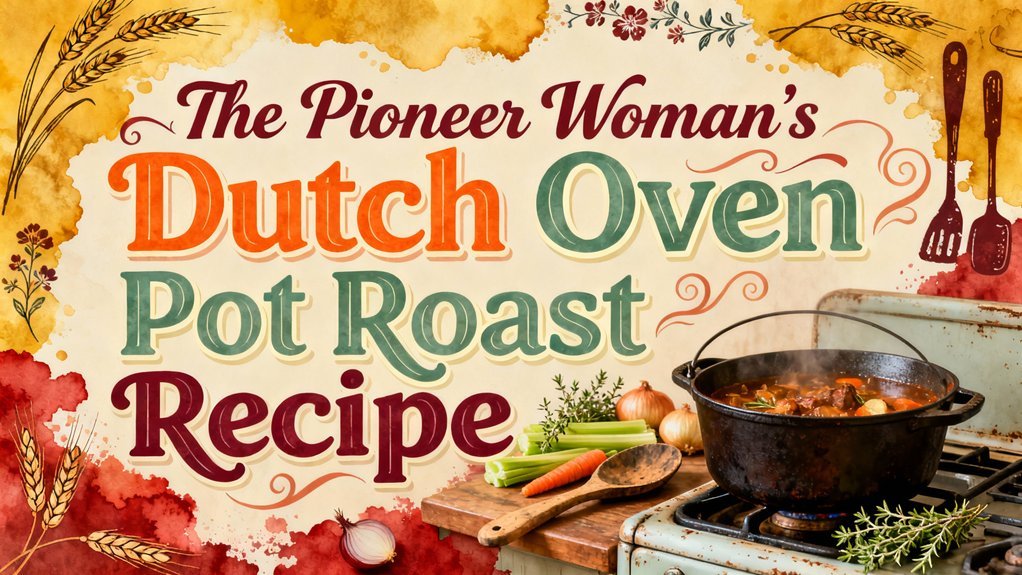
You’ll transform a tough chuck roast into fork-tender perfection by searing it until golden-brown, then braising it low and slow in a fragrant liquid of beef broth, wine, and fresh herbs for three to four hours at 300°F. The Pioneer Woman’s technique relies on patience and proper temperature—reaching 190–205°F internally—ensuring the meat shreds easily. Rest it fifteen minutes before serving atop creamy mashed potatoes with pan juices, caramelized vegetables, and uncover how strategic seasoning and timing elevate this classic comfort dish.
Ingredients & Equipment You’ll Need
Because a proper pot roast demands both time and technique, you’ll want to start with the right tools—specifically, a 4–6 quart enameled cast-iron Dutch oven that can handle the full braising journey from stovetop sear to low-and-slow oven braise. Its heavy construction guarantees steady heat retention throughout the 3–4 hour cook. A tight-fitting lid is essential for concentrating your braising liquid and reducing evaporation.
Beyond your Dutch oven, gather long tongs for safely handling your 3–5 lb chuck roast during high-heat searing, an instant-read thermometer for checking doneness, and heavy-duty oven mitts. You’ll also need heatproof spatulas for deglazing, measuring cups for precise liquid amounts, and a rimmed baking sheet for resting your seared meat. Browning of meat and vegetables adds depth of flavor to your final dish, making these deglazing tools particularly valuable for capturing those flavorful browned bits. For finishing touches, a flame control kitchen torch can beautifully caramelize any glazed surface on your finished pot roast, and ensure your torch uses clean-burning butane fuel for the best results. For best results, consider using a 13 x 16-inch stainless steel roaster as a suitable alternative if you prefer a traditional roasting pan for medium to large roasts.
Stock your pantry with quality beef stock, kosher salt, fresh aromatics, and optional enrichments like tomato paste and mushrooms for depth. To guarantee food safety, always check that your pot roast reaches an internal temperature of at least 190–205°F in the thickest part of the meat for optimal tenderness and safety. For longer storage of leftover pot roast, vacuum sealer bags provide an excellent method to preserve your finished dish while maintaining quality and preventing freezer burn. Like a chicken pot pie baked in cast iron, this Dutch oven pot roast benefits from even heat distribution throughout the cooking process.
Preparing Your Ingredients
Just as a Dutch oven’s heavy construction guarantees steady heat retention, thoughtful ingredient prep sets the foundation for a pot roast that’ll fall apart at the mere suggestion of a fork.
Start with ingredient chopping: halve onions for even browning, cut carrots into 2-inch pieces for uniform cooking, and trim excess fat from your chuck roast while preserving marbling. Measure your liquids—approximately 1 to 1.5 cups for smaller roasts, 2–3 cups for larger ones—ensuring stock covers the meat halfway.
Bundle fresh thyme and rosemary sprigs (2–3 per roast) to infuse flavor without overpowering. Regarding seasoning tips, generously coat your roast with kosher salt and freshly ground black pepper before searing. Arrange everything within arm’s reach to streamline your workflow and maximize efficiency during cooking. Chuck roast is the preferred cut for pot roast because its connective tissues break down beautifully during the long, slow cooking process.
Searing the Meat for Maximum Flavor
Heat your Dutch oven over medium-high heat until the oil shimmers. Pat your roast completely dry, then season with coarse salt and freshly ground pepper just before searing. Searing techniques require immediate contact between meat and hot metal; avoid overcrowding by working in batches if necessary.
Sear each side for 2–6 minutes, targeting a deep golden-brown crust. This flavor enhancement comes from the Maillard reaction, which creates complex savory compounds and fond—those caramelized brown bits clinging to your pot’s bottom. A Dutch oven’s durable construction ensures even heat distribution throughout the searing process, giving you consistent results every time. Dutch ovens develop superior browning capabilities through their exceptional heat retention properties, which sustain the high temperatures needed for optimal crust formation. For optimal results, ensure your Dutch oven has reached the optimal temperature before placing the meat in contact with the hot surface. Most home cooks should aim for a surface temperature around 500°F for searing to achieve the deep browning necessary for maximum flavor development.
Once browned, deglaze immediately with wine or stock, scraping every bit loose. These concentrated solids form your braising liquid’s umami foundation, ensuring your pot roast delivers maximum depth and richness. The deglazing process transforms the fond into a savory base that, when combined with beef broth and herbs, creates the flavorful cooking liquid that infuses your roast and vegetables with aromatic depth. The key to achieving that silky, luxurious gravy is to use flour or cornstarch as a thickening agent for your pan drippings.
Building the Braising Liquid
With your roast beautifully browned and the fond clinging to your pot’s bottom, you’re ready to build the foundation that’ll transform this dish into something truly exceptional. Start with deglazing techniques by scraping up those caramelized brown bits using a wooden spoon. Pour in red wine or beef broth, letting it sizzle for seconds without complete evaporation. Stir in Worcestershire sauce and tomato paste, creating a concentrated umami base for flavor enhancement. Bring this mixture to a gentle boil before adding your primary braising liquid of 2-4 cups beef broth. Add fresh thyme, rosemary, and bay leaves for aromatic depth. Season with kosher salt and black pepper, adjusting as needed. For optimal results, high-quality beef stock enhances the dish far more than lower-grade alternatives. Consider adding optional anchovy paste to deepen the umami complexity of your braising liquid. Your braising liquid now possesses the complex flavors that’ll infuse your roast with incredible richness.
Low and Slow Oven Braising
Once you’ve nestled your roast into that fragrant braising liquid, it’s time to harness the gentle, even heat of your oven to break down connective tissues and develop profound tenderness. Set your oven to 300°F, where low temperatures guarantee uniform heat distribution throughout your Dutch oven. This controlled environment is essential for effective braising techniques that transform tough cuts into fork-tender masterpieces.
Plan for approximately one hour per kilogram of meat, though most pot roasts require about three hours total. Flip your roast every hour—this periodic turning ensures even meat tenderness across all surfaces. Resist the urge to peek constantly; each opening releases precious heat. The heavy-bottomed pot with an oven-safe lid is critical for maintaining consistent temperatures throughout the braising process. Using a fitted lid helps retain moisture and heat, which are essential elements for successful braising. For optimal results, maintain your liquid level so that it covers approximately two-thirds of the meat throughout the cooking time.
Monitor your liquid level occasionally, topping up if necessary. As the meat braises, the prolonged moist heat will tenderize the beef and allow it to absorb the savory flavors of your braising liquid. Like precise temperature control in cooking methods such as sous vide techniques, maintaining consistent heat throughout the braising process is crucial for achieving predictable, restaurant-quality results. The Dutch oven’s exceptional heat retention makes it particularly suited for this methodical cooking style, ensuring that your oven temperature remains stable and your results remain consistent. A quality Dutch oven provides the even heat distribution needed to ensure that all portions of your pot roast cook uniformly and develop consistent tenderness. This patient, methodical approach rewards you with restaurant-quality results that’ll impress any table.
Checking for Doneness & Resting
After three hours of patient braising, you’ll want to confirm your roast has reached that ideal tender state before pulling it from the oven. Insert your thermometer into the thickest part, away from bone and fat seams—you’re targeting 195–205°F for sliceable perfection. Beyond temperature, employ doneness tests like the fork-tenderness check; your probe should slide through with minimal resistance. A toothpick should pass easily, and fibers should separate without effort. Connective tissues start to break down at 195°F, which is why this temperature range ensures optimal texture and moisture in your pot roast. For accurate temperature readings, ensure you’re using a meat thermometer with proper calibration techniques to guarantee reliable results. High-quality instant-read thermometers should read within +/-0.5°F of the true temperature when properly calibrated. Oven-safe probe thermometers can remain in the meat throughout the braising process for continuous temperature monitoring.
Once confirmed, remove your roast and let the resting benefits work their magic. Allow at least 15–20 minutes under loose foil on a rimmed cutting board. This resting period redistributes juices throughout the meat, dramatically reducing moisture loss when you slice. Just as with seared steaks, the internal temperature will continue climbing several degrees during this crucial resting phase. For best results with a covered pot like the metal 6-quart stock pot used in braising, ensure the pot is removed from the heat source before beginning your rest period. You’ll notice the internal temperature climb another 3–10°F during this essential phase, so plan accordingly for perfect results. Consider making a gravy from the pan drippings with cornstarch for serving alongside your perfectly rested roast.
Serving Suggestions & Leftovers
Your perfectly rested pot roast deserves a presentation that honors all your effort—and the good news is that simplicity wins here. Place your meat atop creamy mashed potatoes, then spoon pan juices over everything. Add cooked carrots and caramelized onions for depth and color.
For plating ideas, shred the beef with two forks if it’s fall-apart tender, then arrange it with a side of potatoes. Consider upgrading your base with cheddar-sour cream mashed potatoes or French onion potatoes au gratin.
Your leftovers reveal endless possibilities. Transform shredded beef into stir-fries with broccoli, BBQ ranch baked potatoes, or Tex-Mex salads. The pressure cooker method allows you to prepare this dish efficiently, making it perfect for batch cooking and creating multiple meal options throughout the week. After cooking, remember to allow natural venting for at least 10 minutes before opening the pot to ensure safe pressure release. Divide portions into containers with mushrooms and pan juices, then freeze for convenient weeknight meals.