You can cook pork chops perfectly without cast iron by using stainless-steel skillets, Dutch ovens, or your oven. Preheat your oven to 400°F and bake 1-inch chops for 15-20 minutes until they reach 145°F internally. Alternatively, sear chops 2-3 minutes per side in a heavy-bottomed stainless-steel skillet, then finish in the oven. Grilling works excellently too—use two-zone heating and monitor temperature carefully. Brining beforehand and resting chops after cooking keep them moist and tender. Each method yields restaurant-quality results when you understand the proper techniques.
Oven Baking for Quick and Even Results
Oven baking delivers consistently tender pork chops when you’ve got the right temperature and timing down. Start by preheating your oven to 400°F and positioning your oven rack in the center for uniform heat distribution. While it preheats, rest your pork chops at room temperature for 20-30 minutes, then pat them dry and rub with olive oil and seasoning. Place them in a lightly oiled baking dish, then bake 1-inch boneless chops for 15-20 minutes. For bone-in varieties, expect 20-25 minutes. Use a digital instant-read thermometer to verify they’ve reached 145°F, then let them rest 3-5 minutes before serving. Thick-cut pork chops between 1 to 1.5 inches deliver the best results for this baking method. Proper preheating techniques ensure your oven reaches optimal temperature before cooking begins. For even better results, marinate the chops overnight to improve tenderness and enhance flavor absorption. Remember to measure temperature at the thickest part of the chop without touching bone, which can give false readings. Similar to Dutch oven cooking methods, adjusting seasoning before serving ensures optimal flavor in your finished dish. Like Dutch ovens, baking dishes offer exceptional heat retention that promotes even cooking throughout the meat. Cast iron Dutch ovens are also popular for campfire dessert cooking, where the even heat distribution creates perfectly baked treats in outdoor settings. This method guarantees even cooking without the skillet hassle.
Keeping Your Pork Chops Moist During Cooking
Since pork chops are a lean cut, moisture retention requires deliberate technique and temperature control throughout cooking. Brining techniques—either wet or dry—significantly enhance water-binding in muscle proteins. Wet brining uses 1/4–1/2 cup kosher salt per quart of water for 4–12 hours, while dry-brining requires 12–24 hours of resting time. For optimal results with dry brining, aim for the maximum 24-hour window to fully enhance moisture retention and flavor development.
Cook to 145°F internal temperature, pulling chops 3–5°F below target to account for carryover cooking. This USDA-revised guideline guarantees both safety and juiciness without overcooking. Proper food storage life begins with understanding how cooking technique directly impacts the shelf stability of your finished pork chops. For extended storage, consider using vacuum sealer bags to preserve your cooked pork chops and maintain their quality in the freezer. Vacuum sealing removes air from specially designed bags, preventing freezer burn and significantly extending the shelf life of your cooked pork chops. This method also helps maintain the meat’s quality by preventing bacterial growth and oxidation. Preventing flash rust formation during storage requires keeping cooked pork chops in airtight conditions to minimize oxidation and degradation.
During the final minutes, butter-baste with aromatics to coat the surface and reduce moisture loss. Continuously spoon pan juices over the chops to keep them hydrated. Butter enhances the overall taste experience beyond simple moisture retention. Rest for 5–10 minutes afterward, allowing juices to redistribute and minimize drip loss.
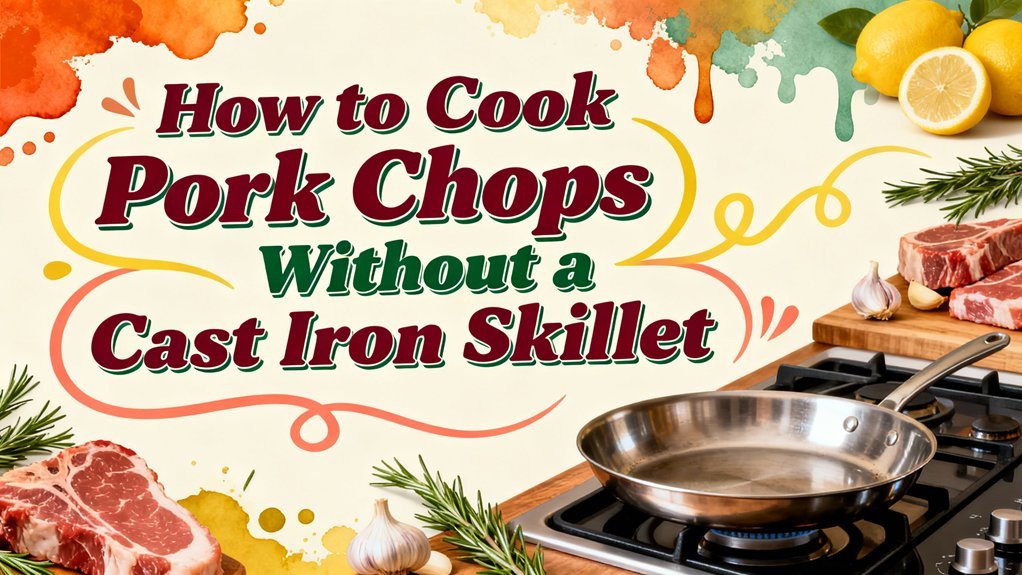
Stovetop Skillet Alternatives to Cast Iron
While cast iron dominates the pork chop conversation, you’ve got several excellent stovetop alternatives that deliver consistent results without the maintenance demands. Stainless steel pans feature multi-ply construction that conducts heat evenly from center to edge, eliminating hotspots that compromise browning. Carbon steel offers a lighter-weight option with responsive temperature control favored in commercial kitchens—it develops seasoning like cast iron but without the heft. Both materials tolerate stovetop-to-oven shifts seamlessly. You’ll achieve the best searing by preheating thoroughly before adding pork chops, then cooking at medium heat for even doneness. Hard anodized aluminum provides a rust-resistant and durable surface that delivers even heating for consistent browning results. These alternatives can transition from stovetop to oven with the same ease that makes cast iron such a versatile cooking tool. These alternatives require adjusted techniques compared to cast iron’s forgiving nature, but they’re equally capable of producing perfectly cooked, juicy pork chops with superior browning and precise heat control.
Grilling and Outdoor Cooking Methods
Moving beyond the stovetop, grilling delivers superior crust development and distinctive flavor that indoor methods can’t match. You’ll employ two-zone grilling techniques by arranging your grill with direct and indirect heat zones. Preheat to 400–450°F, then sear thick bone-in chops for 2–3 minutes per side to establish crust and grill marks.
Transition chops to your cooler indirect zone (around 225°F) to finish cooking gently. Use an instant-read thermometer to monitor internal temperature, pulling chops at 140°F to account for carryover cooking during the essential 3-minute rest. Let your pork chops rest for 5 minutes after grilling to ensure maximum juiciness and tenderness.
Your outdoor embellishments matter greatly. Apply dry rubs beforehand and reserve sugar-based marinades until the final minutes to prevent burning. Pat chops dry before grilling and oil your grates thoroughly to minimize sticking. For optimal results, bone-in pork chops retain juiciness and flavor better than boneless varieties, delivering more tender and succulent meat on the grill.
Low-and-Slow Braising and Moist-Heat Techniques
When you’re ready to trade high heat for patient, gentle cooking, braising transforms pork chops into fork-tender results that showcase the meat’s natural richness. Start by searing chops 2–5 minutes per side in a heavy-bottomed stainless-steel skillet to develop fond. Use an enameled Dutch oven or ovenproof sauté pan for your braising techniques, which guarantee even heat distribution and moisture retention. Add 1–2 cups braising liquid (stock plus wine or vinegar) with aromatics and umami boosters like tomatoes or Worcestershire. Maintain a gentle 300–325°F simmer for 30–60 minutes until fork-tender. Keep chops partially submerged to preserve texture while concentrating sauce. Rest covered 5–10 minutes before serving, allowing juices to redistribute. Repeated additions of water during the braising process will help create deep brown pan juices that enhance the final dish with rich, developed flavors. This braising method can accommodate frozen meat without prior thawing, making it a convenient option for weeknight meals. For optimal results, verify your oven maintains accurate oven temperature consistency by checking multiple readings before braising. Unlike high-heat cooking methods, braising’s even heat distribution ensures consistent results without relying on specialized equipment. Dutch ovens excel at these low-temperature braises due to their tight-fitting lids that trap steam and maintain stable cooking environments. The combination of moist-heat cooking and aromatics in the braising liquid creates deeply flavored results similar to how traditional pot roasts develop their characteristic savory taste. When finished, you can shred the pork or slice it for serving, and consider making a gravy from pan drippings to complement your dish.
Seasoning Your Pork Chops for Maximum Flavor
Once your pork chops are ready for the skillet, seasoning becomes your next critical step—it’s what transforms braised or seared meat from good to extraordinary. Start by patting your chops dry, then mix your spice blends in a small bowl for uniform distribution. Build your foundation with kosher salt, ground black pepper, smoked paprika, garlic powder, and onion powder. Layer in brown sugar for caramelization, then customize your flavor profiles with dried sage, thyme, or cumin. For advanced depth, incorporate five-spice powder or warm spices like nutmeg. Begin cooking at a lower temperature to allow your seasoning to caramelize without burning. Store your spice blends in airtight containers to maintain their potency and ensure they deliver consistent flavor results. Apply seasoning minutes before cooking, or explore marinating methods using lime juice for 2+ hours to tenderize and brighten your meat. These seasoning techniques guarantee maximum flavor penetration throughout your pork chops.
Thickness, Temperature, and Timing Guidelines
Your pork chop’s thickness dictates everything that follows—the cooking method, heat level, and total time you’ll need to reach a safe 145°F internal temperature. Thin chops (~0.5–0.75 in) require quick, high-heat cooking methods like pan-frying or broiling for 2–4 minutes per side to prevent drying. Medium chops (~1–1.25 in) work well with pan-searing followed by oven-finishing at 375–400°F for 10–15 minutes. Thick chops (~1.5–2 in) benefit from low-and-slow approaches, searing then roasting at 325–350°F for 20–30 minutes. Consider marinating your pork chops for 1 hour to 24 hours before cooking to enhance both flavor and tenderness. Store marinating pork chops in airtight containers to prevent oxidation and maintain quality during the marination period. Vacuum sealing your marinated pork chops can help extend food freshness and lock in flavors before cooking. Always use an instant-read thermometer at the thickest part for accuracy. Plan for 5–10°F carryover cooking after removal from heat, then rest your chops minimum three minutes before serving. A Dutch oven can also be used as a versatile cooking vessel for roasting whole proteins evenly with excellent heat retention and distribution. Proper maintenance of your cooking vessel, whether through regular cleaning or building seasoning, will enhance its performance and longevity. If using a glass top stove, opt for cookware with smooth bottoms to avoid scratching the surface. Online recipes generalize cooking guidelines, so adjusting temperature based on your specific chop thickness will enhance your results.
Food Safety and Yield Considerations
Achieving the perfect cook on your pork chops means nothing if you’ve compromised food safety along the way. Proper food handling starts before cooking—you’ll want to refrigerate raw pork within two hours of purchase and maintain temperatures at 40°F or below. Use separate cutting boards for raw meat and produce to prevent cross-contamination.
When you’re ready to cook, cook pork chops to 145°F minimum with a three-minute rest period. This temperature guarantees safety while preserving juiciness and tenderness. To verify you’ve reached the correct temperature, use a cooking thermometer and check its accuracy periodically to ensure reliable results. Modern thermometers use infrared sensors to quickly capture heat signatures and convert them into accurate temperature readings. After cooking, serve immediately on clean plates using fresh utensils—never surfaces that held raw meat. Consider using an adjustable rack to elevate your pork chops off direct heat sources, promoting better air circulation during roasting.
For safe storage of leftovers, refrigerate within two hours and reheat to 165°F. Discard marinades that contacted raw pork or boil them before reuse. Wash your hands thoroughly with hot, soapy water before and after handling raw pork to eliminate potential bacteria. Divide large amounts of leftover pork into small, shallow containers for faster cooling and proper storage. These practices uphold both quality and safety.