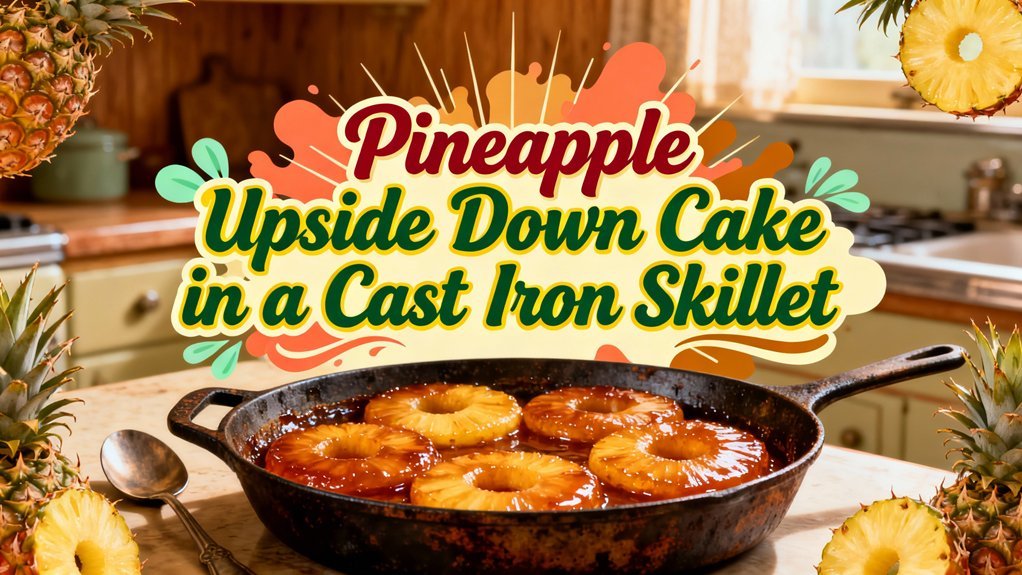
You’ll melt butter and brown sugar over medium-low heat, then pour the hot caramel into your preheated 10-inch cast iron skillet. Pat your pineapple slices dry and arrange them in a decorative pattern, nestling maraschino cherries into the centers. Pour your yellow cake batter—made with pineapple juice, eggs, and oil—over the fruit layer. Bake at 350°F for 30-35 minutes until a toothpick exits clean. Cool for 5-10 minutes, then invert onto a serving plate. Uncover additional techniques that’ll elevate your skillet baking game.
Ingredients You’ll Need
You’ll need several key components to build this classic dessert. For your topping base, gather 1/2 cup unsalted butter and 1/2 cup brown sugar—this creates your caramelized foundation. You’ll require one 20 oz can of pineapple slices in juice, reserving the liquid for syrup options that’ll enhance moisture and cake flavors. Thirteen maraschino cherries without stems provide traditional garnish between pineapple rings.
For the cake batter, choose either a boxed yellow cake mix or flour-based dry ingredients: 1 1/2 cups all-purpose flour, 1 1/2 teaspoons baking powder, and 1/2 teaspoon salt. Your wet ingredients include 1/3 cup vegetable oil, reserved pineapple juice combined with water to reach one cup, and three eggs. This combination guarantees proper moisture distribution throughout your cast iron skillet cake. Like the popular Dutch oven camping desserts, cast iron cooking creates beautifully caramelized results through even heat retention and distribution. The cast iron skillet’s ability to trap heat effectively ensures consistent baking results similar to specialized baking vessels. A heat diffuser can further optimize your stovetop’s performance if you’re using your skillet on gas or electric burners. Using both dark and light brown sugars in your topping will result in a more flavorful and moist dessert than using a single type of sugar. A boxed cake mix like Betty Crocker Super Moist Butter Cake Mix is recommended as a smart shortcut for reducing measurement errors and increasing your chances of perfect results. Proper air-tight sealing of your ingredients, particularly when storing pineapple juice for future use, helps maintain freshness and prevent oxidation.
Essential Equipment and Tools
Success with pineapple upside down cake hinges on selecting the right cookware and gathering essential mixing and preparation tools.
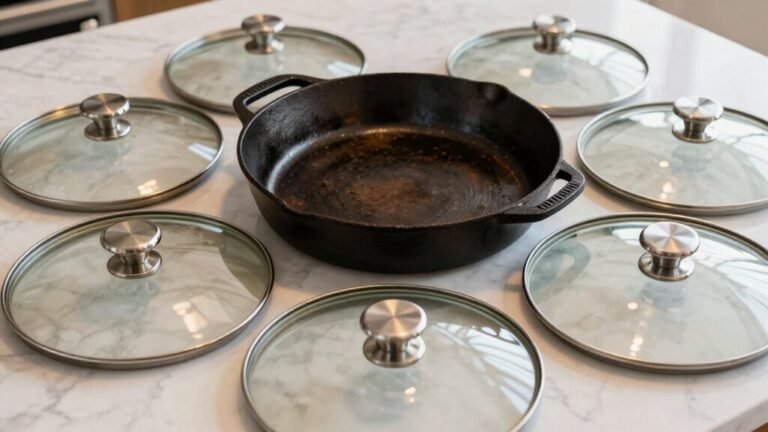
You’ll want a well-seasoned 10-inch cast-iron skillet for ideal caramelization and even heating. The skillet benefits include natural non-stick properties and superior heat retention, which prevent uneven baking. Alternatively, a 10.5-inch well-seasoned cast-iron or 12-inch ovenproof nonstick skillet works effectively for larger arrangements. Cast iron skillets yield a superior caramelized topping compared to standard pans due to their excellent heat distribution. Proper preheating techniques ensure your skillet reaches the ideal temperature for perfect cake results. Lodge cast iron cookware is renowned for its durability and longevity, making it an investment that lasts for generations. The natural non-stick surface of cast iron improves with proper seasoning over time, creating an increasingly smooth cooking surface.
For mixing techniques, you’ll need mixing bowls for combining ingredients and an electric mixer to beat the cake mix, juice, oil, and eggs for 2 minutes. Measuring cups guarantee precise liquid volumes like pineapple juice. Gather standard kitchen spoons for stirring butter and brown sugar. Using weight-based measurements for flour will prevent a dry cake and improve overall results.
Preparation aids include cooking spray, paper towels for patting dry pineapple and cherries, a heatproof serving plate for inverting, and a knife for loosening cake edges. Proper preparation ensures your ingredients maintain their quality, similar to how minimizing air exposure preserves food freshness during storage. For bakers who prepare large batches of pineapple upside down cake, consider using storage compartments to organize your tools and ingredients efficiently.
Preparing Your Cast Iron Skillet
Preparing your cast-iron skillet properly guarantees excellent caramelization and prevents sticking during baking. Start by cleaning with warm soapy water and coarse salt to remove residue without damaging the surface. Dry thoroughly with a kitchen towel to prevent rust.
Next, apply skillet seasoning using avocado oil or Crisco, coating the interior, exterior, and handle. Wipe away excess oil with a lint-free cloth to avoid pooling. Preheating your skillet gradually allows the oil to bond properly through polymerization, creating a durable nonstick surface. Preheat your skillet in a 200-350°F oven for 5-20 minutes, positioning it upside down for even heating. This gradual warmup guarantees proper oil bonding without burning off the protective layer. For optimal results, two hours at 400 degrees will create a non-sticky, well-adhered seasoning layer that performs beautifully. Like the slow-braising techniques used in Dutch oven cooking, this patient approach to cast iron preparation ensures superior results.
Your rust prevention strategy depends on consistent maintenance and complete drying after each use. Similar to how resting meat after cooking allows juices to redistribute, allowing your cast iron to cool completely before storage helps prevent moisture damage. To further protect the exposed cast iron edges, periodically season them with a light coat of high smoke point oil baked in the oven. When storing your skillet for extended periods, ensure it remains coated with oil and covered to prevent dust accumulation. These preparation steps create an excellent nonstick surface for your pineapple upside-down cake.
Making the Cake Batter
What’s the secret to a tender, moist pineapple upside-down cake? You’ll start by whisking together your dry ingredients—cake flour, baking powder, baking soda, and salt—in one bowl. In another, you’ll cream softened butter and granulated sugar for about two minutes until light and fluffy. Beat in egg whites one at a time, then add vanilla extract, sour cream, pineapple juice, and milk. Gradually incorporate your dry mixture into the wet ingredients, beating on low speed until smooth. This technique guarantees even distribution and prevents overmixing. You’re aiming for a thick cake consistency that prevents batter leaking into your skillet. Make sure to preheat your cast iron skillet properly so the batter sets evenly when it hits the hot surface. Preheating creates the signature crispy, golden-brown edges that make cast iron superior to other baking vessels. The tight-fitting lid of cast iron helps retain moisture during baking for optimal cake texture. Cast iron’s superior heat retention ensures your cake bakes consistently throughout without hot spots that can occur with traditional pans. When working with cast iron, maintaining stable oil temperatures during the cooking process is crucial for even baking results. For this recipe, you can use a Betty Crocker Super Moist Yellow Cake Mix as a convenient alternative to mixing dry ingredients from scratch. The creamed butter ensures a buttery soft texture that complements the heavy fruit topping. If needed, ingredient substitutions like yogurt for sour cream or all-purpose flour work equally well, maintaining your desired batter texture.
Creating the Caramelized Topping
The foundation of your upside-down cake’s signature caramelized glaze rests on just two essential ingredients: unsalted butter and brown sugar. Melt one-third to six tablespoons of butter over medium-low heat for two to three minutes until fully liquid. Add two-thirds to one cup of packed brown sugar, stirring constantly until you’ve achieved a smooth, dissolved mixture with suitable caramel consistency.
Pour your hot melted mixture into a greased cast iron skillet, tilting the pan to coat the bottom evenly. Spread the butter across the base using the pan’s tilt or a spatula for uniform distribution. Sprinkle brown sugar evenly without stirring initially, maintaining one-quarter to one-half inch depth. Refrigerate the topping for ten to fifteen minutes, allowing it to solidify before adding your batter. To ensure accurate temperature control during melting, consider using an infrared thermometer to verify your butter has reached the optimal heat level. Suitable butter temperature guarantees prime caramelization during baking. For optimal results, arrange your pineapple slices decoratively over the caramelized mixture before pouring the batter, ensuring the fruit creates an attractive pattern when the cake is inverted. let the cake rest for 10 minutes after baking before inverting to ensure the caramelized topping releases cleanly from the cast iron skillet.
Arranging the Fruit
Before you arrange the pineapple and cherries on your prepared caramel base, you’ll want to pat your fruit dry with paper towels to remove excess liquid that’d otherwise saturate your cake. Start by positioning one whole pineapple ring in the center, then halve three additional rings and arrange them around the skillet’s sides to establish fruit symmetry. Fill remaining gaps with whole rings in a 4×3 grid pattern, shingling slices neatly across the pan bottom.
For decorative techniques, place one maraschino cherry in each pineapple ring’s center hole, using approximately twelve cherries total. Position extra cherries to fill gaps between slices. Press all fruit firmly into the brown sugar layer, ensuring direct contact with the pan bottom. This pressure intensifies caramel color vibrancy and prevents surface tarnish. To maintain your cast iron skillet in optimal condition for baking, ensure proper seasoning of the pan before use. The key to achieving optimal results is using room-temperature ingredients to ensure even baking and caramel development. The caramel sauce should be infused with bay leaf and long pepper to deliver the distinctive Caribbean-inspired spice notes that define this modern twist on the classic dessert. To achieve the signature appearance of this classic dessert, consider using canned pineapple slices in juice rather than fresh pineapple, as they provide consistent thickness and moisture throughout the cake. Set your arranged fruit aside before pouring batter.
Baking Your Cake to Perfection
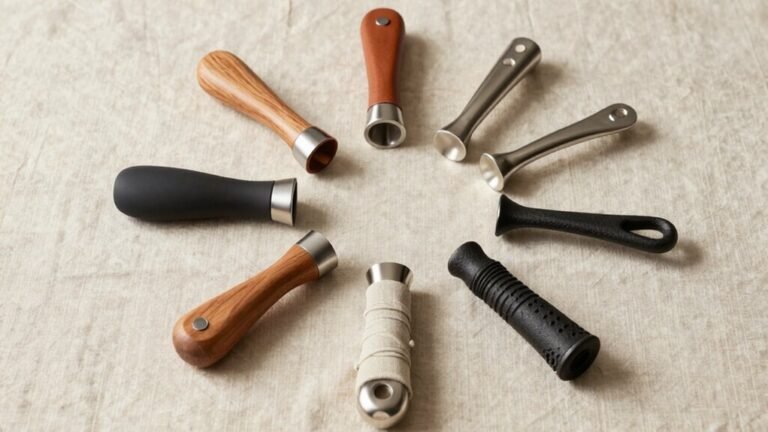
Once you’ve arranged your fruit, preheating your oven to 350°F guarantees even baking throughout your cake, though you’ll want to bump the temperature to 375°F if you’re working with denser batter or multiple skillets, or lower it to 325°F for larger pans that benefit from slower, gentler heat. Position your rack centrally for uniform results. Bake 30-35 minutes, checking at the 30-minute mark for bubbly sides and a browned top. Insert a toothpick into the center—a clean exit confirms doneness. You’re targeting an internal temperature of 200-205°F. These baking techniques directly influence texture variations; underbaking produces soggy centers while proper timing yields moist, perfectly structured cake. For even heat distribution, consider rotating the skillet and lid periodically throughout the baking process to prevent hot spots. The heavy cast iron material naturally traps and distributes heat evenly, similar to how professional bakers rely on specialized equipment for consistent results. Like a slow-roasting method, allowing your cake adequate time in the oven ensures the interior reaches the desired doneness. A silicone handle holder will protect your hands when handling the hot skillet during this rotation. Sides’ll pull slightly from the skillet walls when fully baked. Using a cast iron skillet rather than glass dishes will enhance the overall flavor of your pineapple upside down cake during the baking process. Once your cake has cooled completely, consider vacuum sealing techniques to preserve freshness if you plan to store leftovers for several days.
Cooling and Flipping Techniques
Your pineapple upside down cake requires strategic cooling before you flip it—waiting just 5-10 minutes allows the structure to set while the caramelized topping remains pliable enough to release cleanly from the cast iron skillet. Run a knife around the rim to loosen the cake’s edges, then position a heatproof serving plate larger than your skillet over the top. Invert decisively, allowing gravity to work with you. If fruit pieces stick to the pan, simply reposition them onto the cake’s surface. Your cooling techniques directly impact success; avoid overcooling beyond one hour, as sugar sets and complicates removal. For optimal results, ensure your oven temperature reaches 350°F during the initial bake, which helps the brown sugar caramelize properly and ensures even cake structure development. If any fruit pieces or pecans remain in the skillet after inverting, place cherries on top of the cake to enhance its festive appearance. After flipping, allow an additional 30 minutes cooling before serving to guarantee structural integrity and ideal texture development.
Creative Recipe Variations
Now that you’ve mastered the fundamentals of flipping and cooling, you can experiment with variations that customize your cake to personal preferences and ingredient availability.
You’ll uncover unique flavor combinations by adjusting your batter base. Swap yellow cake mix for butter cake mix, or prepare from-scratch batter using flour, baking powder, buttermilk, and vanilla extract for enhanced moisture and tenderness. Vanilla extract particularly boosts the cake’s buttery character.
Explore seasonal fruit options beyond pineapple. Reserve fruit juice to measure one cup for your batter, creating cohesive flavor profiles. Enhance your topping by boiling pineapple juice with butter and firmly packed light brown sugar to develop a caramelized crust. Like cast iron skillet pizza, proper oven temperature management ensures even baking and optimal texture development.
Top each fruit slice with maraschino cherries for visual appeal. When using cast iron skillets with wooden handles, remember to hand wash these skillets after baking to preserve both the pan’s seasoning and the integrity of the handle. These modifications transform your cast iron skillet cake while maintaining its signature gooey, juicy texture.
Pro Tips for Success
The success of your pineapple upside down cake hinges on mastering several critical techniques that transform a simple dessert into a caramelized masterpiece. Prioritize skillet maintenance by seasoning cast iron regularly to guarantee a natural non-stick surface and superior flavor enhancements. For baking techniques, preheat your oven to 350°F and position the skillet on the center rack for even heat distribution. Pat your pineapple rings completely dry—moisture compromises caramelization and topping alternatives like dried fruit require similar preparation. Cook your topping on the stovetop until bubbly and slightly thickened, approximately 5-7 minutes, before pouring batter. Avoid overmixing your batter to prevent density, as this technique applies equally to other individual-sized desserts baked in cast iron. Cool the cake 10-30 minutes before inverting, using oven mitts for safety. Promptly scrape and patch any stuck pieces back onto the top. A fitted cast iron lid can help retain moisture and heat during the cooling phase, ensuring your cake maintains its ideal texture. Just as a tight-fitting lid creates the steamy environment needed for bread baking, it similarly supports optimal moisture retention for your inverted cake.