You’ll transform your Dutch oven into a nutrient-delivery system by mastering slow-cooking techniques that concentrate minerals and preserve bioavailable compounds. Layer complex flavors through sautéed aromatics, lean proteins, and whole grains without added sodium. The self-basting cycle locks in heart-healthy fats while reducing cook time through superior heat retention. Swap saturated fats for olive oil, use Greek yogurt instead of cream, and incorporate dark leafy greens for micronutrient density. Uncover how strategic ingredient substitutions and balanced macronutrient ratios elevate every one-pot meal you’ll create.
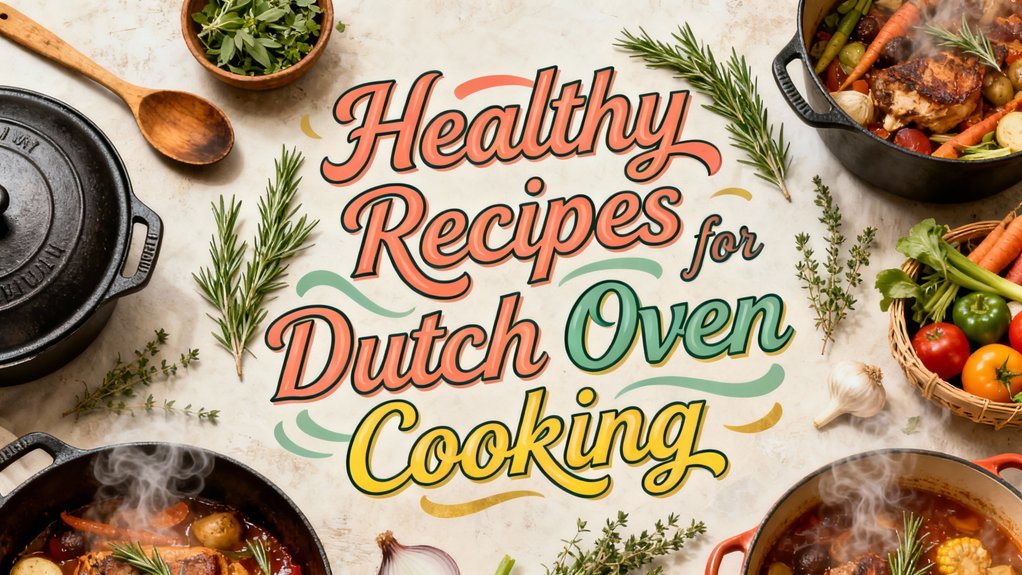
Nutrient-Dense One-Pot Meals for Optimal Health
Because Dutch oven cooking concentrates nutrients through prolonged simmering, you’re maximizing nutritional density in every serving. During extended heat exposure, vegetables, meat, and bones leach essential minerals and vitamins into the cooking liquid. Your absorbent ingredients—noodles, rice, or grains—capture these nutrients through direct nutrient absorption, fortifying less nutrient-dense components.
This flavor infusion process simultaneously builds complex taste profiles while preserving bioavailable compounds. You’ll achieve nutritional equivalency to multi-pot cooking methods without sacrificing efficiency. The Dutch oven’s retained heat and sealed environment create ideal conditions for nutrient extraction and ingredient integration. The exceptional heat retention and distribution properties of Dutch ovens make them particularly effective for developing rich, complex flavors during the cooking process. When you deglaze with beef stock, you further enhance the nutrient profile by incorporating additional minerals and collagen from bone-based broths. Their tight-fitting lids ensure moisture stays trapped inside the pot, preventing nutrient loss through evaporation. Incorporating protein sources like chicken, ground turkey, beans, or fish ensures your one-pot meals deliver essential amino acids and sustained energy throughout the day. The minimal processing of whole ingredients in Dutch oven cooking promotes healthier meal outcomes by avoiding unnecessary additives and preservatives.
Low-Sodium and Heart-Healthy Modifications
You don’t need added salt to build satisfying flavor in Dutch oven cooking—you’ll achieve depth through strategic layering of herbs, spices, acids, and umami compounds instead. Toast aromatics and proteins to develop Maillard complexity, then brighten dishes with citrus juice and vinegars added near completion. Incorporate umami-rich ingredients like roasted mushrooms and reduced-sodium soy sauce to preserve savory notes without excess sodium.
Replace processed broths with homemade low-sodium stocks and swap cured meats for lean proteins to reduce sodium and saturated fat. Use heart healthy fats sparingly—measure extra-virgin olive oil by spoonfuls rather than free-pouring. Employ whole-food thickeners like pureed beans for creaminess with fiber. A tight-fitting lid on your Dutch oven creates a self-basting cycle that allows flavors to meld together on low heat without requiring added salt for depth. Searing proteins before simmering develops deeper flavor complexity through the Maillard reaction. Dishes like beef, barley, and vegetable soup demonstrate how simmering tender vegetables and grains in rich broth develops complex flavor naturally. If you lack a Dutch oven, alternative cookware options like cast iron skillets with lids or heavy pots with snug lids can achieve similarly tender results when they retain heat and moisture effectively. The heavy, thick-walled construction of your Dutch oven provides superior heat retention and even distribution, ensuring consistent temperatures throughout the cooking process that maximizes flavor development. Consider a 5-quart Dutch oven if you’re cooking for a small family, as its compact size allows for faster preheating and easier handling while still accommodating adequate portions for healthy meals. Proper temperature control and heat retention are critical factors that directly impact cooking outcomes, much like how precision matters when using specialized culinary equipment for other cooking methods. Prioritize high-potassium vegetables and legumes that counteract sodium’s effects while supporting blood-pressure regulation.
Time- and Energy-Efficient Healthy Techniques
While Dutch ovens excel at slow cooking, they’re remarkably efficient when you’ve mastered heat management and layered cooking techniques. You’ll achieve energy savings by preheating at medium-high, then reducing to low heat for extended cooking periods. The thick walls retain heat exceptionally well, reducing briquette consumption compared to conventional ovens. Cast iron retains heat longer than aluminum alternatives, making it the superior choice for extended cooking sessions.
Your efficient cooking strategy begins with sautéing aromatics and vegetables first, building foundational flavors before browning meat in single layers. This layered approach maximizes taste development while minimizing cook time. The self-basting cycle of a Dutch oven ensures superior heat retention for better cooking results throughout the process. You’ll rotate the oven every 10-15 minutes and refresh coals every 45 minutes only when necessary. Submerging meat in a flavorful cooking liquid with herbs and seasonings creates tender, deeply flavored results similar to traditional pot roast preparations. For longer storage of your Dutch oven meals, consider vacuum sealing techniques to preserve leftovers and maintain their quality for extended periods.
Check progress every 10 minutes—Dutch ovens cook faster than home ovens. Proper seasoning and maintenance of your cast iron Dutch oven creates a natural non-stick surface that improves with use and care. You’ll realize that strategic briquette placement and consistent temperature management dramatically cut energy requirements while delivering tender, flavorful results.
Balanced Macronutrient Templates for Recipes
Crafting nutritionally complete Dutch oven meals requires understanding how protein, carbohydrates, and fats work synergistically to support both flavor development and satiety. You’ll build your balanced meal by layering complementary components that follow macro guidelines.
Start with protein: ground turkey, shrimp, or plant-based lentils form your foundation. Add complex carbohydrates like sweet potatoes or brown rice to stabilize blood sugar and provide sustained energy. Then incorporate healthy fats through olive oil, avocado, or Greek yogurt, which enhance nutrient absorption and satiety. Consider recipes like the Lazy Crockpot Mozzarella Chicken that deliver satisfying protein-rich combinations ideal for Dutch oven preparation.
Reference proven templates like the Turkey Sweet Potato Skillet or Lentil Veggie Curry to establish your ratios. These frameworks deliver approximately 30-35g protein, 45-55g carbohydrates, and 20-26g fat per serving. You’ll maintain nutritional consistency while leveraging Dutch oven’s superior heat retention for flavor concentration and ingredient integration. Meal planning fosters consistency and reduces last-minute food choices when preparing Dutch oven dishes in advance.
Ingredient Swaps and Portion Strategies for Calorie Control
To maintain the macronutrient balance established in your Dutch oven templates while reducing overall calories, strategic ingredient substitutions preserve both nutritional density and flavor concentration. You’ll execute caloric substitutions by replacing saturated fats with unsaturated alternatives—swap butter for olive or avocado oil in sautéing and roasting. Your ingredient variations expand through whole grain interchanges; barley and farro replace rice while adjusting cooking times accordingly. Greek yogurt substitutes for cream-based components, delivering protein without excess calories. You’ll optimize protein binders using ground flaxseed or crumbled tofu instead of traditional meat-heavy proportions. Implement portion control through vegetable-forward swaps: lettuce replaces tortillas, dark greens upgrade iceberg lettuce for micronutrient density. Replace the salt shaker with lemon wedges on your table to reduce sodium intake while adding bright flavor to Dutch oven dishes. Natural sweeteners like honey and maple syrup can enhance savory Dutch oven braises with subtle depth rather than relying on refined sugar additions. These layered modifications work particularly well when preparing soups, stews, grains, and desserts in your Dutch oven, allowing you to maintain the versatility and performance these iconic pots are known for. These layered modifications collectively reduce caloric density while maintaining satiety and nutritional completeness in Dutch oven preparations.
Safety, Cookware, and Nutrition-Quality Considerations
Optimizing your ingredient choices and portion sizes means nothing if you’re not handling your Dutch oven safely throughout the cooking process. Dutch oven safety requires understanding your cookware’s temperature limits—enameled models typically max out at 450–500°F, while plastic knobs impose stricter constraints. Prevent thermal shock by gradually heating and cooling; never add cold liquid to a hot pot or preheat empty enameled surfaces on high heat. Rapid temperature changes can cause cracking, so avoid exposing your Dutch oven to thermal shock by allowing it to heat and cool evenly.
For cookware maintenance, store your Dutch oven with the lid slightly ajar to prevent rust and enamel damage. Use proper PPE—oven mitts, lid lifters, and long-handled utensils—when handling hot cookware. On stovetops, keep flames confined under the base. To maximize durability across different cooking methods, employ soft utensils like silicone or wood to protect your enamel from scratching and chipping. Avoid using harsh abrasives when cleaning, as these can compromise the enamel finish and reduce your Dutch oven’s lifespan. Hand-wash your Dutch oven with a soft sponge and warm soapy water after each use to prevent buildup and maintain its protective coating. A light coating of seasoning oil after washing can provide additional protection against rust and extend your Dutch oven’s longevity. After cleaning and oiling, ensure the cookware is thoroughly dried before storage to prevent moisture-related damage. Place your Dutch oven on the middle rack position to ensure proper airflow and even heat distribution throughout the cooking process. These practices preserve your cookware’s integrity while ensuring your healthy recipes cook safely and consistently.