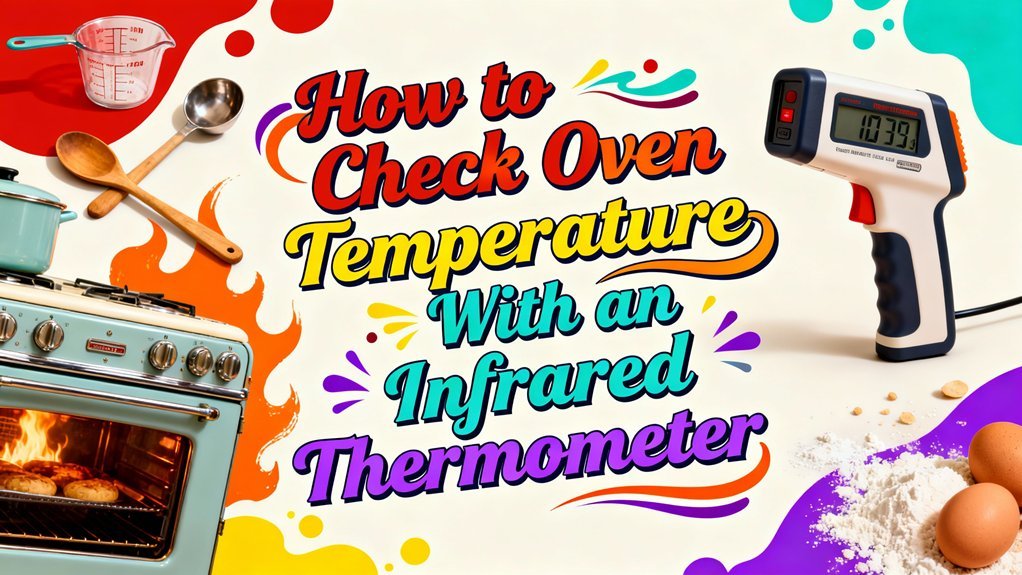
You’ll measure your oven’s internal temperature by targeting interior surfaces with a calibrated infrared thermometer, not the dial. First, preheat your oven and allow it to stabilize. Position your thermometer 2–12 inches away at a perpendicular angle toward matte surfaces. Adjust the emissivity settings to match your target material’s properties using the contact probe comparison technique. Take multiple readings across different rack locations to identify temperature gradients. Remember that you’re capturing surface temperature, not air temperature, which can differ greatly. Understanding these distinctions reveals why your baking results vary.
Equipment and Preparation Requirements
Success in checking oven temperature hinges on assembling the right tools and preparing them correctly. You’ll need an infrared thermometer with 12:1 optics and a range exceeding 500°F, paired with oven-safe target materials like cast iron or baking steel. Add a contact probe thermometer for verification and high-temperature spray oil to enhance readings on shiny surfaces. The fixed emissivity of 0.97 makes the IRFS model particularly effective for food temperature measurement applications. Infrared thermometers allow you to measure temperatures safely without reaching into the hot oven environment.
Before measuring, preheat your chosen target for 20–45 minutes to reach thermal equilibrium. Apply a thin oil film to low-emissivity metals, reducing reflection errors. Position the target centrally, away from heating elements and walls. Allow it to stabilize for one minute after door movement. For best results, let your oven complete two to three heat cycles before taking your final measurements. Maintaining your cast iron target by applying oil after cleaning will preserve its measurement accuracy over time. When using infrared thermometers in combination with contact probe thermometers, you can achieve comprehensive temperature monitoring for accurate oven calibration. Like contact thermometers used for body temperature assessment, contact probe thermometers provide direct measurement verification for precise results. Verify your thermometer’s emissivity setting matches your target material, confirm your distance-to-spot ratio, and perform a calibration check using an ice bath reference. Proper preparation techniques help prevent bacteria growth and measurement errors that could compromise your results.
Selecting the Right Infrared Thermometer
How do you identify an infrared thermometer that’ll deliver consistent, reliable readings for oven temperature verification? Start by evaluating infrared thermometer types: Fresnel lens models offer better temperature range coverage at moderate cost, while mica lens options provide superior optics and durability for demanding applications. No-lens thermometers deliver solid performance at lower prices.
Next, consider temperature range considerations. Select a thermometer with range narrowly covering your intended temperatures for best resolution. For oven monitoring, you’ll want adequate upper-temperature capability since ovens reach high heat levels. Klein Tools IR1 demonstrates excellent performance with an 8.5/10 overall accuracy rating, excelling in hot tests at 9/10. The Etekcity Lasergrip 800 scores 8.7/10 on boiling oil, confirming reliability for high-temperature surfaces. Remember that infrared thermometers measure surface temperatures rather than air temperature itself, so aim at the oven’s interior surfaces for the most accurate heat verification. For the most accurate readings, use oven-safe probe thermometers if you need continuous temperature monitoring during the cooking process. When selecting an infrared thermometer for oven use, ensure the model features appropriate emissivity settings for the specific surfaces you’ll be measuring. Just as vacuum sealing extends food freshness by removing air exposure, precise temperature measurement helps maintain optimal cooking conditions, similar to how high smoke point oils create durable seasoning layers through proper heat application. Popular options like the Fluke 561 and 830-T2 offer 12:1 distance-to-spot ratios for accurate readings from varying distances. Verify NIST certification for assured measurement accuracy in critical applications. Maintaining cookware through proper cleaning methods, including the use of modern dish soaps when needed, ensures your cooking equipment performs optimally alongside precise temperature monitoring.
Calibrating Emissivity Settings
Accurate oven temperature readings depend on proper emissivity calibration, since this setting directly affects how your infrared thermometer interprets thermal radiation from the oven’s interior surfaces. You’ll find two primary emissivity calibration methods effective for ovens. First, use the Contact Probe Comparison technique: heat your oven to steady temperature, place a contact probe on the interior surface, then adjust your IR thermometer’s emissivity until it matches the probe’s reading. Second, employ the High-Emissivity Paint Technique by applying matte black paint with 0.95 emissivity to a test area, measuring it, then adjusting your thermometer’s emissivity to match that reference reading. These emissivity adjustment techniques eliminate measurement errors caused by surface variations, ensuring you’ll obtain reliable oven temperature data consistently. Matte surfaces provide more accurate readings than shiny reflective surfaces due to their superior emissivity characteristics. Just as achieving an even crust requires continuous basting during cooking processes, maintaining consistent thermometer calibration across multiple points ensures accurate readings. For best results, combine infrared thermometers with traditional probe thermometers to verify your calibration across multiple measurement points. When working with smaller Dutch ovens, ensure your temperature measurements account for reduced dough quantities to avoid overcrowding the baking vessel. Proper flame control and heat management are similarly important when using alternative heating methods for precision temperature work. Remember that measurement temperature should significantly differ from ambient conditions for the most reliable readings when calibrating your infrared thermometer.
Preparing Your Oven for Measurement
Before you take temperature readings, you’ll need to set up your oven and thermometer strategically to minimize variables that could skew your results. Start with oven cleaning to remove debris that affects heat circulation and measurement accuracy. Position your thermometer on the center rack, away from walls and corners where heat distribution becomes uneven. Secure your probe firmly with a grate clip to prevent movement during temperature stabilization. Set your oven to 350°F as your baseline test temperature, then close the door and allow 20-30 minutes for complete stabilization. Don’t open the door unnecessarily during this period, as heat loss compromises your readings. Check the thermometer through the oven window when possible. Small temperature differences can significantly impact your measurement results and the accuracy of your assessment. Like removing rust buildup through electrical current reversal, proper oven preparation requires patience and attention to detail for optimal results. Preheating without opening the door ensures your oven reaches optimal performance for accurate readings. For best results, apply high-quality seasoning oil principles to your measurement approach by ensuring all components are clean and properly maintained before testing. Once stabilized, you’re ready to record accurate measurements for your assessment.
Proper Measurement Technique and Positioning
Once your oven’s stabilized, you’ll need to position your infrared thermometer strategically to capture accurate readings without interference. Maintain the device within your manufacturer’s recommended distance—typically 2–12 inches—to keep your spot size smaller than the target surface. Calculate spot diameter using the D:S ratio: divide your distance by the ratio value. Aim at a measurement angle perpendicular to the surface you’re measuring, ensuring direct line of sight with no obstructions. Target matte surfaces only; avoid reflective stainless steel or glass, which produce falsely low readings. If measuring shiny materials, apply cooking oil or non-stick spray beforehand to create a high-emissivity spot. Always ensure you’re measuring in a well-ventilated area to avoid interference from ambient heat sources or airflow. Before taking measurements, allow your infrared thermometer to acclimate to the environment for 10-30 minutes to ensure accuracy. Unlike specialized meat thermometers for checking internal doneness, infrared thermometers measure surface temperature only and cannot assess whether food has reached safe cooking temperatures. For braising and slow-cooking dishes, maintaining accurate oven temperature is critical to achieving the desired results. Taking multiple readings across different areas of your oven helps ensure consistent heat distribution and identifies hot spots that may affect cooking results. The thermometer displays temperature readings in seconds once you press and hold the trigger. Remember that infrared radiation sensed] by the device is not visible to the naked eye, so trust the digital display rather than attempting visual confirmation. Use a steady two-handed grip or tripod to eliminate hand motion and maintain consistent aim throughout sampling.
Identifying Temperature Gradients Across the Rack
Because ovens don’t heat uniformly, you’ll find significant temperature variations across individual racks—a phenomenon called thermal gradient. To perform accurate gradient measurement, position your infrared thermometer at multiple discrete locations across the rack plane. Start at the center, where temperatures prove most reliable, then systematically move toward the sides and corners. You’ll notice cooler areas developing peripherally as you measure outward from center positions.
Document each rack temperature reading carefully. Most ovens exhibit 25-50°F deviations from the set point, with additional variance between central and edge locations. Multiple passes across the same rack reveal the full gradient pattern. Similar to temperature programming methods used in gas chromatography, systematic temperature measurement across different locations enables optimization of performance. Just as a Dutch oven traps steam to create bakery-quality bread results, understanding your oven’s thermal characteristics allows you to leverage hot spots and cool zones to your advantage. This principle of even heat distribution proves critical for consistent cooking outcomes across all oven types. Infrared thermometers excel at rapid temperature measurement across moving and stationary surfaces, making them particularly valuable for identifying hot spots and temperature inconsistencies in cooking environments. For the most reliable results, use an oven-safe infrared thermometer designed to handle the high temperatures within your cooking chamber. Consistent parameters maintained throughout the measurement process ensure reproducible results across multiple trials. This methodical approach identifies hot spots near heating sources and cooler zones at the periphery, enabling you to select ideal cooking positions for consistent results.
Understanding Surface Versus Air Temperature
Two distinct temperature measurements—air temperature and surface temperature—don’t always align in your oven, and this distinction fundamentally affects cooking outcomes. Your infrared thermometer captures surface temperatures, while dry bulb probes measure ambient air conditions. This air temperature vs. surface temperature discrepancy stems from heat distribution dynamics. Food surfaces cool nearby air through moisture evaporation, causing air temperatures to exceed surfaces by up to 100°F in certain scenarios. Brick oven floors typically register 600-700°F via conduction, while dome zones reach 700-800°F from radiant heat. In convection ovens, fan circulation distributes air evenly, yet surfaces still lag behind due to conduction delays. For recipes like no-knead cheese bread, consistent oven temperature readings are essential to achieve the desired crusty exterior and soft interior, similar to how searing meat at high heat develops a flavorful crust while maintaining a tender interior. The firebox zone generates the most intense heat, exceeding 800°F and creating the most extreme temperature variations across different cooking areas. Proper food preservation through methods like vacuum sealing techniques also requires accurate temperature control to maintain food quality during storage and cooking. Accurate temperature readings require understanding both conduction and convection mechanisms, as these heat transfer methods create the temperature variations you observe between air and surface measurements. Understanding this relationship guarantees you accurately assess your oven’s true cooking capability and adjust recipes appropriately for consistent results.
Detecting and Addressing Uneven Heating
Even if you’ve verified your oven’s set temperature against an actual reading, uneven heating can still sabotage your results. Temperature distribution issues stem from multiple sources: faulty heating elements create cold spots, while blocked vents or malfunctioning fans restrict airflow. Worn insulation allows heat escape, and overcrowded racks obstruct hot air circulation. For complex heating irregularities involving electrical components, consulting professionals ensures safe and effective resolution.
To detect problems, place an oven thermometer on the center rack and test bread slices across different positions—faster browning indicates hot spots. Inspect heating elements for visible damage and verify your temperature sensor sits at a 90° angle in the top right corner.
Address uneven heating by replacing faulty components, cleaning blocked vents, and ensuring proper rack spacing with at least two inches between items. Preheat your oven fully, adding an extra 5-10 minutes for even cavity heating.
Common Errors and How to Avoid Them
While you’ve calibrated your oven thermometer and addressed heating inconsistencies, common measuring mistakes can still undermine your temperature readings. You must maintain a clear optical path—steam and smoke scatter your infrared beam, causing readings from vapor rather than target surfaces. You’ll also want to avoid reflective surfaces like oily pans or aluminum foil, which bounce IR signals away from your sensor. Adjust your emissivity settings for shiny metals, typically to 0.97, rather than relying on default values suited for organic materials. Additionally, you shouldn’t assume surface readings reflect internal temperatures; use a probe thermometer for validating food doneness. Regular lens cleaning prevents accumulated residue from distorting measurements, and maintaining proper distance-to-spot ratio ensures your infrared beam accurately targets only the surface you intend to measure. By addressing these common measuring mistakes, you’re avoiding inaccurate readings and ensuring reliable oven temperature verification.
Creating a Thermal Map for Consistent Results
Once you’ve eliminated measurement errors, you’re ready to build a thorough picture of your oven’s thermal performance through systematic mapping. You’ll arrange your calibrated probes in a grid pattern across oven racks at product level, positioning them side-by-side and end-to-end. Record temperatures every 60 minutes during steady-state operation, then visualize your data as a heat map showing hot and cool zones.
This heat profiling reveals temperature gradients from center to edges. You’ll compare side-to-side and end-to-end readings, verifying all locations stay within ±2°C of your set point. Document each probe location’s temperature precisely. Like ensuring proper stabilization time before use in other heating applications, allowing your oven components to reach thermal equilibrium improves measurement accuracy. Wireless thermometers with oven heat tolerance can also be positioned throughout your oven to provide real-time temperature monitoring across multiple zones simultaneously. For baked goods like cobblers and desserts, consistent oven temperature across the cooking surface ensures even baking results throughout the batch. This thermal mapping approach generates reproducible baking profiles and identifies consistency issues, allowing you to adjust oven performance for uniform results across batches.