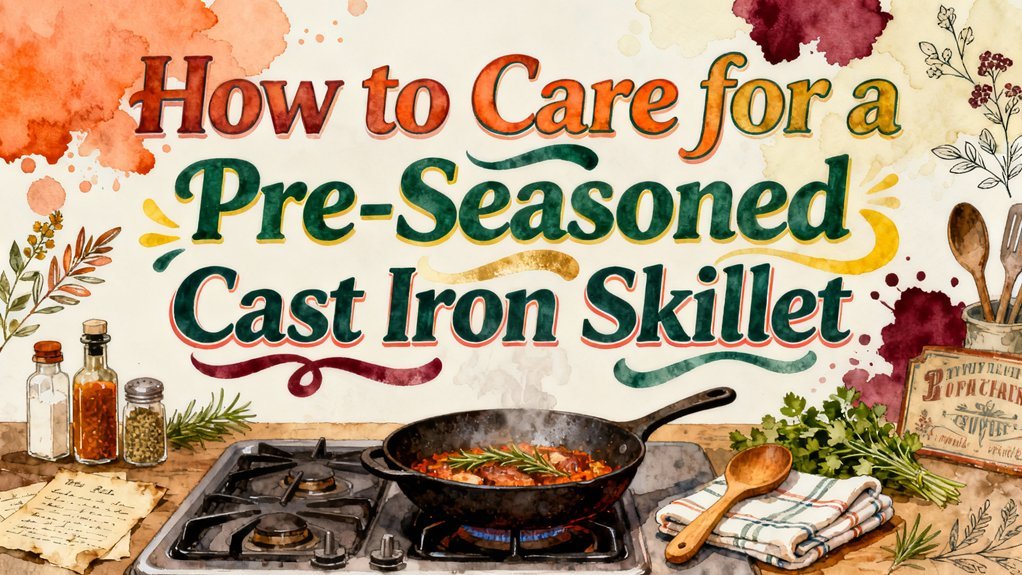
You’ll keep your pre-seasoned skillet performing beautifully by washing it with warm water and minimal soap, then drying it thoroughly right away. Apply a light oil coat after each use to maintain the seasoning layer. Avoid soaking or using harsh detergents that strip protection. For stuck-on food, use kosher salt or steel wool gently. Store it in a dry place, and re-season annually at 450-500°F when needed. There’s quite a bit more you can uncover about maximizing your skillet’s lifespan.
Initial Preparation Before First Use
Before you cook your first meal, you’ll need to prepare your cast iron skillet properly to establish a strong foundation for its seasoning. Start by rinsing your skillet under hot water without soap—this removes factory residue without damaging the surface. Scrub gently with a brush to eliminate any remaining debris. Pat the skillet dry immediately with a towel, then heat it on your stovetop over medium-low heat until completely dry. These skillet maintenance steps prevent rust formation and prepare the surface for seasoning. Once your skillet is thoroughly dry, apply a thin coat of neutral oil with high smoke point to protect the surface and enhance the seasoning process.
Avoid soaking your skillet, as trapped water promotes corrosion. For brand new pans, use soap only before your first seasoning cycle. To remove any stubborn residue, you can use kosher salt or baking soda as a gentle abrasive to scrub the surface without damaging the seasoning. After oiling, place the skillet upside down in a preheated oven to allow oil polymerization to occur, which creates a durable non-stick layer. This initial preparation is essential for effective seasoning tips that build your skillet’s non-stick patina over time, much like how a pot roast develops a rich crust through searing. A quick rinse followed by hand drying] is recommended before your first use to ensure optimal cooking performance. For those seeking the most durable finish, polymerization through multiple seasoning cycles can create a harder and more long-lasting nonstick surface. Proper preparation guarantees your cast iron performs excellently for years.
Selecting the Right Cooking Surface
Choosing the right cast iron skillet involves evaluating several key factors that’ll directly impact your cooking experience and long-term satisfaction. You’ll want to prioritize surface texture and material quality as your primary considerations.
Examine the cooking surface carefully—smooth, polished finishes reduce food sticking and simplify cleaning, while textured surfaces promote better seasoning buildup over time. High-quality cast iron exhibits uniform surfaces without pits or irregularities that compromise even cooking.
Consider the skillet’s weight and construction. Mid-weight pans balance durability with handling ease, preventing warping during temperature changes. Standard sizes between 10-12 inches optimize capacity and heat retention without being unwieldy. Lodge has been manufacturing quality cast iron in the US since 1896, establishing a trusted benchmark for durability and performance. Cast iron skillets can last generations without losing quality when properly maintained and cared for. Different brands and models offer distinct features like helper handles that enhance usability for various cooking techniques. Applying high smoke-point oils after each use helps maintain the seasoning and prevent rust over time.
Finally, decide between bare pre-seasoned or enameled surfaces. Bare iron excels at high-heat searing, while enameled options eliminate seasoning maintenance. Your choice depends on your cooking style and preferred care routine.
Proper Preheating and Oil Application
Once you’ve selected your ideal skillet, you’ll need to master the techniques that keep it performing beautifully. Start with proper preheating techniques: place your empty skillet on the stovetop over medium heat for 3-5 minutes, allowing gradual heat increase that prevents thermal shock. This foundation guarantees even seasoning polymerization. Preheating ensures even heat distribution across the cooking surface, which is essential for achieving superior results whether you’re searing meats or cooking vegetables.
For oil selection, choose high smoke point oils like grapeseed or canola that polymerize correctly at seasoning temperatures. Apply only 1-2 teaspoons to your entire surface, then wipe away excess with a paper towel until it appears virtually dry. Rub in circular motions to distribute evenly across interior, exterior, and handle. The thin-layer approach prevents sticky buildup while filling microscopic seasoning holes, as thicker oils take longer to polymerize and may result in unwanted residue. While traditional fats like lard can also create durable seasoning layers, they have a relatively low smoke point that may cause faster degradation under high heat. For precise temperature monitoring during the seasoning process, consider using an instant-read thermometer to ensure you’re maintaining optimal heat levels. These one-pot cooking methods work similarly to Dutch oven techniques, requiring consistent heat management for optimal results. Like vacuum sealing that extends food freshness by removing air, proper seasoning creates an airtight protective layer on your skillet surface. After seasoning, store your pan in a warm oven to allow cooling together with the oven, which ensures longevity of the seasoning.
This thin-layer approach prevents sticky buildup while filling microscopic seasoning holes, creating a durable protective finish that’ll withstand regular cooking.
Heat Settings for Optimal Performance
While proper oil application creates your skillet’s foundation, mastering heat control determines how well that seasoning performs and lasts. You’ll want to maintain 375-425°F for consistent cooking performance, as cast iron’s excellent heat retention means you don’t need high flames. The ideal range of 425-450°F avoids micro-cracks that develop from temperature variances. Pre-seasoned pans handle up to 500°F for searing, but limit exposure beyond this threshold to prevent damage. Avoid exceeding 550°F regularly, as temperatures between 475-550°F risk developing micro-cracks. Understanding these temperature boundaries helps you select appropriate cooking techniques for different foods without compromising your skillet’s integrity or seasoning layer. Research shows that 400 degrees is the optimal temperature for seasoning cast iron cookware when applying shortening and baking for extended periods. Your skillet performs beautifully for both stovetop cooking and baking desserts like cobblers in the oven. Like Dutch ovens used for slow-cooked pot roast dishes, cast iron skillets benefit from consistent heat management throughout the cooking process. Frequent use of your cast iron skillet maintains the protective seasoning layer and enhances its non-stick properties over time. The combination of proper heat control and regular maintenance ensures even heat distribution across the cooking surface, which is essential for achieving restaurant-quality results. Just as BPA-free vacuum sealer bags are designed to withstand specific processes, your cast iron’s seasoning layer is engineered to handle particular temperature ranges. The seasoning builds a resilient, non-stick layer through polymerization of oils that improves with continued use.
Hand Washing and Immediate Drying
Now that you’ve nailed the right heat settings to protect your seasoning, it’s time to focus on what happens after cooking ends—because proper cleanup is just as important as how you cook. Always let your skillet cool to room temperature before washing. Use warm water with minimal mild soap, then rinse immediately. Here’s where drying techniques become critical: grab a lint-free cloth or soft towel and dry both surfaces thoroughly right away. Don’t let your pan air dry—this invites rust and oxidation. One common mistake people make is soaking cast iron or using harsh detergents that strip seasoning. For stubborn spots or rust that may develop, gentle scrubbing with salt can help restore your skillet’s surface. For tougher buildup, consider using stiff-bristled brushes specifically designed for cast iron to avoid damaging the seasoning layer. To prevent damage to your skillet’s enamel or surface, soaking stuck-on food in warm water before scrubbing will make removal easier without causing harm. If rust does develop despite your care, vigorous scrubbing and reseasoning can restore your skillet’s functionality. After drying completely, apply a light oil coating for protective maintenance before storing your skillet. Storing your cookware in a moisture-free environment prevents future maintenance issues and rust development. Season cookware after each use to maintain the non-stick properties and enhance the longevity of your cast iron. You can verify your skillet’s surface temperature using an infrared thermometer to ensure proper heat distribution before cooking.
Removing Stuck-On Food and Debris
Even with proper seasoning and heat management, you’ll occasionally find food stubbornly clinging to your cast iron skillet. The good news is that multiple scrubbing methods can effectively address food adhesion without damaging your pan’s seasoning.
For light to moderate buildup, combine coarse sea salt or kosher salt with oil, then scrub with a paper towel or dish rag on a moderately heated pan. This gentle abrasive removes particles without harm. The coarse texture of kosher salt takes advantage of its abrasive properties to effectively remove food particles and impurities from the surface.
For severe stuck-on food, steel wool, chain mail scrubbers, or nylon brushes work effectively. You can also apply hot water briefly to loosen debris, then scrub. To prevent cracking, avoid cold water on hot steel as this temperature shock can damage your skillet. Avoid prolonged soaking, which causes rust. If rust appears on your skillet, surface rust can be treated with vinegar and scrubbing before re-cleaning and seasoning. For more heavily rusted cast iron, a 50/50 vinegar and water solution can be used for extended soaking to remove stubborn rust. Quick drying prevents rust, especially when using water-based cleaning methods on your cast iron.
Consider adding oil atop stuck food while cooking—this softens residue for easier spatula removal, preventing food adhesion issues before they develop. After cleaning, apply a light coat of oil to maintain seasoning and prevent rust, ensuring your cast iron remains in optimal condition for future use. Storing your skillet in a dry place will help maintain its longevity and performance over time.
Post-Cleaning Oil Treatment
After you’ve cleaned and dried your skillet, you’ll want to apply a light coat of oil to protect it from rust and build its seasoning. Use a neutral oil with a high smoke point, like canola oil, and apply it sparingly with a paper towel. Excess oil creates sticky residue and uneven seasoning patterns, so wipe away the surplus before it polymerizes.
Your oil application serves two critical purposes: moisture prevention and seasoning development. Heat your skillet over medium heat for a few minutes to drive off any remaining water and bond the oil properly. This heating process prevents rust formation while ensuring the oil layer sets correctly. The oil bonds chemically with the cast iron at its smoke point, forming a durable protective layer. Rotating your skillet during this heating step helps distribute the oil evenly across the cooking surface, similar to how proper heat circulation is essential in other cooking vessels. Oils with higher levels of unsaturated fats tend to polymerize better and create a more durable coating. Avoid soaking your skillet or leaving it wet to maintain the protective benefits of your oil treatment. If you notice raised, splotchy residue on your surface, continue heating to reduce stickiness from oil residue. Make this post-cleaning treatment part of your routine maintenance after every use to extend your cookware’s lifespan and maintain its protective seasoning. Cooking layers oil to enhance the cookware’s easy-release finish, so consistent post-cleaning oiling complements the natural seasoning that builds with regular use.
Annual Re-Seasoning Process
While your routine post-cleaning oil treatment maintains your skillet’s seasoning between uses, an annual deep re-seasoning in the oven builds multiple protective layers that restore your cookware’s non-stick surface and dark patina. You’ll want to re-season when acidic foods or burnt residues fade your seasoning, or if rust appears. This annual maintenance process is straightforward: follow the standard oven-baking method at 450-500 degrees for one hour, allowing smoke to dissipate fully. To prevent damage to your cookware, avoid thermal shock by placing your skillet in the oven as it preheats rather than placing a cold skillet into a preheated oven. Repeat the oil-coating and baking cycle 1-3 times to build interlocking microscopic layers. During the baking process, polymerization occurs when oil reaches its smoke point, creating a protective coating that enhances durability. Cool your skillet completely inside the turned-off oven for proper adhesion. The initial seasoning may appear uneven with small spots or marks, but these imperfections are part of the process and will disappear with regular use and cooking. Building and preserving your skillet’s seasoning through consistent maintenance ensures long-lasting performance across decades of cooking. These seasoning tips guarantee your cast iron remains smooth, dark, and reliably non-stick for decades of cooking.