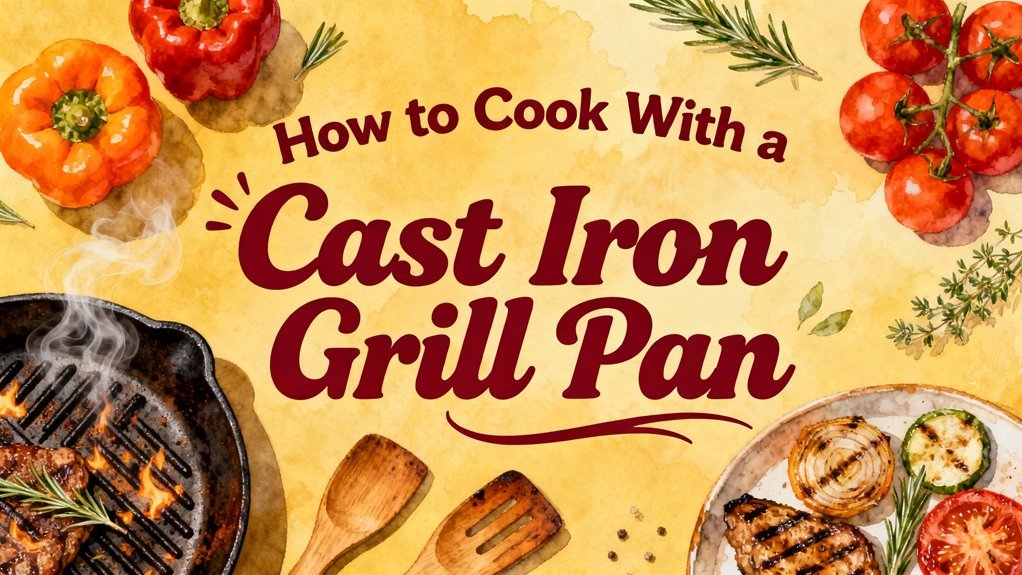
You’ll master cast iron cooking by preheating your grill pan on medium-high heat for ten minutes until water droplets dance across the surface. Apply a thin coat of high-smoke-point oil like vegetable or canola before cooking. Let proteins sear undisturbed initially, then rotate ninety degrees for crosshatch marks. Use minimal oil to prevent sticking, and gradually reduce heat for even cooking. Dry thoroughly after cleaning with mild soap and a soft cloth. Understanding these fundamentals opens doors to advanced techniques that’ll elevate your results.
Seasoning Cast Iron Grill Pan
You’ll start by cleaning your grill pan with warm, soapy water to remove factory coatings and residue, then scrub all surfaces thoroughly with a sponge or scrubber to access crevices and grooves. Dry completely before proceeding.
Next, apply a thin oil layer using vegetable, canola, or grapeseed oil—each offers a high smoke point around 420°F. Seasoning methods vary: stovetop application heats the oiled pan on medium until slight smoke appears, then you’ll reduce heat for 15-20 minutes. Alternatively, oven baking at 450–500°F for one hour polymerizes the oil effectively. Position your pan upside-down to prevent pooling.
Multiple coats—up to five—build superior seasoning benefits, creating a durable non-stick coating. After each coat, allow the pan to cool completely inside the oven for complete adhesion before removing it. Cool the pan inside the oven for complete adhesion. The natural nonstick surface improves with use and care over time. For professional-level finishes similar to what you achieve with proper technique and controlling flame intensity, maintaining consistent heat during use helps preserve your seasoning. Rubbing the oil into the pan while it is warm maintains the non-stick, rust-resistant layer that develops through proper seasoning technique. Regular use of your grill pan helps maintain the natural nonstick seasoning you’ve built through proper seasoning. Proper storage in a cool, dry place will preserve your seasoning and extend the lifespan of your grill pan.
Preheating Grill Pan
Once your cast iron grill pan’s seasoning has cooled completely inside the oven, it’s ready for preheating before cooking. Successful preheating techniques require deliberate heat control. Start on medium heat for a few minutes, then increase to medium-high for approximately 10 minutes total. This gradual approach guarantees uniform temperature distribution across the grill ridges and prevents hot spots.
Use a burner matching your pan’s size for even heating. Test readiness by sprinkling water droplets—they should jump and dance before evaporating, indicating ideal temperature. If water evaporates immediately, continue preheating. The smooth enameled surface maintains its integrity when preheated gradually rather than exposed to sudden temperature changes. Proper heat control during preheating also prevents moisture and air exposure that can compromise the cookware’s performance over time, similar to how vacuum sealing techniques preserve food freshness. Like cast iron Dutch ovens used for sourdough, cast iron grill pans require superior heat retention to achieve optimal cooking results. To further protect your grill pan, ensure thorough drying after each use to prevent rust formation, and always apply oil to the cooking surface after cleaning to maintain seasoning.
Once ready, wear oven mitts before handling the hot handle. Never preheat an empty enameled cast iron pan, as this damages the coating. Lightly coat the grill pan with oil with high smoke point before cooking to prevent sticking and ensure a good sear. Your properly preheated grill pan now delivers consistent cooking results.
Oil Selection and Application
Because your preheated grill pan‘s performance depends heavily on proper oil application, selecting the right oil is essential for both cooking and seasoning. Choose vegetable oil, canola oil, or grapeseed oil for their high smoke points and oil compatibility with cast iron. These options support effective seasoning layer development during regular cooking. Oils with smoke points above 400°F prevent burning and smoking during high-heat cooking while helping to build and maintain your grill pan’s seasoning layer. Avocado oil, with its high smoke point of 520°F, is another excellent option for achieving superior seasoning results on cast iron cookware.
For application methods, use a minimal dab of oil before adding food to prevent sticking. Wipe the oil evenly across cooking surfaces with a cloth, ensuring a thin, consistent layer. After cooking, apply another small amount and wipe to a dry, matte finish. This technique builds seasoning gradually while maintaining your grill pan’s non-stick properties without excess residue accumulation. Like pressing tofu to remove excess moisture, minimizing excess oil prevents unwanted buildup that can compromise your cooking surface. Avoid overapplication of oil as it creates a gummy mess that compromises your cooking surface. Ensure your cooking temperature remains below the smoke point of the chosen oil to achieve optimal seasoning results. Proper temperature control, similar to using internal temperature guidelines when cooking proteins, ensures your cast iron develops an ideal cooking surface. For a more efficient cooking experience, consider using a single dutch oven to cook your entire meal, which distributes heat evenly across the cooking surface.
Cooking Techniques
Mastering cast iron grill pan cooking hinges on understanding how heat and timing work together to develop superior results. You’ll want to let food cook undisturbed initially, allowing a natural sear to form before flipping. Rotate meat 90 degrees halfway through to create crosshatch patterns that enhance visual appeal and char development.
Once you’ve achieved proper searing, reduce heat gradually to prevent sticking while maintaining even cooking. Consider basting with butter, oil, and herbs to amplify flavor without compromising temperature retention. Cast iron’s exceptional heat distribution enables consistent results across the pan’s surface. The versatile cooking capabilities of cast iron allow you to sear, sauté, fry, and braise all on the same surface. Pre-heating your grill pan at medium-high heat is crucial for achieving ideal char marks on your food. Like waterproof protection in travel gear, cast iron’s durability ensures your cookware withstands years of frequent use and high-heat cooking.
When planning food pairing, remember that different proteins require varying heat levels and durations. For finishing touches on your dishes, consider using flame control techniques to add professional-level refinement to your plated meals. After stovetop searing, finish thicker cuts in the oven for hands-off completion. Master these slicing techniques and timing principles, and you’ll reveal your cast iron’s full potential.
Cleaning Grill Pan
Proper maintenance of your cast iron grill pan begins immediately after cooking while the pan’s residual heat works in your favor. Let it cool slightly, then rinse away food debris under running water. Fill the pan with half-inch water and mild dish soap, scrubbing gently with a non-abrasive sponge to release stuck particles from grooves and ribs.
For effective cleaning methods, use soft natural or nylon brushes—never steel wool or abrasive cleaners. Dry thoroughly with lint-free cloth or paper towel, then heat on the stovetop to evaporate remaining moisture completely. To prevent cracking, always avoid applying cold water on hot steel. Avoid excessive scrubbing that can damage the beneficial patina that enhances your pan’s non-stick performance. Store your grill pan in a moisture-free environment to prevent rust from developing over time. Soaking stuck-on food in warm water before scrubbing can facilitate easier removal without damaging the cast iron surface. If rust develops despite your prevention efforts, it can be removed through vigorous scrubbing and reseasoning.
Apply a thin layer of cooking oil inside and out, distributing it with a paper towel into all grooves. Heat until the oil bakes on. Just as slow braising breaks down connective tissue in meat, proper seasoning builds layers of protection on your cast iron. For tougher burnt residue that resists initial cleaning, consider using kosher salt or baking soda as a gentle abrasive to scrub away stubborn areas without harming your pan’s seasoning. These rust prevention techniques maintain your pan’s seasoned patina long-term.
Maintenance and Usage Tips
Your cast iron grill pan’s longevity hinges on consistent maintenance between cooking sessions. You’ll apply a light oil coating after each use to prevent rust formation and moisture accumulation. This thin layer maintains your seasoning without creating excess buildup. Raw linseed oil is particularly effective for this seasoning process, offering superior protection compared to other oils. For optimal results, choose oils with high smoke-point oils like vegetable or avocado oil to ensure durability and performance. When applying oil to a heated pan, the oil will polymerize and create a durable non-stick layer that strengthens over time.
Temperature control remains critical during use. You’ll warm your pan gradually on moderate heat before increasing settings, never placing cold cookware directly on maximum heat or induction booster functions. This prevents warping and thermal shock damage. Metal utensils can be safely used during the cooking process without compromising your pan’s seasoned surface.
You’ll never subject hot cast iron to cold running water—always allow cooling periods before rinsing. After washing, you’ll dry your pan thoroughly, then heat it on the stovetop for several minutes to guarantee complete moisture evaporation. For stubborn debris, avoid abrasive scrubbers like steel wool that can damage your seasoning. The seasoning process can be restored by applying oil and heating it to 250–300°C for one to two hours when the surface appears dull. Regular use combined with consistent oil application provides your strongest rust protection. Proper storage in a dry environment also prevents moisture-related corrosion that can compromise your seasoning layers.