You’ll sear your seasoned brisket in a preheated Dutch oven until browned, then submerge it in broth or water with spices and bay leaves. Bring to a boil, skim the foam, then reduce heat to maintain a gentle simmer. Cook approximately 45–50 minutes per pound. Add root vegetables after 2–2.5 hours, then cabbage in the final 15–30 minutes. Rest the meat 10–20 minutes before slicing against the grain. For best results and professional techniques, explore the complete preparation steps.
Preparing Your Corned Beef
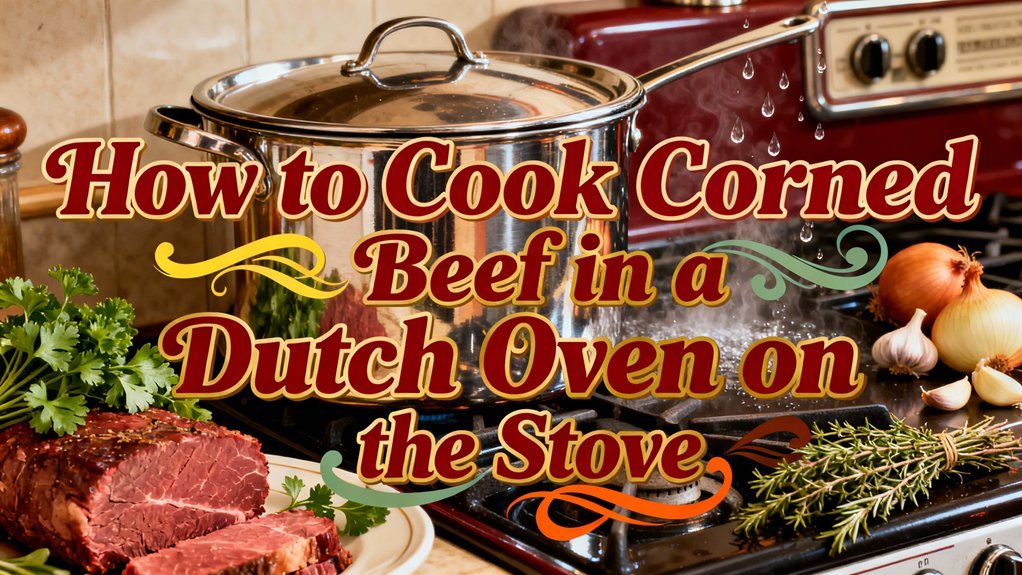
You’ll want to choose a brisket specifically labeled “corned beef” rather than regular brisket, as it’s already been cured with the characteristic salty brine. Select a flat or point cut weighing 3–5 pounds to fit comfortably in your Dutch oven without crowding. Look for visible fat caps and check packaging dates for freshness, ensuring the vacuum seal remains intact with no discoloration. A 6 to 7 quart Dutch oven provides adequate space for proper heat circulation around the meat without overcrowding.
Once you’ve unboxed your brisket, discard the packing liquid immediately. Rinse the meat briefly under cold running water to remove excess brine and surface curing solution, reducing saltiness if desired. Pat it thoroughly dry with paper towels—this step improves browning considerably, similar to how patting meat dry enhances crust development in professional cooking techniques. Trim any ragged fat or large silver skin pieces that won’t render during cooking. The pink curing salt used in the original brining process gives corned beef its distinctive color and flavor, so rinsing helps control the final saltiness of your dish. For optimal tenderness, you may want to soak the corned beef in water for 12-24 hours before cooking to further reduce the saltiness to your preference.
Finally, sanitize all work surfaces and utensils, washing your hands thoroughly to prevent cross-contamination and maintain food safety throughout the preparation process. After cooking, allow your Dutch oven to cool before cleaning it with warm water and a brush to remove food residue, which will help preserve the cookware’s durability and maintain seasoning buildup that protects against rust. A well-maintained Dutch oven with proper seasoning layers will develop a natural non-stick surface that improves with each use.
Seasoning and Searing the Meat
Building a flavorful crust on your corned beef starts with thoughtful seasoning choices that complement rather than overpower the meat’s existing brined flavors. Your spice selection should balance classic pickling components—mustard seeds, coriander, and peppercorns—with optional aromatics like dill or cardamom.
Toast whole seeds for 1–3 minutes until fragrant, then cool briefly before grinding techniques. Pulse for coarse texture or grind longer for even distribution. Pat your meat dry, then apply 1–2 tablespoons of spice mix per 3–4 pounds, pressing firmly for ideal adhesion methods. Properly stored seasoning can maintain its aromatic qualities for up to 6 months, ensuring your spice blend remains vibrant and effective. This simple recipe yields enough seasoning to enhance multiple batches of corned beef throughout the year. For best results, use a spice grinder or mortar and pestle to build the protective polymerized layer of flavor compounds that will adhere to your meat’s surface.
Brush a light oil layer underneath to support crust formation during searing. Preheat your Dutch oven over medium-high heat until oil shimmers. Sear the corned beef immediately for robust browning without burning, creating that essential flavorful exterior. Dutch ovens, like traditional cast iron cookware, excel at retaining heat for even, dry heat for even cooking and developing superior browning on meat surfaces. Cast iron’s effectiveness is enhanced when properly seasoned with high smoke point fats that create a durable, non-stick polymerized layer.
Adding Liquid and Flavorings
After searing, it’s time to build the braising liquid that’ll transform your corned beef into a tender, deeply flavored dish. Pour water or beef broth until the meat’s fully submerged—approximately 4 cups for a 5-pound brisket. Your liquid choices greatly impact the final result; consider recipe variations using dark beer, ginger beer, or a broth-and-Worcestershire combination for flavor enhancements. Add the included spice packet along with bay leaves, peppercorns, and a studded onion with cloves. Position the meat fat-side up, then bring everything to a boil. Skim away gray foam that rises to the surface. Reduce heat to maintain a gentle simmer, monitoring liquid levels throughout cooking methods. Replenish with water as needed to prevent scorching and guarantee even cooking. The tight-fitting lid creates an ideal environment for braising by trapping steam and moisture throughout the extended cooking process. To preserve your Dutch oven’s integrity during the long braising process, avoid using harsh abrasives when cleaning stuck-on food residue afterward, similar to how cast iron requires gentle care to maintain its seasoned surface. The pickling packet enhances the flavor profile and is essential for achieving the authentic taste characteristic of this traditional dish. For optimal results, use malt vinegar and brown sugar to season your braising liquid, which will add complexity and depth to the corned beef’s final flavor. Proper heat retention during the extended cooking time ensures that your corned beef reaches the ideal tender texture while developing rich, concentrated flavors throughout the braise. Cast iron’s superior thermal mass makes it particularly effective for maintaining the consistent temperature needed during the extended braising process.
Simmering on the Stovetop
Once your braising liquid reaches a boil, immediately reduce the heat to low or medium-low to establish a gentle simmer—one where small bubbles barely move across the pot’s surface rather than rolling vigorously. This simmer control prevents the brisket from toughening and minimizes excessive liquid loss.
Use a heavy Dutch oven to stabilize temperature and eliminate hot spots that cause uneven cooking. Monitor bubble size and frequency continuously, adjusting your dial to maintain evenly spaced, small bubbles throughout the pot. Keep the lid fully covered to retain heat and moisture while limiting evaporation. A non-contact temperature measurement device can help you verify your liquid is maintaining the correct gentle simmer without lifting the lid repeatedly. Always ensure your cooking equipment is turned off and cooled down before any maintenance or adjustment to prevent accidents.
Expect the brisket to cook approximately 45–50 minutes per pound. Skim gray foam that rises early to clarify your cooking liquid. Check liquid levels periodically, topping up with hot water or stock if it falls below the meat’s surface. The initial boiling step flushes out sodium, which is why this preparation step is essential before simmering. For optimal tenderness, maintain a gentle simmer rather than a rolling boil throughout the entire cooking time. A cast iron Dutch oven distributes heat evenly and works exceptionally well for both stovetop and outdoor cooking applications. The natural non-stick surface that develops on quality cast iron vessels makes them ideal for long, moist cooking methods like braising. Regular use and proper maintenance help build the seasoning that enhances this non-stick surface over time.
Timing Your Vegetable Addition
As your corned beef approaches tenderness—typically around 2.5 to 3 hours into cooking—you’ll need to carefully orchestrate vegetable additions to guarantee each component reaches ideal doneness simultaneously. Implement vegetable sequencing by adding slower-cooking items first, positioning them beneath the brisket where heat concentration is greatest. Reserve cabbage timing for the final 15–30 minutes, placing wedges atop the meat to expose them to steam rather than submerging them completely. This positioning reduces cooking time by 5–10 minutes compared to burying cabbage in liquid. Taste-test rather than relying solely on time, since liquid volume and pot temperature appreciably alter doneness. Keep your lid tightly sealed between additions to maintain temperature recovery and accelerate cooking, similar to how charcoal placement affects outdoor Dutch oven cooking. Like slow-roasted pot roasts, corned beef benefits from low-temperature cooking that allows the meat fibers to break down gradually for maximum tenderness. For optimal results, rinse the corned beef under cold water before cooking to remove excess salt from the brine. Add potatoes, carrots, and onions during the final hour of cooking to ensure all vegetables achieve proper tenderness before serving. To further preserve your finished corned beef leftovers, consider using proper packaging techniques like removing air exposure to extend storage life. Consider using an instant-read thermometer to verify that your corned beef has reached the desired doneness without having to cut into the meat prematurely.
Cooking Potatoes, Carrots, and Onions
When your corned beef has simmered for 2 to 2.5 hours, you’ll introduce the root vegetables in a specific order to guarantee even cooking. Layer your halved baby potatoes or Yukon gold first, then arrange 1.5-inch diagonal carrot slices on top. Add large onion chunks around the vegetables. Season this layer with salt and pepper to enhance flavor development.
Cover your Dutch oven and continue cooking at 300°F for approximately 2 hours more. This extended cooking time assures tender vegetable textures throughout. Check the pot every 30 to 60 minutes, testing potatoes and carrots with a fork for doneness. They’re ready when easily pierced. Adjust seasoning after 1.5 hours if needed. The varied cooking times allow each vegetable to reach perfect tenderness simultaneously without becoming mushy. Like a sealed steam chamber, your covered Dutch oven traps moisture to keep the vegetables moist and tender throughout the extended cooking process. This one-pot approach utilizes less prized cuts of meat effectively while infusing vegetables with rich flavors. For optimal results, ensure the beef broth level remains adequate throughout the cooking process to prevent the vegetables from drying out. As with traditional stews, you can deglaze the pot with beef stock or wine to lift any flavorful browned bits and enhance the savory broth that surrounds your vegetables and meat.
Adding and Finishing the Cabbage
During the final 15–35 minutes of cooking, you’ll add cabbage to complete your corned beef dinner. Cut wedges with the core intact to help them hold their shape. Place cabbage on top of existing vegetables or remove some broth to fit them in the pot. Maintain a gentle simmer—never boil—to prevent the cabbage from becoming waterlogged while preserving your desired cabbage textures. Cover the Dutch oven to trap steam and cook evenly, similar to how a preheated oven helps achieve even cooking in other dishes. If the pot overflows, remove the meat temporarily to create space. Check doneness with a fork; the wedges should be tender but intact. Adjust cooking time based on wedge size: thicker pieces need longer, thinner cuts finish faster. For best results, ensure the cabbage is spooned with liquid if not fully submerged during the final cooking stage. After cooking is complete, clean your Dutch oven easily by using baking soda to remove any stubborn food residue that may have stuck to the sides. Slice any leftover cabbage and reheat it with oil or butter to make a flavorful corned beef hash. These cooking techniques guarantee perfectly balanced results.
Resting and Serving Your Corned Beef
Once you’ve removed your corned beef from the Dutch oven and your cabbage has reached perfect tenderness, you’ll want to let the meat rest before slicing and serving.
Allow your corned beef to rest for 10–20 minutes loosely tented with foil. This rest technique permits internal temperature equilibration and collagen redistribution, which prevents excessive juice loss during slicing. The meat will drop 5–10°F during this period. Frequent flipping during the initial cooking process helps build an even crust and ensures consistent heat distribution throughout the meat, a principle that applies to various cooking methods including those used in specialized cookware like cast iron.
For serving suggestions, slice against the grain using a sharp knife in 1/8- to 1/2-inch slices, depending on your preferred chew. Serve slices warm at 140–160°F on a warmed platter alongside the cooking liquid or jus. You can verify the temperature using an instant-read thermometer to ensure optimal serving conditions. Arrange slices slightly overlapped to retain heat and offer classic accompaniments like mustard, horseradish, and rye bread for ideal presentation. For extended storage, consider using freezer-quality zipper-lock bags to preserve leftover corned beef, as these bags protect against freezer burn and moisture loss. Storing leftover corned beef in the cooking liquid helps retain moisture and allows for easy reheating while preserving flavor.