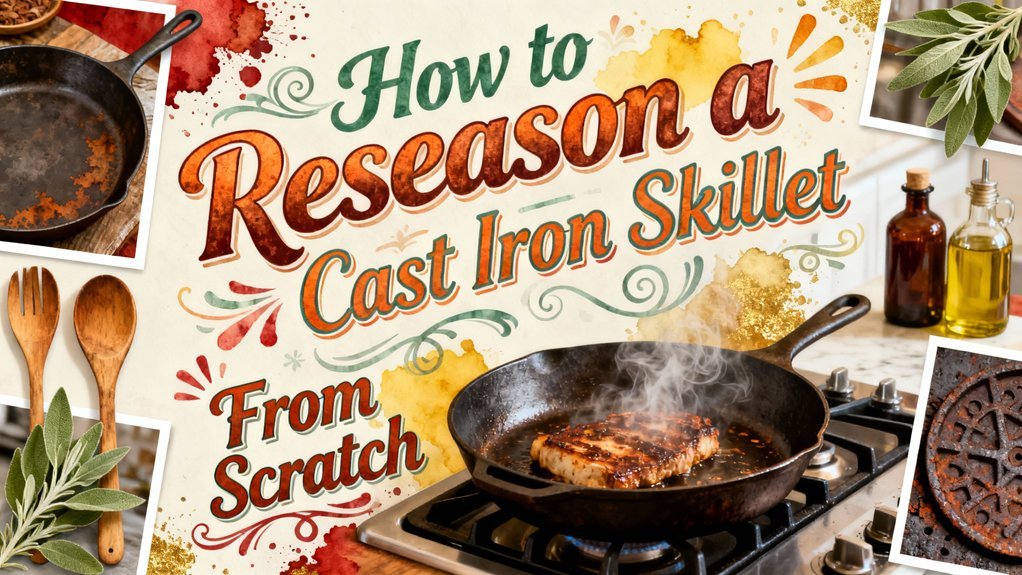
You’ll strip your skillet to bare metal using mechanical or chemical methods, then apply a high-smoke-point oil like avocado or grapeseed oil in thin layers. Wipe away all excess to prevent stickiness. Bake the skillet upside down at 450–500°F for one hour, repeating cycles to build durability. Polymerization at these temperatures creates a resilient nonstick surface. Regular maintenance with light oil coating after each use reinforces this protective layer continuously. The specifics of each phase reveal critical techniques for ideal results.
Assessing Your Cast Iron’s Condition
Before you start the reseasoning process, you’ll need to thoroughly assess your cast iron’s current condition to determine whether it’s salvageable and what approach will work best. Begin with visual inspection tips by examining the cooking surface for cracks, chips, and warping that indicate structural damage. Check the underside for manufacturer marks and inspect for pitting or thin spots suggesting heavy wear. Utilize a lead testing kit for accurate results if the skillet is vintage or from an unknown source.
Next, conduct seasoning evaluation by testing the nonstick properties with a fried egg—sticking reveals poor seasoning. Assess the seasoning layer’s color; black and shiny signifies good condition, while dull gray indicates degradation. Rub your finger across the surface; greasy residue points to insufficient seasoning. Verify an even polymerized oil layer without bare metal exposure. Finally, evaluate post-cooking residue; easy wipe-off confirms intact seasoning integrity. A properly seasoned cast iron pan should demonstrate naturally non-stick properties that make it ideal for cooking without food adhesion, much like achieving a crispy edge through proper heat management during use. For severe rust cases, consider using electrolysis tanks to remove all rust and buildup before beginning the seasoning process. For more extensive rust, alternative methods include soaking the cast iron in a vinegar solution for about an hour before scrubbing with steel wool. After removing rust and debris, apply kosher salt with oil to further cleanse and prepare the surface for reseasoning. Understanding the difference between a damaged seasoning layer and structural damage will help you determine if your skillet is worth the effort to revitalize.
Removing Rust and Old Seasoning
Once you’ve identified your cast iron’s condition, you’re ready to tackle rust and old seasoning layers. You’ll choose between mechanical methods and chemical methods depending on rust severity.
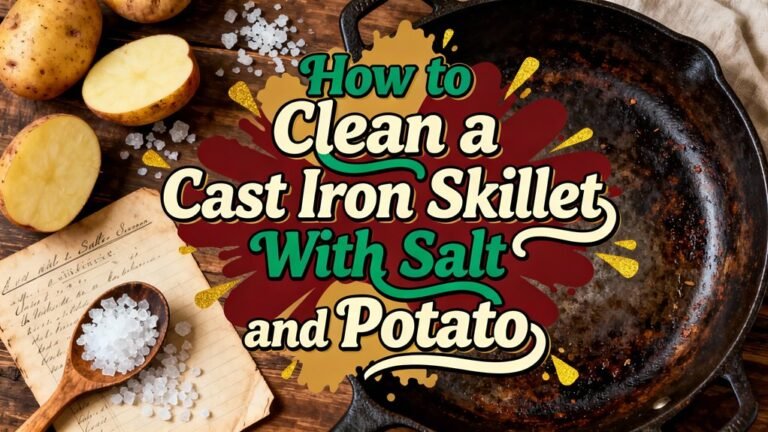
Mechanical methods include wire brushes, medium-abrasive pads, or rotary tools with wire-wheel attachments for stubborn corrosion. These approaches work well for heavy, flaking rust on exterior surfaces. A chain mail scrubber can also effectively remove rust while being gentler on the underlying metal than harsher abrasives. For a gentler alternative, you can use coarse salt and potato to scrub away rust and grime while preserving the underlying metal.
Chemical methods dissolve rust without excessive metal loss. You can soak your skillet in diluted white vinegar, apply phosphoric-acid removers, or use baking soda paste for lighter corrosion. After applying the paste, let the mixture sit for a few minutes to break down rust effectively. Similar to how enzyme deactivation requires proper contact time in preservation processes, ensuring thorough ingredient contact time helps chemical reactions work more efficiently on rust removal. After chemical treatment, thoroughly rinse and dry your cast iron with heat to prevent flash rusting and preserve the underlying metal.
For severe cases, electrolysis or oven-cleaning cycles incinerate rust to bare metal. During electrolysis cleaning, an electrical current reverses rust buildup by transferring oxide from the skillet to a sacrificial metal anode. Regardless of your chosen method, rinse thoroughly afterward, neutralize any acidic residue with baking soda solution, and dry completely with heat to prevent flash rusting.
Stripping to Bare Metal
To achieve ideal seasoning results, you’ll need to strip your cast iron down to bare metal—removing all old seasoning, carbonized build-up, and contaminants that prevent fresh polymerized layers from bonding directly to the iron. Chemical methods like lye-based oven cleaner or electrolysis effectively dissolve stubborn deposits, while mechanical techniques such as wire-wheel abrasion or soda blasting physically remove loosened material. A combination approach works best: soak your skillet chemically to weaken coatings, then scrub mechanically to eliminate debris efficiently. This dual strategy minimizes surface damage while ensuring complete removal. The chemical soaking process typically requires at least 24 hours for the oven cleaner to break down organic materials and stubborn residues effectively. Stripping also exposes structural defects requiring repair and standardizes your starting condition for consistent, durable seasoning application. For the Easy Off method, ensure you use the yellow lid version with 100% LYE to achieve optimal results when stripping your pan. After stripping and before seasoning, store your bare metal skillet in a dry place to prevent rust formation during the preparation phase. Once your skillet is stripped and ready, apply only a thin, even layer of oil to ensure proper seasoning without creating sticky residue buildup.
Selecting the Right Seasoning Oil
Now that you’ve stripped your skillet to bare metal, you’ll need to select an oil that polymerizes effectively at high temperatures without degrading. You’ll want to choose oils with smoke points exceeding 400°F—soybean, grapeseed, canola, and peanut oil all qualify. These neutral oil types won’t impart unwanted flavor profiles to your cookware or food.
Soybean oil offers excellent value at 450°F smoke point. Grapeseed oil provides similar stability with a mild taste profile, making it ideal for bulk seasoning. For convenient maintenance between major seasoning sessions, Cast Iron Seasoning Oil combines organic grapeseed and sunflower oils with beeswax for optimal polymerization and easy application. Avocado oil’s high smoke point of around 520°F also makes it an excellent choice for the high-heat seasoning process required to build a durable non-stick surface. Avoid oils with lower smoke points like olive oil or flaxseed, which break down and release volatile compounds. Also steer clear of animal fats like lard or bacon grease, as they’ll go rancid without frequent use. While coconut oil is sometimes recommended for seasoning, especially when combined with other ingredients like beeswax, oils with higher smoke points are generally preferred for optimal long-term results. Oils with higher concentrations of unsaturated fats polymerize more effectively, creating a superior seasoning layer. For those concerned about sustainability, palm oil sourcing should be researched to ensure environmentally responsible harvesting practices.
Select 100% pure oils exclusively for best polymerization. The seasoning polymerization process requires consistent high heat to build the protective layer that makes cast iron nonstick and durable over time. A well-seasoned skillet will develop a protective layer that prevents iron from leaching into your food during cooking.
Applying Oil and Preparing for the Oven
Before you’ll need to prepare your skillet’s surface meticulously to assure proper seasoning adhesion. Remove rust and debris with steel wool, then clean thoroughly with hot soapy water and dry completely. Heat the skillet briefly to eliminate trapped moisture and prevent flash rust. Store your skillet with separators to allow airflow to prevent rust formation during the seasoning process. The protective seasoning layer is essential for maintaining the pan’s nonstick qualities and preventing future corrosion.
For oil application, use a lint-free cloth to spread a thin, even layer in circular motions until the surface appears uniformly glossy. Wipe away all visible excess—only a microscopic film should remain, as pooling causes sticky, uneven seasoning. Crisco shortening is the recommended choice for optimal seasoning results and smooth patina development. The seasoning forms a molecular bond with the iron, creating a durable natural finish. Oils with higher smoke points, such as vegetable or canola oil, are often preferred for greater longevity and stability compared to extra virgin olive oil. Applying multiple thin layers through repeated seasoning cycles builds a more resilient and effective non-stick surface over time. Similar to slow braising methods that break down connective tissue, repeated seasoning cycles allow the oil to gradually build a protective layer that improves with each application.
During oven preparation, position your skillet upside-down on the center rack with a baking sheet below to catch drips. Guarantee adequate airflow around the pan. Preheat your oven to 450–500°F and bake for approximately one hour, allowing the oil to polymerize into a durable protective layer.
Curing Your Skillet at High Heat
Once you’ve applied your oil film and positioned the skillet upside-down in the oven, you’re ready to initiate the curing process through high-heat exposure. Bake at 400-500°F for 1-2 hours per cycle, allowing excess oil to drip away and preventing pooling that causes flaking. The upside-down positioning guarantees complete coverage and protects all surfaces from rust development.
High heat triggers polymer bonding by breaking oil molecules into compounds that chemically bond to the iron. This process requires temperatures above 375°F to achieve molecular breakdown and carbonization. The resulting layer fills microscopic cracks, smooths the surface, and creates a hydrophobic, rust-resistant finish that develops a natural nonstick patina over time. Using 100% pure flaxseed oil provides optimal polymerization results compared to other oils due to its superior bonding properties. Repeat this cycle three times for ideal seasoning buildup, with foil on the lower rack catching drips and reducing smoke output. Much like preparing a one-pot convenience dish, this multi-step process requires patience and proper preparation to achieve the best results. After baking, allow the skillet to cool inside the oven to permit the seasoning to fully cure and harden. For optimal results, verify the actual temperature as oven temperatures may vary by up to 75 degrees from the displayed setting. Allow the skillet to rest for several minutes after removal to ensure the seasoning has fully stabilized on the surface. Regular use and proper maintenance help build and preserve the skillet’s seasoning, ensuring long-lasting performance.
Testing and Evaluating Your Results
After completing your seasoning cycles, you’ll need to assess whether your cast iron’s finish meets the standards for reliable, long-term performance. Your test results reveal seasoning effectiveness through multiple indicators. Observe the surface’s development of sheen and smooth black patina—signs of proper polymerization. Perform water-drop tests on a preheated pan; they’ll sizzle and evaporate across an evenly heated surface. Check for pooling oil after baking; its absence confirms thin, proper application. Evaluate the finish’s smoothness by wiping with lint-free cloths—no sticky residue indicates successful molecular bonding. For optimal results, ensure the oil reaches its smoke point during the seasoning process to create an effective bonded finish. Once you’ve achieved a hardened slick finish across multiple coats, your skillet’s durability and non-stick performance demonstrate readiness for regular cooking use. To protect your seasoning investment, avoid harsh abrasives and other aggressive cleaning methods that can damage the finish you’ve worked to build. For extended storage between uses, consider employing proper storage techniques similar to those used for preserving other cookware to maintain your seasoning layer, including methods that prevent freezer burn and extend the longevity of your equipment’s protective coatings. Regular maintenance through periodic light oil coating will help preserve the seasoned surface and ensure your cookware continues to perform optimally. If you notice any flaking or sticking, this assessment will help you determine whether re-seasoning is necessary to maintain long-term cast iron performance.
Maintaining Your Newly Seasoned Skillet
Your freshly seasoned skillet demands consistent care to preserve and enhance the polymerized coating you’ve carefully built. Implement proper cleaning techniques immediately after each use: rinse with warm, soapy water and scrub stubborn residue with coarse salt and a kitchen towel. Never soak your pan, as prolonged moisture exposure invites rust formation. Dry thoroughly using paper towels, then apply brief stovetop heat to evaporate remaining water completely. Oil reapplication is essential for maintenance. Once dry, coat your skillet lightly with vegetable or canola oil, which forms an additional protective layer through high-temperature polymerization. This routine strengthens your seasoning with every cooking session. Cook frequently to build durable layers. Your disciplined maintenance approach guarantees your skillet develops superior non-stick properties and longevity.