You’ll align your handheld pump nozzle over the valve sticker and manually pump for about 30 seconds to extract air effectively. Listen for plastic crunching sounds indicating active removal. Press the air-valve to lock and reseal automatically. For liquids and delicate foods, consider chamber vacuum sealers or water displacement methods instead. Always verify your seal’s integrity by checking for leaks and conducting water submersion tests. There’s plenty more to master about maintaining equipment and troubleshooting seal failures.
Preparing Your Sous Vide Bags and Equipment
Before you begin sous vide cooking, you’ll need to select the right bags for your ingredients and cooking method. When choosing bags, consider bag thickness as your primary factor. Standard textured bags at 3 mil thickness work well for most proteins and vegetables, while heavy-duty 4 mil bags protect against bones and sharp items that could puncture thinner materials. Pre-cut bags enable quick portioning and maintain consistent thickness. Confirm your bags are food-grade plastic to prevent water contact during cooking and avoid leaching of chemicals at high temperatures. Zipper vacuum sealer bags withstand sous vide temperatures and various cooking methods like steam, microwave, or boiling. For cooking temperatures above 150°F or for longer cooking times exceeding six hours, vacuum sealer bags are recommended as standard zip-top bags may fail under these extended conditions. To maximize the lifespan of your bags, check for punctures or air leaks after each use to ensure they remain effective for future cooking. Most quality vacuum sealer bags are BPA-free and tested to meet food safety standards for typical sous vide temperatures. Like Dutch ovens, sous vide cooking benefits from even heat distribution to ensure uniform cooking of delicate ingredients and preserve nutrients in food. Proper equipment is essential for achieving the best results in under vacuum cooking. Chamber vacuum sealers offer superior moisture handling capabilities compared to external suction models, making them particularly effective for wet foods and marinades. Dry your sealing band thoroughly on both sides with a paper towel before use. This preparation confirms strong welds and reliable seal adhesion throughout your cooking process.
Operating the Handheld Pump With Valve Bags
With your bags and equipment ready, you’ll now operate the handheld pump to remove air from valve bags. Start by aligning the pump nozzle directly over the air-valve sticker, ensuring precise valve alignment for an airtight seal. Press the pump down firmly to create a secure junction, holding it gently throughout operation.
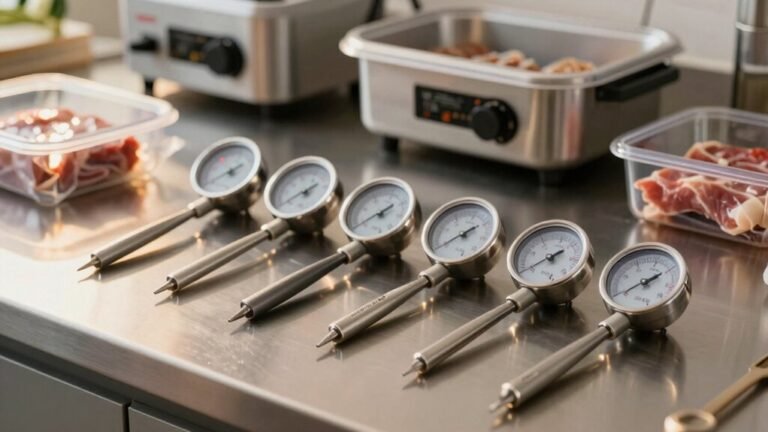
Begin pump operation by manually pumping for approximately 30 seconds. You’ll notice the bag shrinking within 10-15 seconds as suction increases. Listen for loud plastic crunching noises, indicating active air extraction. Continue pumping until you’ve achieved maximum suction. Some pumps feature auto-cutoff functionality that engages when ideal vacuum is reached. Practice pumping ensures effective air removal, so don’t hesitate to repeat the process if needed. The built-in airlock valve enables efficient vacuum sealing across multiple pump cycles. Proper vacuum sealing technique helps prevent freezer burn when storing food in the freezer long-term. Similar to cast iron cookware that requires proper maintenance techniques, vacuum sealing bags benefit from consistent sealing practice to ensure long-term food preservation. Like oils with high smoke points, vacuum-sealed bags require materials that can withstand repeated stress without compromising their integrity. Proper equipment calibration and technique, similar to using a meat thermometer for food safety verification, ensures your vacuum sealing process achieves optimal results. Avoiding common mistakes during the vacuum sealing process, such as moisture exposure before sealing, will help maintain the integrity of your bags and preserve food quality.
After completing pump operation, press the air-valve with your finger to lock it in place, ensuring the sticker reseals automatically.
Handling Liquids and Delicate Foods
What happens when you’re sealing foods with high moisture content or delicate structures? You’ll need specialized techniques to prevent seal failure and texture degradation.
For liquid protection, avoid external vacuum sealers entirely. Instead, use chamber vacuum sealers, which remove up to 99.9% air while containing liquids safely. Alternatively, employ the water displacement method with zip-top bags—slowly submerge your sealed bag to push air out without aggressive vacuuming. Much like professional vacuum systems that use knock-out pots to separate bulk liquids from gas streams, chamber sealers employ internal separation mechanisms to prevent moisture damage to the sealing mechanism. Always select the moist setting when your chamber sealer offers this option to optimize performance with liquid-rich foods. Chamber sealers with anti-allergen sealing technology can also help prevent airborne contamination during the vacuuming process.
Delicate vacuuming requires finesse. Strong vacuum compression damages fish and chicken breast, creating undesirable dense textures. Water displacement preserves food structure better than traditional vacuuming. Vacuum sealing also helps prevent freezer burn when delicate proteins are stored long-term in the freezer. If you frequently seal delicate items, invest in premium chamber sealers designed for this purpose. They handle both liquid-rich foods and texture-sensitive proteins effectively, ensuring superior results without compromising quality. This precision mirrors the heat retention and moisture circulation advantages sought by outdoor cooking enthusiasts who employ specialized equipment to achieve optimal results, much like those preparing Dutch oven desserts for camping adventures. Consider how even heat distribution from quality cooking equipment contributes to better food outcomes across various preparation methods.
Verifying Your Vacuum Seal
Once you’ve sealed your pouch—whether you’ve used water displacement for delicate proteins or a chamber sealer for liquids—you’ll need to verify that your seal actually holds. Start with visual seal inspection: examine the weld line for continuity, smoothness, and absence of gaps or folds. Press along edges and watch for air ingress.
Next, perform functional leak testing by submerging your pouch in water for 30–60 seconds, observing for escaping bubbles. Gently squeeze the bag while submerged to detect slow leaks or pinholes. A properly vacuumed pouch shouldn’t float; floating indicates seal failure or residual air. Proper maintenance of vacuum sealers is essential, so regularly check the sealing bar for obstructions that could compromise your verification results.
For precision verification, use a calibrated pressure gauge to confirm your vacuum level meets your equipment’s target range—typically 90–95% for sous-vide operations. Visual inspection of seal integrity, weld cleanliness, and overall pouch condition is necessary for quality assurance. Document all results for traceability.
Troubleshooting Common Issues
Even perfectly sealed bags can fail during sous vide cooking, and you’ll want to identify the root cause quickly. Bag material failures often stem from punctures caused by sharp food edges—use trimmed or padded corners to mitigate this risk. Overstretching or cold brittleness can split seams, so select sous vide-rated, multi-layer bags designed to resist stretching under high vacuum.
Inspect seal integrity regularly. Heat-related weakening near the seal area indicates overheating; replace bags showing softened or transparent seal lines. Consider using precision-engineered sealing systems with bi-active sealing to achieve uniform pressure and temperature consistency. Clean your sealing surface before each cycle—food residue and contaminants prevent proper heat transfer and produce weak seals. Like industrial vacuum systems, regular maintenance of equipment ensures consistent performance and prevents rust and degradation similar to what occurs in neglected cookware. Like industrial vacuum systems, regular maintenance of your sealing equipment is essential to ensure proper function.
Pinhole formation from freezer crystals creates delayed leaks when thawed. Pre-wrap sharp items with protective layers, and test new bag batches with water submersion checks before committing to full production runs. Keep the process quick and efficient—similar to how indoor s’mores preparation takes only 5-15 minutes, your vacuum sealing routine should be streamlined to maintain consistent results. Choosing BPA-free materials for your bags protects against chemical leaching during the heating process, ensuring food safety throughout the cooking cycle.