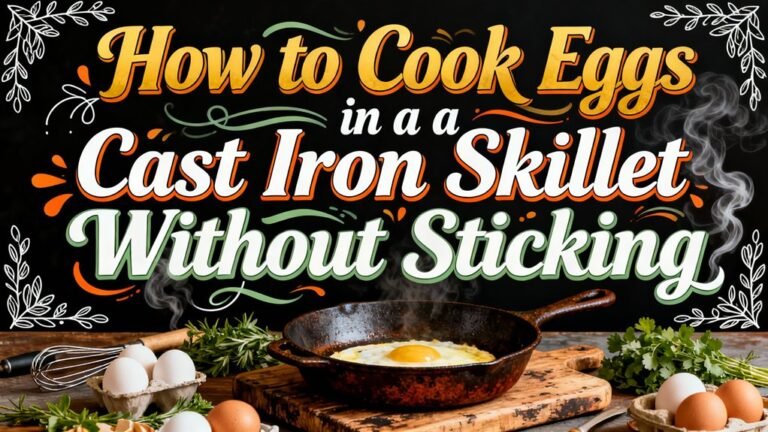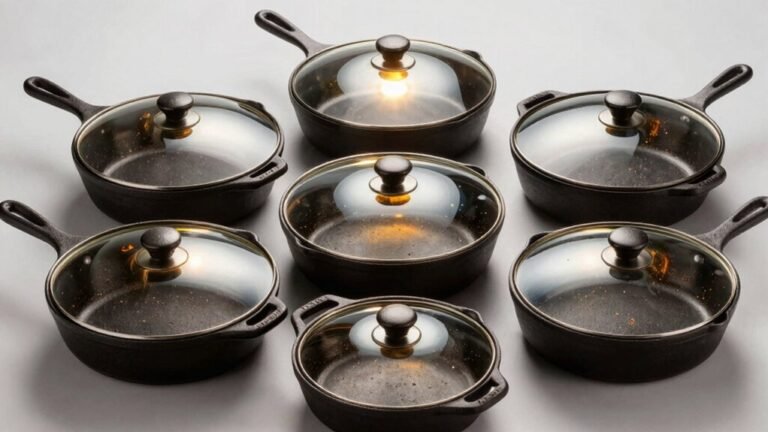
You’ll start by cleaning your skillet with warm soapy water and drying it completely. Apply an ultra-thin oil layer—using high smoke-point oils like canola or grapeseed—then wipe away excess to avoid stickiness. Place the skillet upside-down in a 450-500°F oven for one hour, allowing the oil to polymerize into a natural non-stick coating. Cool it completely in the oven, then repeat this process several times to build durability. Each seasoning cycle strengthens your skillet’s foundation.
Understanding Pre-Seasoned Skillets
When you purchase a new cast iron skillet, you’re getting a factory-applied coating of wax or vegetable oil that’s designed to prevent rust during shipping and storage. This factory coating provides an initial protective layer, allowing manufacturers to claim immediate usability upon purchase. However, the thin coating requires removal for peak performance.
The composition raises legitimate concerns. While deemed safe, the exact ingredients aren’t transparent, and you shouldn’t cook on it initially to avoid ingesting factory residues. Stripping this layer reveals the true cast iron surface, revealing pre seasoning benefits that develop over time. Unlike other cookware, cast iron improves with age through even heat distribution that enhances the cooking surface quality. The factory coating represents a temporary measure—not your final seasoning foundation. To build a durable protective layer, proper seasoning involves heating oil to its smoke point so it bonds chemically with the cast iron. After cooking, you can use kosher salt as a gentle abrasive to remove food particles and impurities from the skillet surface. Much like temperature-controlled cooking techniques, seasoning cast iron requires precision to ensure the oil polymerizes correctly and creates a lasting non-stick surface. For effective seasoning, oils and fats with high smoke points like vegetable oil, canola oil, and grapeseed oil are recommended as they can withstand temperatures between 370-450 degrees Fahrenheit without breaking down. Properly seasoned cast iron naturally eliminates the need for synthetic non-stick coatings by developing a natural non-stick layer. A portable burner can effectively remove the factory coating by burning it off outdoors with a high flame.
Preparing Your Skillet for Seasoning
Before you apply oil to your cast iron, you’ll need to strip away the factory coating and prepare the surface properly. Your cleaning methodology depends on your skillet types and their condition.
Start by wiping your pan with warm, soapy water, then scrape it thoroughly using salt and a kitchen towel in circular motions. This removes residual factory coating and debris. Rinse completely and dry every surface by hand—moisture prevents proper seasoning adhesion.
Avoid abrasive utensils or metal sponges that damage the iron’s structure. Pat your skillet with paper towels until it’s bone dry, including the handle and underside. Proper drying is essential because seasoning requires completely dry surfaces to bond effectively with the cast iron. Consider using lint-free cotton rags for the final wipe to ensure no fibers interfere with the seasoning process. For heavily rusted skillets, you may need to remove rust buildup using a vinegar spray solution before proceeding with standard cleaning. Unlike frittatas that can be made in alternative baking dishes, cast iron requires meticulous surface preparation to develop its protective layer. Once thoroughly prepared, your skillet’s pores are ready to accept oil and develop that protective seasoned layer through the baking process ahead.
Choosing the Right Oil
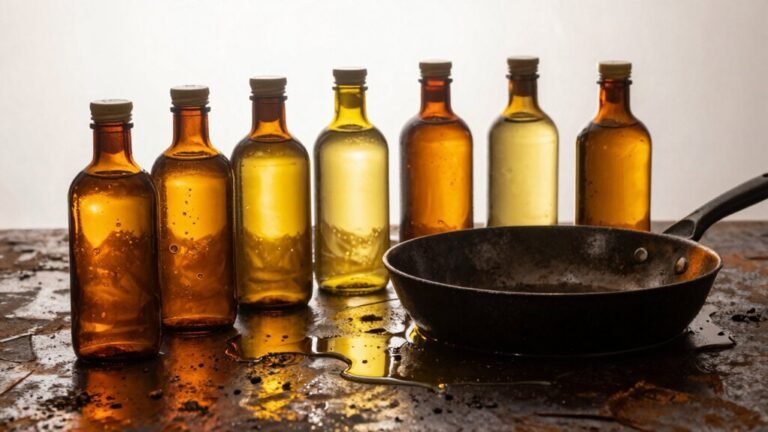
Why does oil selection matter so much for cast iron seasoning? You’ll need an oil with a smoke point above 400°F to create the polymerized coating that defines quality seasoning. This high-temperature requirement eliminates low-smoke-point options like olive oil and butter.
Prioritize oils with flavor neutrality—soybean, canola, grapeseed, and sunflower all work excellently. They won’t transfer tastes to your food during cooking. Choose 100% pure formulas over blended products for consistent results. Oils with higher concentrations of unsaturated fats polymerize more effectively, creating a harder and more durable seasoning layer. Well-seasoned cast iron cookware leaches beneficial iron into your food, providing a significant nutritional advantage over modern non-stick alternatives.
Consider sustainable oil sources when possible, avoiding non-certified palm varieties. Grapeseed oil offers exceptional stability and mild taste. For specialized applications, Field Company’s organic blend combines grapeseed, sunflower, and beeswax—creating superior non-stick protection with a 98% customer recommendation rate. The 45-day trial period allows you to test the product risk-free before committing to long-term use.
Applying Oil to Your Skillet
Proper oil application separates mediocre seasoning from exceptional non-stick surfaces, and the technique hinges on restraint rather than generosity. You’ll apply one ultra-thin coat per cycle using lint-free cloths or paper towels to distribute oil evenly across the entire skillet—inside, outside, handle, and underside. The ideal oil thickness requires you to wipe until the surface appears nearly dry and non-glossy; excess oil creates sticky, uneven seasoning. Use measured quantities (a teaspoon or less), tilting and rotating the pan to identify glossy spots indicating over-oiling. For hard-to-reach areas, employ cotton swabs or small brushes. Remove all visible pooling before baking to prevent dripping. Oils with high smoke points such as vegetable oil, melted shortening, or canola oil are most effective for seasoning. Flaxseed oil is recommended as the ideal choice due to its superior polyunsaturated fat content that forms a hard, durable protective layer through polymerization. While lard is a traditional option with proven effectiveness for frequent users, its relatively low smoke point around 375°F means the seasoning may degrade faster under high heat compared to oils with higher smoke points. After each baking cycle, thoroughly dry the skillet with a towel and apply additional thin layers to build up protection over time. When using cast iron on glass top stoves, ensure the skillet has a smooth bottom surface to prevent scratching the cooktop. Multiple rounds of oiling and baking help build up a durable seasoning layer that improves with consistent use and proper maintenance. Consistency in your seasoning routine ensures the non-stick surface develops the polymerized protective coating that makes cast iron reliable across generations. These oil application techniques yield superior results compared to heavy single coats.
The Oven Heating Process
Once you’ve applied your ultra-thin oil coat, you’re ready to transfer your skillet to the oven, where heat transforms the oil into a durable polymer layer. Position your skillet upside-down on the center rack to prevent oil pooling, and place aluminum foil on the bottom rack to catch drips.
Regarding oven temperature variations, you’ve got options. Start with a low-heat method at 200°F for 10–15 minutes to evaporate moisture, then increase to 450–500°F for the main seasoning phase. Some prefer jumping directly to 500°F for stronger bonding. Follow your heating duration guidelines by baking for 1 hour at your chosen temperature. Note that oven temperatures may vary, so verify the actual temperature as it may differ by 75 degrees from your dial setting.
After baking completes, turn off the oven and let your skillet cool inside, allowing the polymer layer to bond fully to the iron surface without thermal shock. Cooling in the oven enhances the strength and durability of your seasoning layer. For the most durable results, consider repeating this heating and cooling cycle multiple times, as repeated seasoning cycles create progressively harder and more resilient nonstick surfaces. The oil polymerization process is essential to developing a hard, blackened protective layer that resists sticking and rust. Much like a Dutch oven relies on its sealed construction to develop rich, savory flavor, the sealed environment created by leaving your skillet in the cooling oven helps maintain consistent heat distribution and protect the seasoning process. This regular maintenance approach, similar to re-seasoning occasionally, ensures your cast iron skillet maintains its longevity and performance over time.
Managing Excess Oil During Heating
The difference between a beautifully seasoned skillet and a sticky, gummy mess often comes down to oil quantity. During heating, excess oil fails to fully polymerize, leaving a gummy residue that compromises your nonstick surface.
To manage this, wipe your skillet immediately after applying oil. Use a paper towel to remove pooled oil before heating begins. This friction-based removal prevents sticky buildup and guarantees only a thin coating remains. Aim for medium heat when seasoning to ensure the skillet is hot enough to properly accept the oil coating. Just as preheating a cast iron skillet is critical for even heat distribution when cooking, proper temperature during seasoning ensures optimal oil acceptance.
Monitor oil migration during the heating process. Excess oil tends to flow toward lower areas of the pan, accumulating unevenly. By wiping thoroughly beforehand, you minimize this migration and promote even polymerization across the entire surface. A well-seasoned cast iron pan develops a natural non-stick coating that enhances performance over time. This seasoning layer improves through repeated use, similar to how cast iron’s natural seasoning gradually builds durability and non-stick properties with each cooking session. For optimal results, apply high smoke-point oil to ensure proper polymerization and seasoning development. Position the skillet upside down on the top rack of your oven during the seasoning phase to prevent oil pooling.
Remember: less oil yields superior results. A thin layer that doesn’t drip when tilted indicates correct application and ensures prime seasoning development.
Cooling and Inspection
After your skillet’s baking period completes, turn off the oven heat and leave the pan inside to cool naturally. This cooling benefits your seasoning by allowing the oil to fully polymerize and bond molecularly to the iron surface. Slow cooling prevents thermal shock that’d crack your newly formed coating.
Once the skillet reaches room temperature—typically several hours later—remove it carefully. Inspect the surface for a smooth, black patina with a natural sheen. Your inspection steps should verify that no stickiness or tackiness remains and that coverage is even across the interior, exterior, and handle. A properly seasoned cast iron skillet develops nonstick properties similar to those created through the high-heat searing process used in steak cooking. Allowing the pan to cool completely ensures the chemical-free coating fully sets before use. Just as oil’s higher smoke point enables proper searing without burning, complete cooling allows your seasoning to bond effectively to the iron surface. For extended storage, coat your skillet with high smoke-point oil and cover it to prevent dust accumulation. Store your finished skillet in a location with proper airflow to help preserve the seasoning you’ve worked to build. For best results, serve your finished skillet warm with vanilla ice cream to experience the full benefits of your seasoning work. You’ve successfully seasoned your skillet when you observe a dry, non-oily finish with consistent nonstick properties throughout. Repeating this process multiple times can enhance the seasoning quality and build a more durable nonstick surface.
Repeating the Seasoning Cycles
Because you’ve established a foundational layer, you’ll now build additional seasoning cycles to create a durable, consistent patina. Three cycles prove best after testing multiple repetitions, though you can repeat if you desire additional best sheen on your skillet’s surface.
Each repeating cycle follows the same protocol: apply a thin oil layer, heat progressively from 200°F to 400-500°F, then cool completely in the oven. The polymerization process bonds oil molecules during high-temperature baking, strengthening patchy initial layers progressively. Common oils like vegetable, canola, or Crisco adhere better to the pan’s surface during this heating process. Similar to how beef broth and seasonings create depth in slow-cooked dishes, the layering technique in cast iron seasoning builds complex flavor-enhancing surfaces over time.
You’ll notice the patina becoming smoother and darker with each cycle. Beef tallow, which has a high smoke point of around 400 degrees Fahrenheit, is an excellent natural option for seasoning that won’t burn during the high-heat baking process. Temperature control remains critical—maintain consistent heating sequences to maintain even coating buildup. Like non-contact temperature measurement devices used to monitor precise heating in industrial applications, accurate thermometer readings ensure your skillet reaches optimal seasoning temperatures. Proper food storage and preservation techniques, including understanding how layering creates durability, apply similarly to cast iron maintenance. Avoid soaking the skillet or leaving it wet between seasoning cycles, as moisture can compromise your developing patina. Once you’ve completed your cycles, regular cooking maintains these hard-won layers indefinitely, enhancing your skillet’s natural easy-release finish.
Daily Maintenance and Care
Your cast iron skillet‘s longevity depends on consistent daily maintenance that protects its seasoning layers from rust and deterioration. You’ll establish a routine cleaning protocol immediately after cooking by hand-washing with warm, soapy water and a scrub brush. For stubborn residue, you can simmer water for 3-5 minutes, then scrape after cooling. You should dry thoroughly with towels, including the handle and exterior, then apply a light oil coating to all surfaces for rust prevention. This daily regimen maintains your skillet’s nonstick properties while preventing oxidation in microscopic seasoning pores. You’ll avoid prolonged wetness and soaking, which compromises the polymerization structure. Consistent oil application creates a protective barrier that patches minor seasoning damage over time. Like the process of developing a rich crust on beef in a Dutch oven, your cast iron builds flavor and durability through repeated heat and oil treatment. For long-term food storage alongside your cast iron care routine, consider using the water displacement method to preserve ingredients you’ll use in future cast iron cooking.
Building Seasoning Over Time
While daily maintenance preserves your skillet’s existing seasoning, building durable layers requires consistent cooking and deliberate oil application over time. Each cooking session enhances your pan’s natural ease-release finish through polymerization, where oils heated at high temperatures transform into hardened surfaces that bond molecularly to iron. This molecular bonding strengthens with repeated heat exposure, gradually covering bumpy textures with smooth black patina.
To accelerate this process, apply thin oil coatings post-cleaning using high smoke-point oils like sunflower or grapeseed. Wipe until no shine remains, preventing excess pooling. After heating, allow the skillet to cool completely before storage to ensure optimal adhesion of the seasoning layer. For stovetop seasoning, heat your oiled skillet over medium heat until it begins to smoke, then reduce heat to maintain the smoke for 15-20 minutes to allow oil polymerization to create a durable non-stick layer. For deliberate seasoning cycles, bake your skillet at increasing temperatures—300°F to 400°F—repeating 2-3 times. Cool completely between cycles for best adhesion. This methodical approach builds layers that enhance both your skillet’s nonstick properties and rust prevention, ensuring enhancing flavor development for generations. Cast iron’s versatility extends beyond seasoning maintenance, as proper preheating on the stovetop or in the oven ensures even heat distribution for superior cooking results.