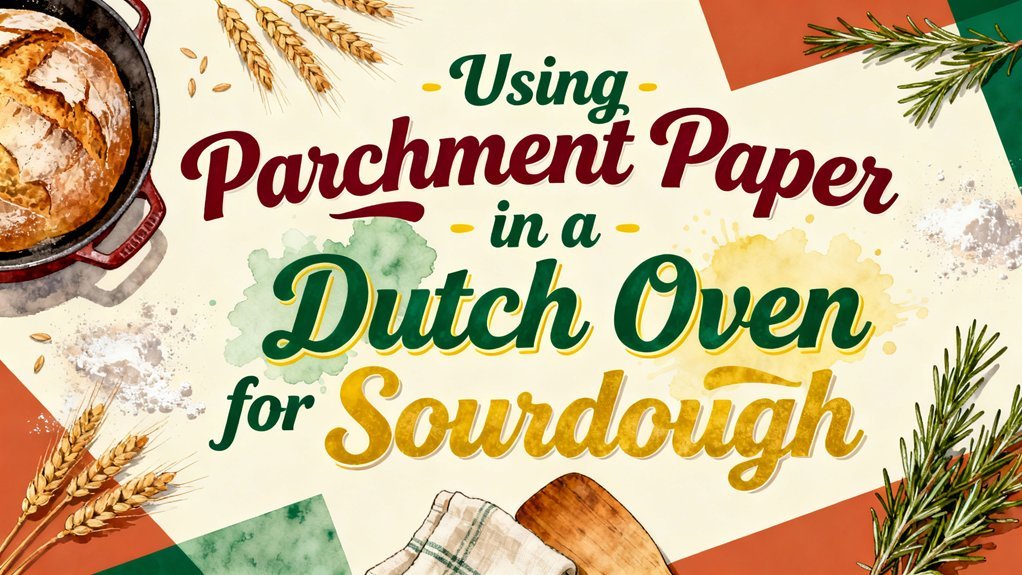
You can safely use parchment paper in your Dutch oven for sourdough by preheating to 500°F, then reducing heat to 450°F after loading. Line a pizza peel with parchment, invert your proofed dough onto it, then slide the paper directly into your hot Dutch oven. Keep the lid on for twenty minutes to trap steam, then reveal for twenty-five to thirty-five minutes until golden. Trim any overhanging paper to prevent blocking steam vents. You’ll find additional techniques that elevate your results greatly.
Key Advantages of Parchment Paper
Parchment paper’s non-stick surface is your primary defense against dough adhesion in Dutch ovens. You’ll find that reliable brands like Paper Chef deliver consistent non-stick performance without imparting unwanted flavors to your loaf.
When you’re managing high-hydration sourdough, parchment transforms dough handling by eliminating sticking concerns during transfer. You can confidently move your shaped dough into preheated Dutch ovens using a parchment sling, maintaining loaf shape and integrity throughout the process. Parchment paper is versatile for baking and works seamlessly with various dough types and hydration levels.
Beyond non-stick benefits, you’ll experience reduced mess during proofing and baking. The parchment contains dough moisture, preventing excessive spreading and minimizing cleanup afterward. You’ll avoid scraping sticky residues from your pots entirely. Dutch ovens with lids provide superior heat retention properties that work in concert with parchment to create optimal baking conditions. The combination of parchment with the Dutch oven’s thick cast iron enables even heat distribution essential for consistent browning. The steam trapping capability of a covered Dutch oven during initial baking is enhanced when parchment paper helps maintain proper moisture distribution throughout your loaf. Parchment paper acts as a barrier] between your dough and the Dutch oven surface, which is especially crucial when working with wet doughs that are prone to sticking. Proper timing for removing the lid ensures your parchment doesn’t brown too quickly while still allowing your crust to develop properly.
Additionally, parchment acts as a heat buffer, promoting even browning and crisp crust development around your entire loaf. You can reuse quality parchment up to three times, making it a cost-effective essential for sourdough baking.
Important Limitations and Challenges
While parchment paper delivers impressive benefits for Dutch oven baking, it’s not without significant drawbacks you’ll encounter in practice. Heat tolerance limits create real constraints—natural parchment maxes at 425°F, and silicone coatings fail beyond 440°F, making high-heat preheats problematic. You’ll face handling challenges when transferring dough; the paper crumples when lowered into your Dutch oven and requires reshaping, risking dough disturbance if over-proofed.
Parchment issues extend to bake quality. Excess paper blocks lid vent holes, reducing steam escape and compromising crust development. Flaking particles infiltrate your crumb when temperatures exceed tolerance limits. You’ll also struggle with precise cutting and fitting—overhang management demands accuracy, and wetting paper to aid flexibility complicates smoothing seams effectively. For extended food storage applications, consider how material thickness and durability affect long-term performance similar to considerations in specialized food preservation methods. Spraying parchment paper enhances ease of removal but cannot counteract the structural weaknesses inherent in high-heat baking scenarios. Proper calibration of your oven temperature is essential, as surface temperature readings from your oven dial may not reflect actual internal heat conditions affecting parchment performance. Unlike alternative methods such as cornmeal and oil, parchment paper provides no additional flavor contribution to enhance your finished loaf.
Step-by-Step Application Methods
Successfully using parchment paper in your Dutch oven requires careful preparation and deliberate technique at each stage. Begin with proper parchment preparation by lining your pizza peel or baking sheet and lightly dusting your dough with flour. Spray the parchment with water to minimize sticking during dough handling.
When you’re ready to transfer, invert your proofing basket onto the parchment-lined surface to turn out the dough. Score your loaf with a razor blade or lame while it rests on parchment. Carefully slide the parchment with dough directly into your preheated Dutch oven. Cast iron Dutch ovens are particularly effective for this application due to their superior heat retention, which maintains the consistent baking temperature needed for optimal crust development.
Bake covered at 450-500°F for twenty minutes, then remove the lid and continue baking for twenty-five to thirty-five minutes uncovered. This methodical approach guarantees consistent results and ideal crust development. The steam trapped during the covered baking phase creates the crispy, golden crust characteristic of professional sourdough. For precise temperature control during baking, consider using a flame control thermometer to monitor your oven’s accuracy. Using two pieces of parchment paper] provides additional insulation to prevent your bottom crust from burning during the baking process. If you’re working with a 3-quart Dutch oven, you may need to scale down your dough quantities accordingly to ensure proper baking results. The quick fold method allows you to handle the dough without deflating the air pockets that create an airy crumb structure. Monitoring your Dutch oven’s internal temperature with a properly calibrated thermometer ensures your oven reaches the intended baking temperature for optimal crust formation.
Temperature Guidelines and Safety
Now that you’ve mastered the mechanics of loading and baking with parchment, understanding the temperature parameters that govern this method becomes equally important. Standard parchment withstands temperatures up to 450°F (232°C) without compromising your bread’s quality, though edges may brown slightly. For parchment durability beyond this threshold, select higher-rated varieties. Your Dutch oven preheats to 500°F (260°C)—parchment remains safe when you lower it with dough. After loading, reduce heat to 450°F (232°C). Avoid wrapping large parchment around loaf sides; this compromises heat retention and can cool your loaf by 30°F (17°C). Use heat-proof trivets when handling hot vessels, and vent steam carefully with an oven mitt. An infrared thermometer allows you to quickly verify your Dutch oven’s actual temperature before loading your dough. These precautions guarantee the best baking results. The cast iron pot retains heat and creates steam essential for proper crust development during the covered baking phase. Consistent oven conditions yield better bread results, just as consistent dough temperature during fermentation enhances overall quality.
Viable Substitutes and Alternatives
If parchment paper isn’t your preference or you’ve run out mid-bake, you’ve got several reliable alternatives that work equally well in your Dutch oven. Silicone alternatives like bread slings and reusable mats provide excellent non-stick properties without single-use waste. Flour dustings—cornmeal, semolina, or brown rice flour—create effective anti-stick barriers on your Dutch oven base. Baker’s tools such as wooden peels or floured half baking sheets smoothly transfer dough into your vessel. For eco-friendly options, compostable unbleached parchment coated with silicone remains non-stick and suitable for backyard composting. These alternatives are made from natural fibers such as cotton, flax, or fir tree, which provide durability against humidity and grease during the baking process. Silicone baking mats can last up to 3000 baking cycles, making them a sustainable long-term investment for sourdough bakers. Avoid aluminum foil and greases, which lack reliable non-stick properties and risk adhesion issues. These substitutes maintain your sourdough’s quality while supporting your baking preferences.
Best Practices for Dutch Oven Baking
Mastering Dutch oven technique requires attention to three critical phases: preheating, baking, and finishing. You’ll preheat your oven to 500°F for one hour with the Dutch oven inside, ensuring it reaches ideal temperature for steam generation. During baking, you’ll keep the lid on for the first 20 minutes to maintain steam and support dough hydration, which directly impacts your crust texture. After 20-30 minutes, you’ll remove the lid, allowing the crust to develop that desirable golden-brown finish. Finally, you’ll remove your bread from the Dutch oven when it reaches an internal temperature of 208-212°F and cool it on a wire rack. A cast iron Dutch oven holds heat exceptionally well and can withstand the high baking temperatures necessary for sourdough bread. To enhance oven spring and achieve optimal results, keep your dough in the fridge until just before baking so the cold dough creates maximum contrast with the hot Dutch oven. Some bakers prefer using cornmeal or semolina instead of oiling to prevent the dough from sticking to the pot. The trapped steam also contributes to a glossy, crisp crust by promoting proper starch gelatinization and browning. Unlike open baking setups that require adding external steam], the Dutch oven creates a self-contained steam chamber from the loaf’s own moisture. Glass-lid Dutch ovens offer the advantage of monitoring your bread’s progress without lifting the lid and releasing heat during the critical steam phase. Proper maintenance of your cast iron Dutch oven through seasoning techniques will ensure its durability and performance for years of consistent baking. These sequential steps guarantee consistent, professional results every time you bake.
Maximizing Steam and Oven Spring
The sequential baking phases you’ve just mastered depend entirely on one factor: steam. You’ll maximize oven spring by understanding the oven chemistry at play during those critical first minutes. Your parchment paper enables superior steam capture by allowing moisture circulation while protecting your dough from adhesion. The steam-softened crust delays formation, permitting your loaf to expand fully before setting.
Position your cold-proofed dough carefully using the parchment sling, lowering it smoothly into your preheated Dutch oven. This precise placement guarantees even steam exposure across your entire loaf. The trapped heat and moisture work together, doubling your dough’s volume early in baking. Le Creuset’s excellent heat retention properties ensure consistent temperature maintenance throughout the critical steam phase. Using high-temperature oven gloves protects your hands from burns while handling the hot Dutch oven during this critical transfer. This coordinated process yields that coveted puffed, open crumb structure you’re after.