You’ll achieve ideal seasoning results by baking your cast iron skillet at 450–500°F, which allows the oil to polymerize evenly and form a durable, non-stick surface. For smoke control, you can lower the temperature to 400°F, though you’ll need extended baking times. Avoid temperatures above 500°F, as they cause uneven bonding. Use high smoke point oils like vegetable or canola oil. Multiple oiling and baking rounds enhance your seasoning layers markedly. The specifics of oil selection and application technique matter considerably more than you might expect.
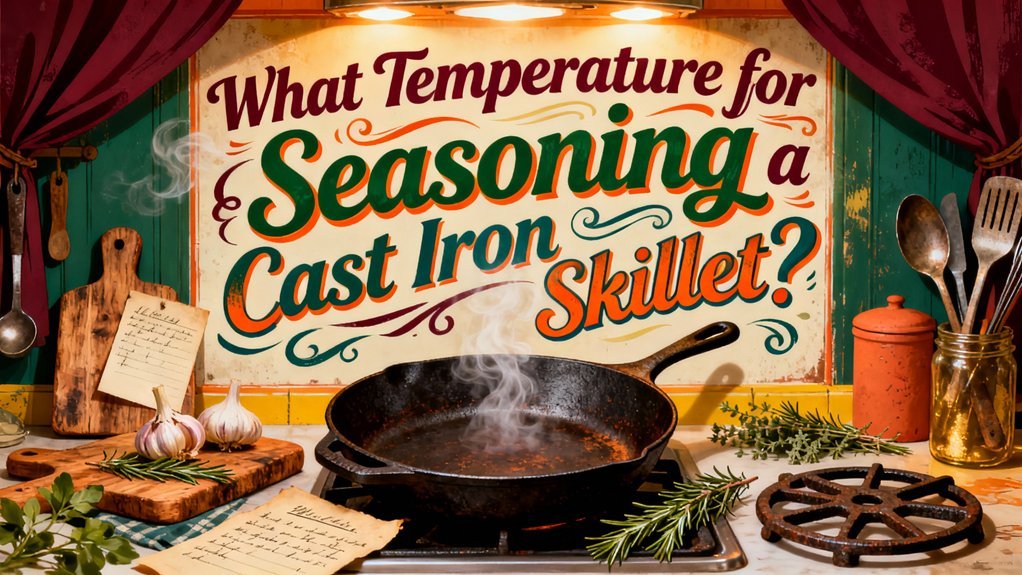
Recommended Oven Temperature Range for Seasoning
To build a durable seasoning layer on cast iron, you’ll want to set your oven between 450–500°F, which is the temperature range most manufacturers recommend for effective polymerization of oil into hardened layers. This range optimizes the chemical bonding process while minimizing excessive smoking.
If you’re prioritizing smoke control, you can lower your oven temperature to 400°F, though you’ll need extended bake times to achieve comparable polymerization. Temperatures above 500°F aren’t necessary and risk uneven bonding or overheating without additional benefit. The 400-degree temperature is particularly effective when you allow the skillet to remain in the oven for longer periods to ensure proper oil adhesion. Remember that seasoning forms a molecular bond with the iron, creating a natural, easy-release finish that improves with use. Light olive oil is a healthful and effective choice for seasoning, though oils with higher smoke points like vegetable or canola oil are often recommended for longevity and stability. Like bread baking, achieving the right results requires proper heat management and timing to develop optimal textures and durability. Lard, a rendered pig fat, is also an effective traditional seasoning option that creates a durable seasoning layer through polymerization at these temperatures.
Avoid using butter for initial seasoning, as its low smoke point of approximately 350 degrees Fahrenheit causes it to burn quickly on heated cast iron and may impart unwanted flavors.
You should confirm your oven’s actual temperature with an oven thermometer, since most household ovens run hotter or cooler than their setpoint. This accuracy guarantees your seasoning layers develop consistently and prevents premature smoking or inadequate curing. Some seasoning methods involve multiple rounds of oiling and baking to build up increasingly resistant layers over time.
The Role of Oil Smoke Point and Selection
Since you’re heating cast iron to 450–500°F, you’ll need an oil that can withstand those temperatures without breaking down. Oil smoke point—the temperature at which it begins smoking and decomposing—directly impacts seasoning durability. High smoke point oils like vegetable oil, canola oil, and melted shortening create durable, heat-resistant layers through polymerization. Avoid low smoke point oil types such as extra virgin olive oil or butter, which break down easily and result in sticky, ineffective coatings.
Select oils with smoke points at or above your intended seasoning temperature. Grapeseed oil offers a high smoke point while contributing minimal flavor. Vegetable oil provides affordability and proven effectiveness. Organic canola oil is also used by cookware manufacturers like Skeppshult for pre-seasoning due to its high smoke point and neutral flavor. Beef tallow is favored as a natural alternative, offering heat stability without breaking down at high temperatures. The seasoning process builds up multiple layers that create a natural non-stick surface enhancing your cooking results over time. Many seasoning practitioners report successful results at temperatures ranging from 400 to 500 degrees, depending on their chosen oil and personal preferences. Like precision cooking methods that require temperature precision for optimal results, cast iron seasoning demands careful attention to heat control. By choosing appropriate oil types, you’ll achieve superior seasoning durability that withstands repeated cooking and cleaning cycles.
Typical Seasoning Process and Timing
Now that you’ve selected your high smoke point oil, you’re ready to execute the seasoning process itself. Start by preheating your oven to 200°F with the skillet positioned upside down for 15-20 minutes, ensuring a dry surface. Apply a thin oil layer using a lint-free cloth, then wipe away excess to prevent pooling. Increase temperature to 300°F for 15 minutes, wipe again, then ramp to 400°F for the primary baking phase. Your ideal timing involves baking at 400°F for 2 hours, or alternatively at 450-500°F for 1 hour. Place the skillet upside down on the center rack with foil beneath to catch drips. Allow complete cooling inside the oven before repeating these seasoning techniques 3-10 times for a superior patina. Note that oven temperatures may vary, so verify the actual temperature as it may differ from your dial setting. Bake at a temperature 25 degrees above the oil’s smoke point to ensure proper bonding of the seasoning layer to the cast iron surface.
Practical Considerations and Safety
While you’re executing the seasoning process at elevated temperatures, several practical factors’ll determine whether your results are successful and safe. Smoke management and ventilation needs are critical—expect significant smoke when heating oil at or above its smoke point. Activate your range hood and open windows to prevent smoke alarms and respiratory irritation. Place foil on your lower oven rack to catch drips, reducing fire hazards and oven soiling. Never leave your skillet unattended during high-temperature bakes. Use an oven thermometer to verify actual temperature, since home ovens typically vary ±10–25°F from set points. Choose oils with higher smoke points to minimize volatile emissions. For sensitive household members, consider seasoning outdoors or in exceptionally well-ventilated spaces to limit pollutant exposure. Like bakers using coarse grains to prevent burning in Dutch ovens, you can use protective barriers such as foil to safeguard your oven’s interior during the seasoning process. Allow your cast iron skillet to cool down completely after seasoning before handling to prevent burns and ensure proper fuel stabilization of the seasoning layer.
Differences: Pre-Seasoned Vs Stripped and New Cast Iron
The temperature you’ll choose for seasoning depends largely on your skillet’s starting condition. Pre-seasoned skillets offer built-in benefits—they’re ready to use immediately, and you’ll want to avoid aggressive high-temperature baking that could char existing layers. Instead, cook with them regularly to develop seasoning naturally, or refresh with a gentle 400°F maintenance bake.
Stripped or bare cast iron requires a different approach. Start with a low-temperature preheat around 200°F to eliminate residual moisture and open the iron’s pores. Then progress through multiple cycles, ramping to 400–500°F for 1–2 hours per session. This stripped maintenance strategy builds durable, even polymerization without pooling or uneven buildup, creating a robust foundation for long-term seasoning development. The polymerization process creates a hard, nonstick finish when oil is heated at these temperatures. After each seasoning cycle, apply a thin coat of oil to maintain the seasoning and prevent rust formation. For skillets with heavy buildup or rust damage, you may need to use steel wool and soap to strip the pan before beginning the seasoning process. For severe rust conditions, consider using vinegar spray treatment to remove rust before proceeding with your temperature-controlled seasoning cycles. Between uses, ensure you’re heating to evaporate moisture after each wash to maintain the integrity of your seasoning layers. When storing your seasoned skillet for extended periods, ensure it is coated with oil to prevent dust accumulation and maintain the protective layer you’ve built.
Evidence, Tradeoffs, and Expert Disagreements
Because polymerization demands temperatures exceeding 350–375°F, you’ll find that seasoning cast iron involves competing considerations between effectiveness, practicality, and manufacturer guidance. The temperature impact determines whether your seasoning develops into a durable, glossy finish or a sticky, flaking mess. At 400–500°F, you achieve complete polymerization with thin, protective layers after 6–8 cycles. Higher temperatures (450–550°F) accelerate free radical release for superior durability but generate heavy smoke requiring strong ventilation. Conversely, temperatures below 375°F leave brown residue and compromise the polymerization process, yielding poor protection. Experts debate initial preheating strategies—some begin at 200°F for oil adhesion before ramping to 400°F—while manufacturers conservatively recommend 350–375°F despite scientific evidence supporting higher temperatures for ideal results. Applying excessively thick oil layers at these elevated temperatures can lead to sticky surfaces and flaking finishes that undermine your seasoning efforts. For optimal results, repeat the seasoning process multiple times and maintain the finish through regular maintenance to preserve the protective layer. To prevent rust and further preserve your seasoning, thoroughly dry the pan after each use, especially around the rim and handle. Well-seasoned cast iron develops a protective polymer layer that provides a hydrophobic surface, preventing food from adhering and enhancing the non-stick qualities of the cookware over time. Similar to how flash-freezing] preserves food quality before storage, proper seasoning timing ensures your cast iron pan performs comparably to non-stick cookware when cooking delicate foods like eggs. When properly maintained, cast iron skillets can last for generations, making them a worthwhile investment in quality cookware.