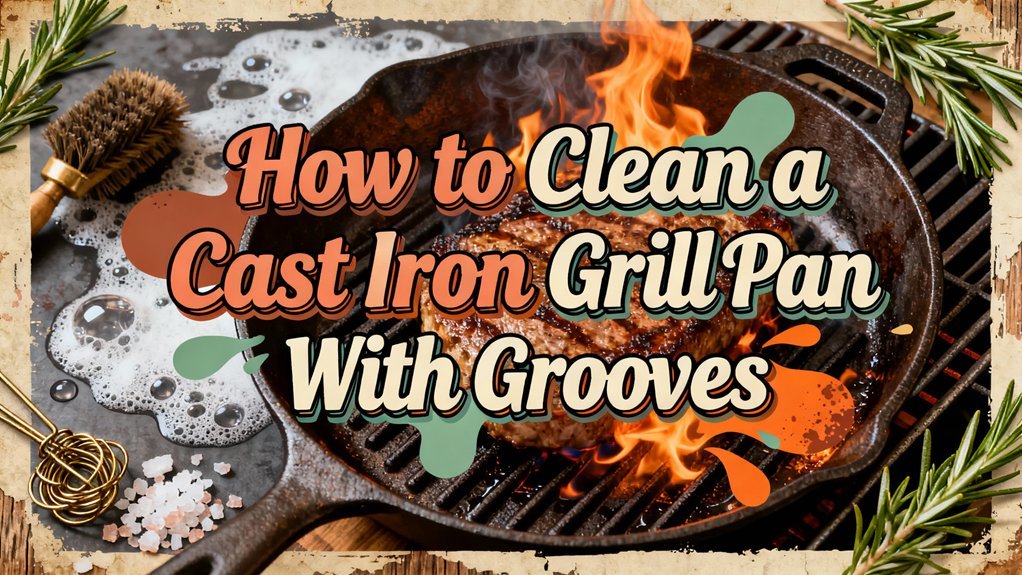
You’ll clean your cast iron grill pan‘s grooves by rinsing immediately after use, then scrubbing with angled-bristle brushes or chainmail tools in varied directions. Use mild dish soap and gentle motions, or employ the salt-and-oil abrasive method for stubborn residue. Dry thoroughly with lint-free cloths, then apply a light oil coat to prevent rust. Store in a cool, dry place. The proper seasoning technique transforms your pan’s non-stick performance considerably.
Initial Cleaning Steps
Once you’ve finished cooking, let your cast iron grill pan cool slightly until it’s warm but safe to handle—this prevents thermal shock while keeping the surface warm enough to loosen stuck-on food. Heat water directly in the pan on your stove to release baked-on residues before scrubbing. This temperature management technique makes debris removal considerably easier.
Rinse the pan in your sink to eliminate large food pieces immediately. Remove debris while the pan remains warm, as cooler surfaces require excessive scrubbing effort. Use hot water to flush grooves without tools initially, then dump out loosened particles. Wipe with paper towels to clear remaining debris. Like a Dutch oven used for baking cobblers over coals, cast iron cookware benefits from immediate post-use cleaning to maintain its seasoning and performance.
Establish a regular cleaning frequency after each use to prevent seasoning degradation and maintain your pan’s performance effectively. Just as proper flame control is essential for precision cooking, maintaining consistent cleaning habits ensures your pan’s longevity and optimal cooking results. After wiping away debris, apply a light coat of oil to maintain your skillet’s seasoning and prevent rust. For stubborn burnt areas, consider using kosher salt or baking soda as gentle abrasives to scrub off debris without harming the seasoning. When dealing with rust spots that develop over time, vinegar spray solution can help remove oxidation while preserving the underlying seasoning layer. Consider using a chain mail scrubber to effectively clean the ridges and grooves that standard brushes cannot reach. Avoid using metal cleaning pads or abrasive cleaners that can damage the enamel coating and remove the beneficial patina that builds up over time.
Essential Tools for Grooved Surfaces
Your grill pan’s ridged surface demands specialized tools that basic kitchen sponges can’t reach. You’ll find several effective options designed specifically for grooved surfaces.
Bristle brushes with angled bristles excel at penetrating deeper grooves between grill ribs. Their short, stiff bristles remove cooked-on foods without damaging your seasoning. For stubborn debris, polycarbonate scrapers offer rigid construction that won’t warp during use. The Lodge grill pan scraper is dishwasher safe for convenient cleaning after each use.
Corner and groove specialized tools feature handle designs that double as scrapers, allowing you to tackle tight spaces from multiple angles. Hybrid cleaning implements combine brushes and scrapers into single tools, reducing clutter while addressing both flat and ridged surfaces. Tools equipped with two nylon brush heads provide deep cleaning capabilities in the tightest spaces of your cookware. Proper cleaning preserves the natural seasoning that develops on your cast iron over time, which is essential for maintaining both non-stick properties and durability.
These specialized tools employ cleaning techniques that preserve your cast iron’s seasoning layers while effectively removing stuck-on residue. After cleaning, always dry your grill pan thoroughly and apply a light coat of oil to maintain its seasoning and prevent rust. For particularly stubborn, heat-bonded food deposits, some users employ high-temperature methods similar to those used in metalworking, though standard heat application should be avoided on cast iron to prevent damaging the seasoning and metal structure. An infrared thermometer can help you monitor cooking temperatures and verify when your grill pan has cooled sufficiently for safe cleaning.
Effective Scrubbing Techniques
The right scrubbing approach combines heat, proper tool selection, and strategic motion to lift stubborn residue from your grill pan’s grooves without compromising the seasoning. Start by heating your pan on the stovetop, then apply hot water directly to loosen baked-on debris. Use hand-held brushes or chainmail scrubbers to penetrate narrow grooves effectively, varying your stroke direction for thorough coverage.
Your scrubbing techniques should incorporate mild dish soap paired with gentle, non-abrasive motions. Rinse continuously between intervals to prevent buildup in crevices. For tougher residue, employ the salt and oil abrasive method—combining table salt with vegetable oil creates an effective cleaning paste that removes stubborn particles without damaging the surface. For even more heavily rusted or compromised cookware, steel wool and sandpaper can be used as more aggressive cleaning options. This abrasive scrubbing approach should be reserved for severe cases, as regular maintenance with gentler methods will better preserve your pan’s integrity. For stubborn rust spots, baking soda paste or applying baking soda with a natural acid source can effectively remove buildup without harming the cast iron. Cleaning cast iron while the pan is still warm helps remove debris more effectively and prevents rust formation. To complete the cleaning process, thoroughly dry your pan with a towel and then heat it on the stove to evaporate any remaining moisture. Always avoid harsh dish soap when cleaning regularly, as it can degrade the nonstick surface over time and compromise your pan’s seasoning layer.
Proper Drying Methods
Because cast iron’s susceptibility to rust intensifies the moment water contacts its surface, you’ll need to dry your grill pan immediately after cleaning. Use lint-free cloths or paper towels to remove initial moisture from all interior grooves and exterior surfaces. For complete drying techniques and moisture prevention, apply gentle heat on your stovetop for several minutes or place the pan in a 350°F oven for approximately ten minutes. Continue heating until no steam rises and the surface appears completely dry. Once fully dried, apply a thin, even layer of cooking oil across the entire pan’s interior and exterior. This oil application creates a protective barrier that prevents oxidation and supports the polymerization process that hardens your seasoning layer. High smoke point oil is recommended to ensure durability and prevent the breakdown of the seasoning layer during storage. To further protect exposed cast iron edges and maintain long-term performance, periodically season your grill pan with a light coat of high smoke point oil baked in the oven. Many outdoor cooking enthusiasts also use their cast iron Dutch ovens for Dutch oven desserts while camping, which requires the same careful maintenance and seasoning practices. For optimal results with food storage, consider using a vacuum sealer to preserve any pre-prepared ingredients or marinades you plan to use with your cast iron cookware. Store your grill pan in a dry environment away from humid areas to maintain its seasoning and prevent rust development. If rust does appear on your pan, it can be removed with steel wool or sandpaper, followed by washing, drying, and reseasoning. For extended storage periods, consider storing the pan in a warm oven alongside your cooking to ensure the oil coating sets properly and the seasoning remains intact.
Seasoning Your Pan
Once you’ve dried your grill pan completely, seasoning becomes the next critical step in building a durable, non-stick cooking surface. You’ll apply a thin, even coat of high smoke point oil using a paper towel, covering every groove and handle. Popular oil types include canola, avocado, grapeseed, and vegetable oil, each offering consistent results.
For oven seasoning, preheat to 450-500°F and position your pan upside down on the center rack with aluminum foil below to catch drips. Bake for one hour, allowing the oil to polymerize and bond molecularly to the iron. Cool the pan inside the closed oven to strengthen adhesion. Proper cleaning sets the foundation for effective seasoning before you begin the heating process. Oils with higher levels of unsaturated fats tend to create more durable polymerized coatings on your cast iron. Multiple rounds of oiling and baking will build up a more resilient seasoning layer over time. Like cooking ham to reach an internal temperature of 145°F, achieving the proper oven temperature ensures your seasoning process reaches optimal results.
These seasoning benefits accumulate with each application, progressively enhancing your pan’s non-stick surface and durability. The initial seasoning may appear uneven, but this is normal and will improve with regular use over time, as the natural non-stick surface develops through consistent cooking.
Long-Term Maintenance Guidelines
Your cast iron grill pan’s longevity depends on consistent care that prevents rust while preserving the seasoning you’ve carefully built. You’ll maintain peak performance through strategic rust prevention and regular cooking frequency. Store your pan in a cool, dry cabinet away from humidity sources, inspecting the grooves periodically for bare spots. Before storage, verify the pan’s fully dry and lightly oiled to prevent stickiness without accumulating residue. Stack multiple pans with paper towel separators to promote air circulation. Your cooking frequency directly impacts long-term patina development—multiple weekly uses build even seasoning across grooved surfaces and incorporate oil residues into protective layers. This consistent usage pattern accelerates seasoning maturation while preventing flaking and discoloration, ultimately extending your pan’s functional lifespan markedly. For extended storage periods, coat your pan with oil and cover it to prevent dust accumulation. After each use, thoroughly dry your pan with a towel and place it over heat to ensure all moisture is gone. If rust does develop on your grill pan’s grooved surfaces, vigorous scrubbing with appropriate tools can remove the rust, followed by reseasoning to restore the protective barrier. Always hand wash with warm, soapy water using appropriate tools to maintain the seasoning layer without compromising the pan’s integrity. Consider storing your cast iron alongside temperature resistant materials to protect against environmental fluctuations that may compromise the seasoning layer. Applying a thin layer of seasoning oil] after cleaning protects against future rust and maintains the protective barrier that keeps your grill pan performing optimally.